9 PREPARING ESPRESSO COFFEE WITH PRE-GROUND COFFEE (INSTEAD OF BEANS)
•Press the button (fig. 16) to select the ground coffee function. This disables the coffee mill function.
The appliance displays:
READY PRE-GROUND
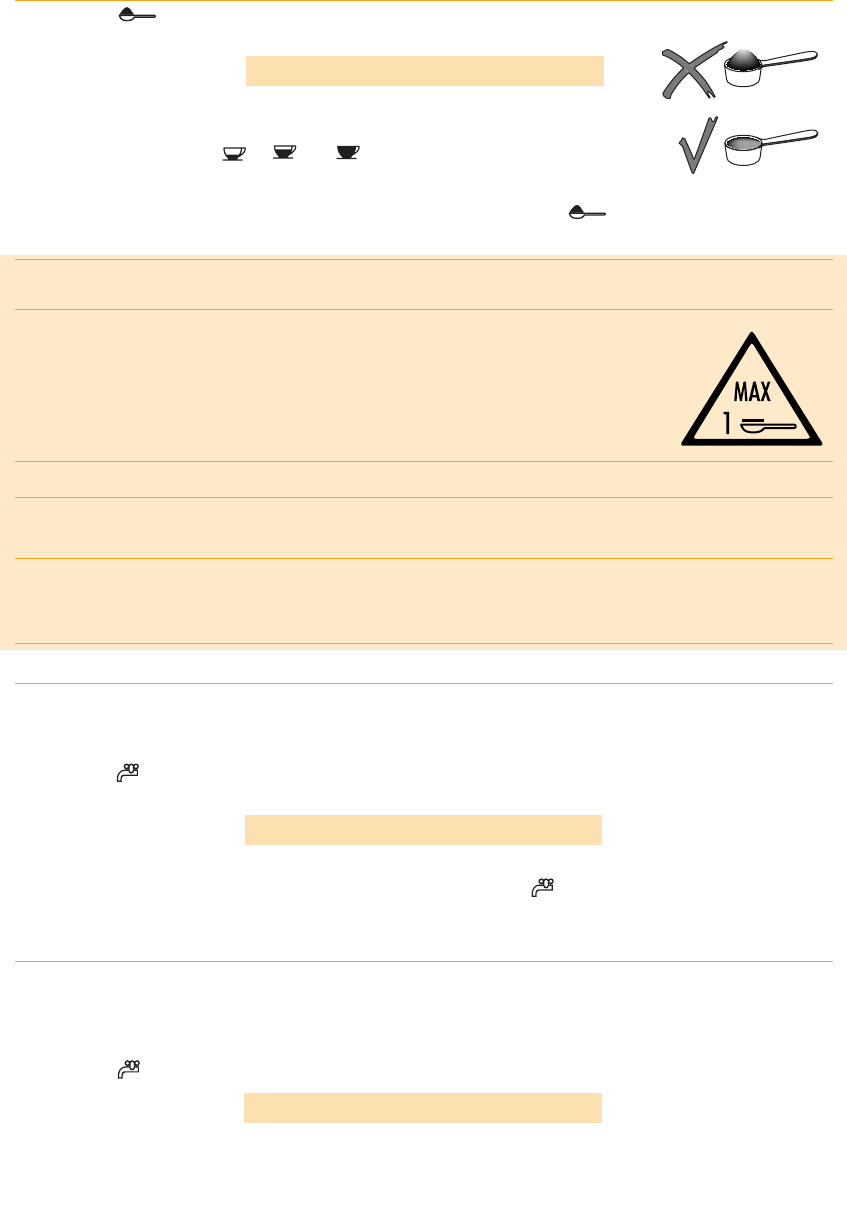
• Lift the lid in the centre, place one measure of ground coffee in the funnel (see
fig. 17) and proceed as described in section 6. You can make just one coffee at
a time by pressing the , or button once only.
• After using the appliance with pre-ground coffee, to go back to making coffee
using beans, deactivate the ground coffee function by repressing the button to prepare the grinder
for operation again.
NOTE 1: Never add the ground coffee when the appliance is off to avoid it from being dispersed inside the
appliance.
NOTE 2: Never add more than one level measure, otherwise either the appliance will
not make the coffee, the ground coffee will be lost inside the appliance, dirtying it, the
coffee will run off in drips and the message "GROUND TOO FINE ADJUST GRINDER
AND TURN STEAM KNOB" will be displayed.
NOTE 3: When dosing the quantity of coffee to be added, use the measure supplied only.
NOTE 4: Use ground coffee for espresso coffee makers only. Do not use coffee beans, freeze-dried coffee or
other materials that could damage the appliance.
NOTE 5: If the funnel blocks due to moisture inside the appliance or an excessive quantity of pre-ground cof-
fee, use a knife to push the coffee down (Fig. 18), then remove and clean the infuser and appliance as descri-
bed in paragraph 15.2 "Cleaning the infuser".
10 PRODUCING HOT WATER
•Always make sure the appliance is ready.
• Make sure the water spout is attached to the nozzle (fig. 4);
• Position a container under the spout (fig. 3).
•Press the button (fig. 1).
The appliance displays:
HOT WATER
and hot water is run off from the water spout into the container below (you should not run off hot water
for more than two minutes at a time). To stop the flow, press the button. Once the set quantity of hot
water has been reached, run-off stops automatically.
11 CHANGING THE QUANTITY OF HOT WATER
The appliance is factory preset to automatically deliver 250 ml of hot water. To change these quantities, pro-
ceed as follows:
• Attach the water spout (fig. 4).
• Position a container under the spout (fig. 3).
•Press the button for at least 8 seconds then release. The appliance displays:
HOT WATER PROGRAM QUANTITY
and hot water is run off from the water spout.
29