webcamXP"5.5"documentation"
" @"12"@" "
In the following subsections, the various steps to connecting a USB/PCI camera, Network camera, and
WMV/ASF stream are detailed.
3.1.1.1 Connecting a New USB/PCI Device
In order to connect a USB or PCI camera, begin by connecting the camera to your computer. Use the
manufacturer’s installation disk to download and install the necessary drivers for your camera. If your camera
did not ship with an installation disk, the manufacturer may provide the necessary drivers on its website.
For additional information on how to install and configure your camera, please see the camera’s included
instructional manual or online documentation.
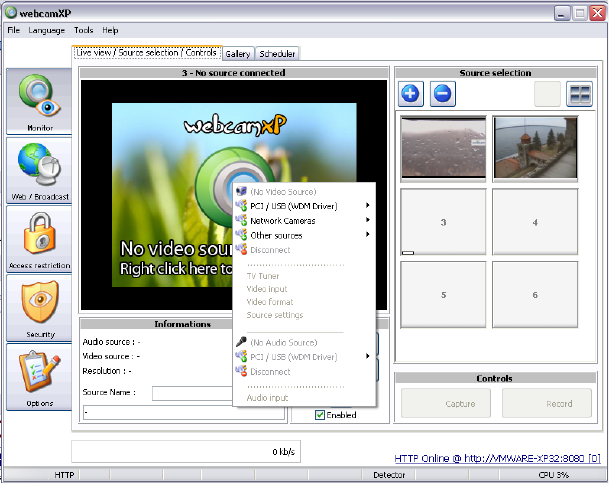
In the menu, select the PCI / USB (WDM Driver) option. If your camera was successfully installed, it should
be listed in the submenu that appears otherwise ensure the driver is installed properly and that it is working in
any other application.
Select your camera from the list, there is no additional step and the camera will be connected in the desired
slot.
Most USB / PCI devices can work at different resolutions; the available formats detected by webcamXP are
displayed in the menu under Video format and can be used to select a different resolution. This format will be
used for all features: Broadcasting, capturing and recording.
In case the Video format menu is grayed out, it means that webcamXP has only detected a single format
which can be used in the application.
3.1.1.2 Connecting an IP Camera
In order to connect a network camera, you must know a few details about the camera. First, you must know its
manufacturer (e.g. Panasonic, Sony, etc.)
Next, you must know the HTTP URL or IP address on which the camera is being hosted (e.g. you must now the
camera’s address for access). You must also know if the camera is password protected. In this case, you must
have a correct username and password.
Once you have collected all those information, select the Network cameras option in the menu and click on
Connect… as shown on the screen below.