5
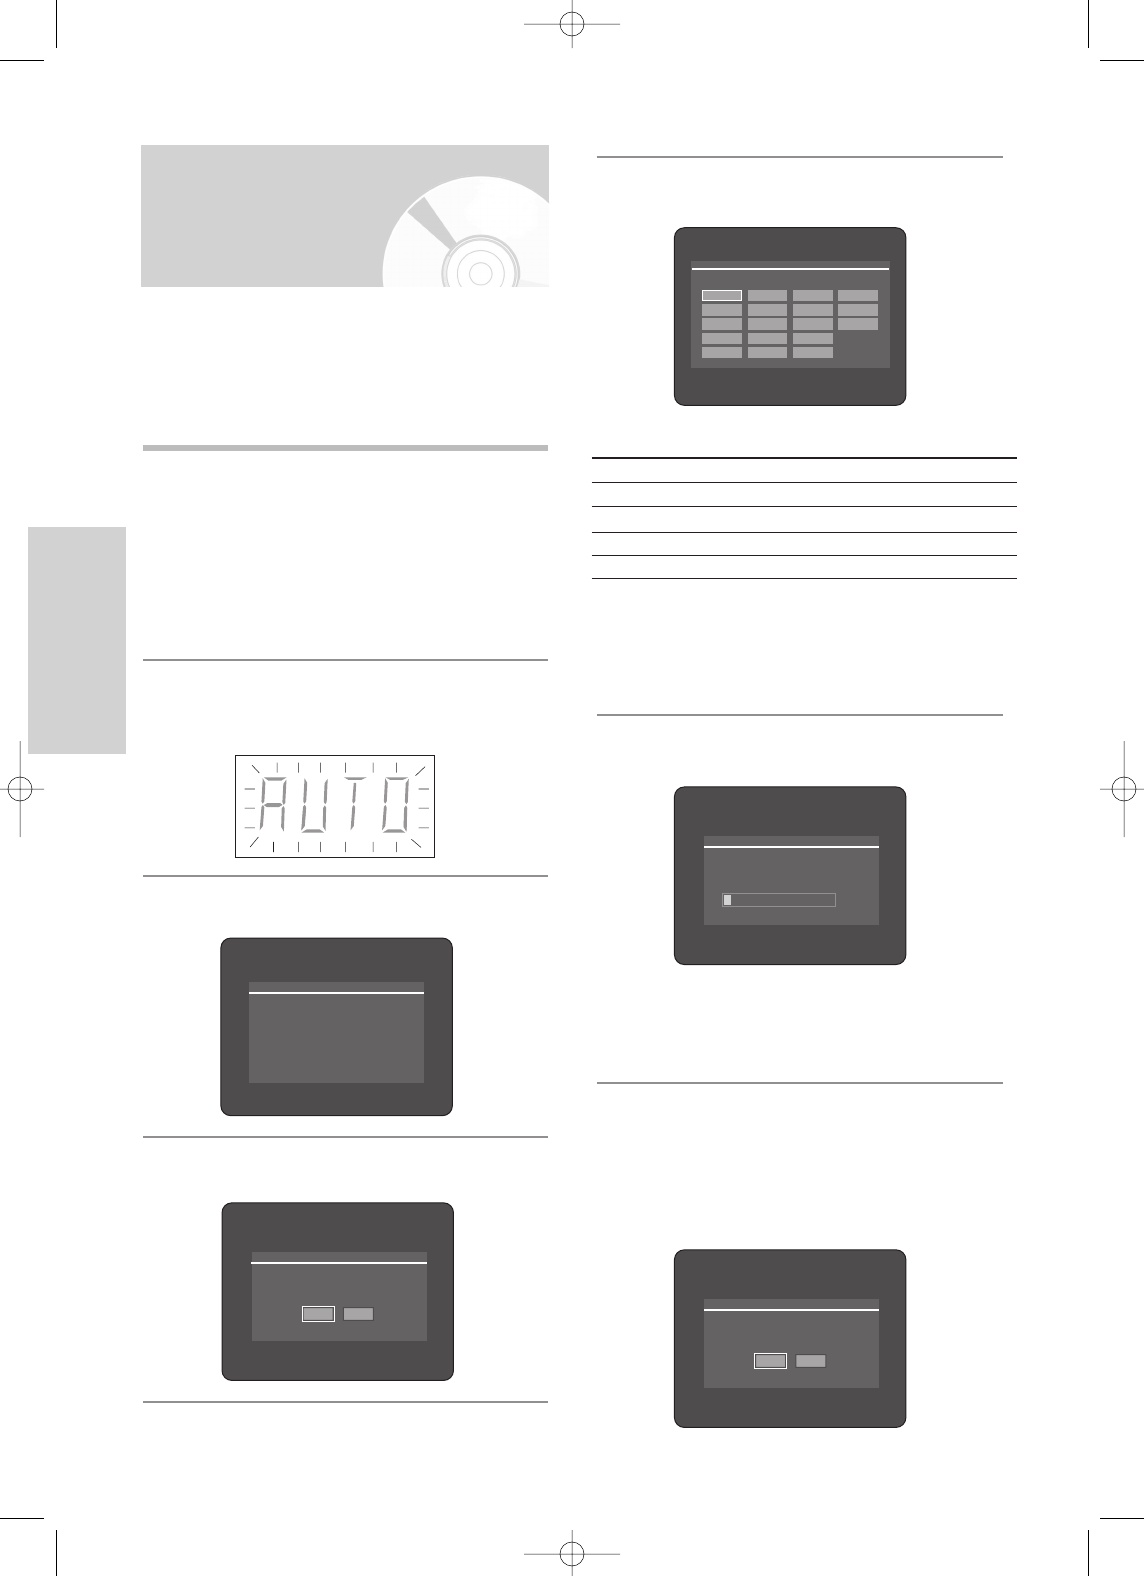
Seleccione “Selección de país” utilizando los
botones …† œ √ para elegir el país.
6
Se iniciará la búsqueda automática de canales.
•
El número de emisoras almacenado automáticamente
por el GRABADOR DE DVD Y DISCO DURO depende
del número de emisoras que haya encontrado.
7
Una vez completada la búsqueda automática de
canales, el ajuste automático del reloj se iniciará
automáticamente en 10 segundos. Para iniciar
inmediatamente la configuración de Hora Automática,
pulse el botón OK. Para realizar el ajuste de Hora
Automática, pulse el botón CANCEL o MENU.
Conexión y configuración
automática
El GRABADOR DE DVD Y DISCO DURO se
configurará automáticamente cuando se enchufa por
primera vez. Las emisoras de TV y el reloj se
guardarán en memoria. El proceso tarda unos minutos.
El GRABADOR DE DVD Y DISCO DURO estará listo
para su utilización.
1
Conecte el cable RF como se indica en la página
19. (Conexión del GRABADOR DE DVD Y DISCO
DURO al TV, con el cable RF y el cable Scart.)
Realice la conexión del cable HDMI antes de
enchufar el cable de alimentación o tras finalizar
la conexión y la configuración automática. No
conecte el cable HDMI mientras se esté
realizando la conexión y la configuración
automática.
2
Enchufe GRABADOR DE DVD Y DISCO DURO a
la toma de corriente.
En la pantalla del panel frontal parpadea “AUTO”.
3
Pulse el botón numérico para seleccionar el
idioma.
4
Pulse el botón OK para iniciar la configuración
automática.
•
Consulte la siguiente tabla de abreviaturas al seleccionar el país.
•
El GRABADOR DE DVD Y DISCO DURO busca emisoras
de acuerdo con la lista de preferencias predefinidas
correspondiente al país que haya seleccionado.
26 - Español
Configuración del
sistema
Country Selection
Press 1 for English
Touche 2 pour Français
Drücken Sie 3 Für Deutsch
Pulse 4 para Español
Premere 5 per Italiano
Druk op 6 voor Nederlands
Se iniciará la configuración automática.
Compruebe la conexión del cable del TV y de la antena.
Sí No
10%
Barrido de canales
Buscando...
Barrido de canales automático completado correctamente.
Pulse el botón [OK] para configurar el reloj automaáticamente.
Sí No
Selección de país
ANLSPL
BICHCZ
DK N TR Otro
FIN P GR
DEHU
A(Austria) NL(Netherlands) S(Sweden) PL(Poland)
B(Belgium) I(Italy) CH(Swiss) CZ(Czech)
DK(Denmark) N(Norway) TR(Turkey) Otro
FIN(Finland) P(Portugal) GR(Greece)
D(Deutschland) E(Spain) HU(Hungary)