Español - 27
Configuración del
sistema
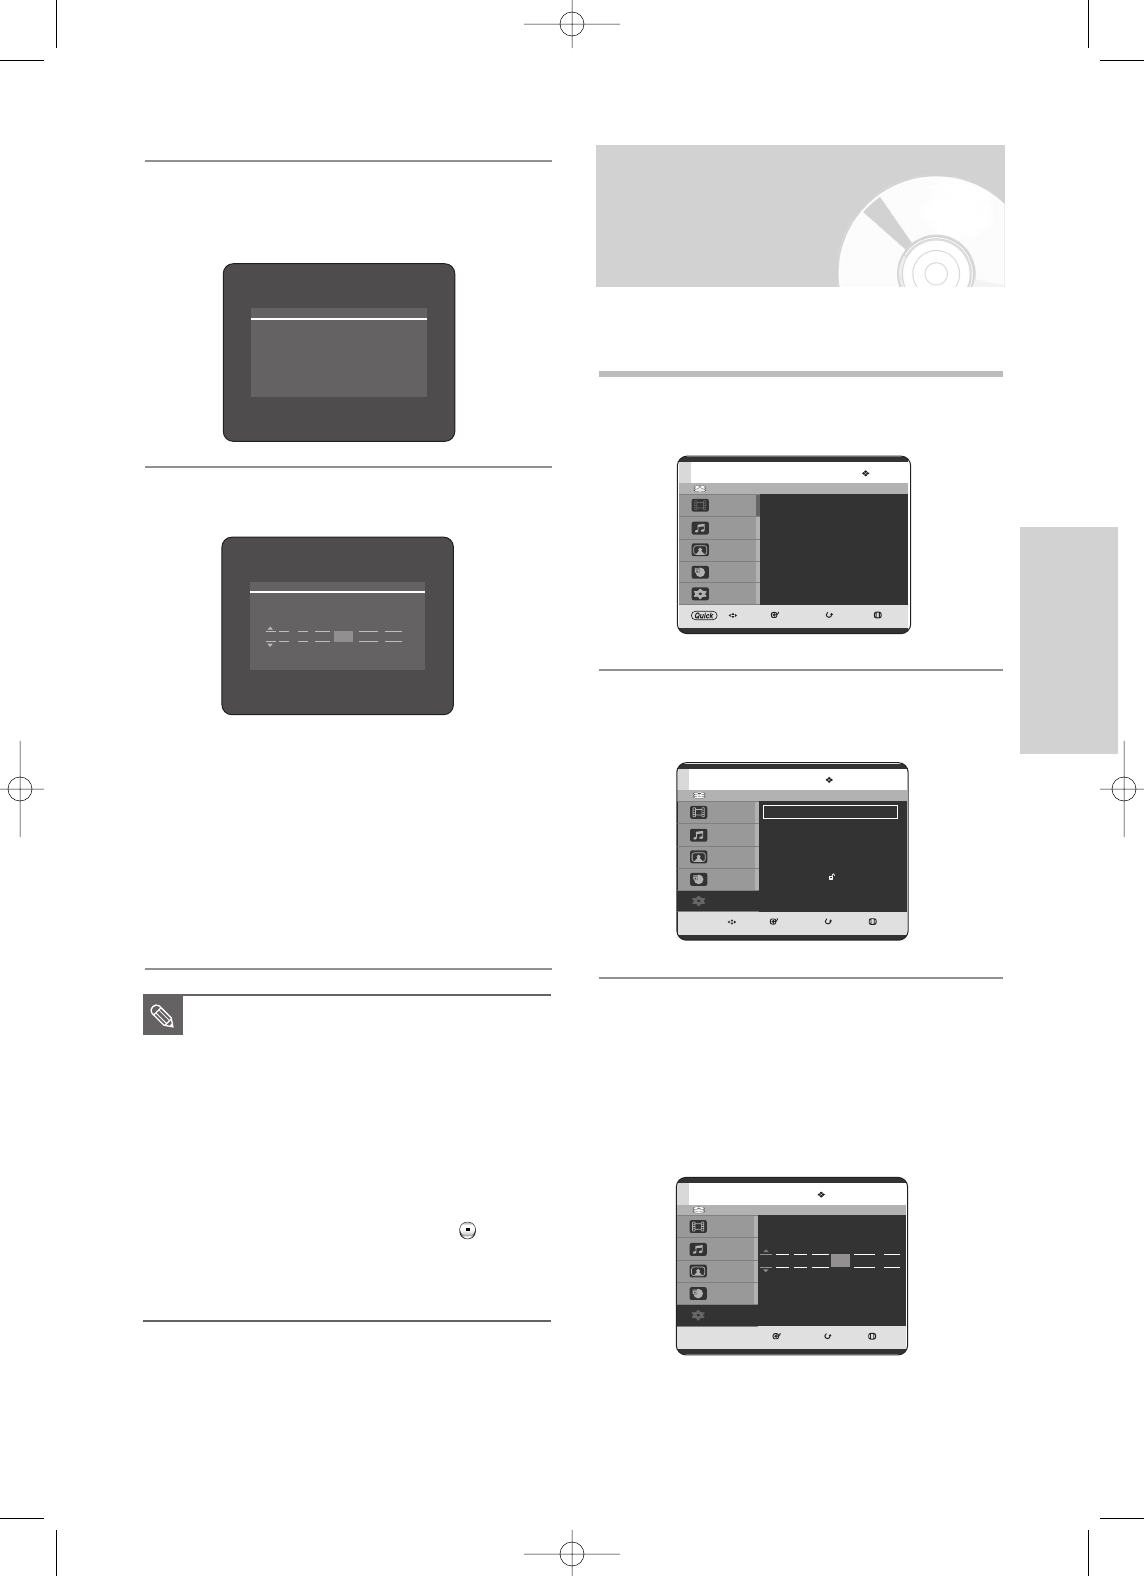
Ajuste de la hora
Este menú se utiliza para fijar la hora actual.
Tiene que fijar la hora para utilizar la grabación con temporizador.
1
Con la unidad en modo de parada, pulse el botón
MENU.
2
Pulse los botones …† hasta seleccionar
Configuración y pulse el botón OK o √.
3
Pulse los botones …† hasta seleccionar Ajuste
de la Hora y pulse el botón OK o √.
Utilice los botones de navegación …†œ √ para
introducir la hora, la fecha o el año. Utilice los
botones numéricos para introducir directamente
los datos del reloj.
El día de la semana aparece automáticamente.
8
Espere hasta que la fecha y hora actual aparezcan
automáticamente. Para salir de la configuración de
Hora automática, pulse el botón MENU.
9
Compruebe la fecha y hora.
•Si es correcta: pulse el botón OK y se guardará
la fecha y hora. Si no pulsa el botón OK, la fecha
y la hora se guardarán automáticamente
transcurridos 5 segundos.
• Si es incorrecta: introduzca la hora, fecha y año
correctos utilizando los botones …†œ √ o los
botones numéricos. Pulse el botón OK y se
guardará la fecha y hora. Cuando tenga que
cambiar el ajuste del reloj, puede configurarlo
manualmente. (Consulte la página 27~28.)
■
Ahora, el GRABADOR DE DVD Y DISCO
DURO está listo para ser utilizado. La
función de “Conexión y configuración
automática” ya está fijada. Por tanto, si
desea cambiar lo fijado, puede cambiarlo
preajustando las emisoras en la OSD
“Preajuste de canales con la función
Ajuste manual”. (Consulte la página 30.)
■
La función Auto Configuración puede
ejecutarse pulsando PARAR ( ) en la
unidad de forma continua durante 5
segundos o más con el equipo apagado
y sin ningún disco en su interior.
NOTA
Espere. Configurando el reloj.
Si desea salir de la configuración del reloj
pulse el botón [MENU].
HDD
MOVER
SELECCIONAR
VOLVER SALIDA
Título
Música
Foto
Programa
Configuración
Título
Lista de Título
√√
HDD
MOVER
SELECCIONAR
VOLVER SALIDA
Título
Música
Foto
Programa
Configuración
Configuración
Sistema
√√
Ajuste de la Hora
√√
Idioma
√√
Audio
√√
Vídeo
√√
Control Paterno
√√
Instalación
√√
HDD
0~9 NÚMERO
SELECCIONAR
VOLVER SALIDA
Título
Música
Foto
Programa
Configuración
Ajuste de la Hora
Tiempo Fecha
Hora Automática
12 : 00 01 / ENE SÁB 2005 Sí
Tiempo Fecha
Hora Automática
12 : 00 01 / ENE SÁB 2005 Sí