4-2
■ Operating SSB
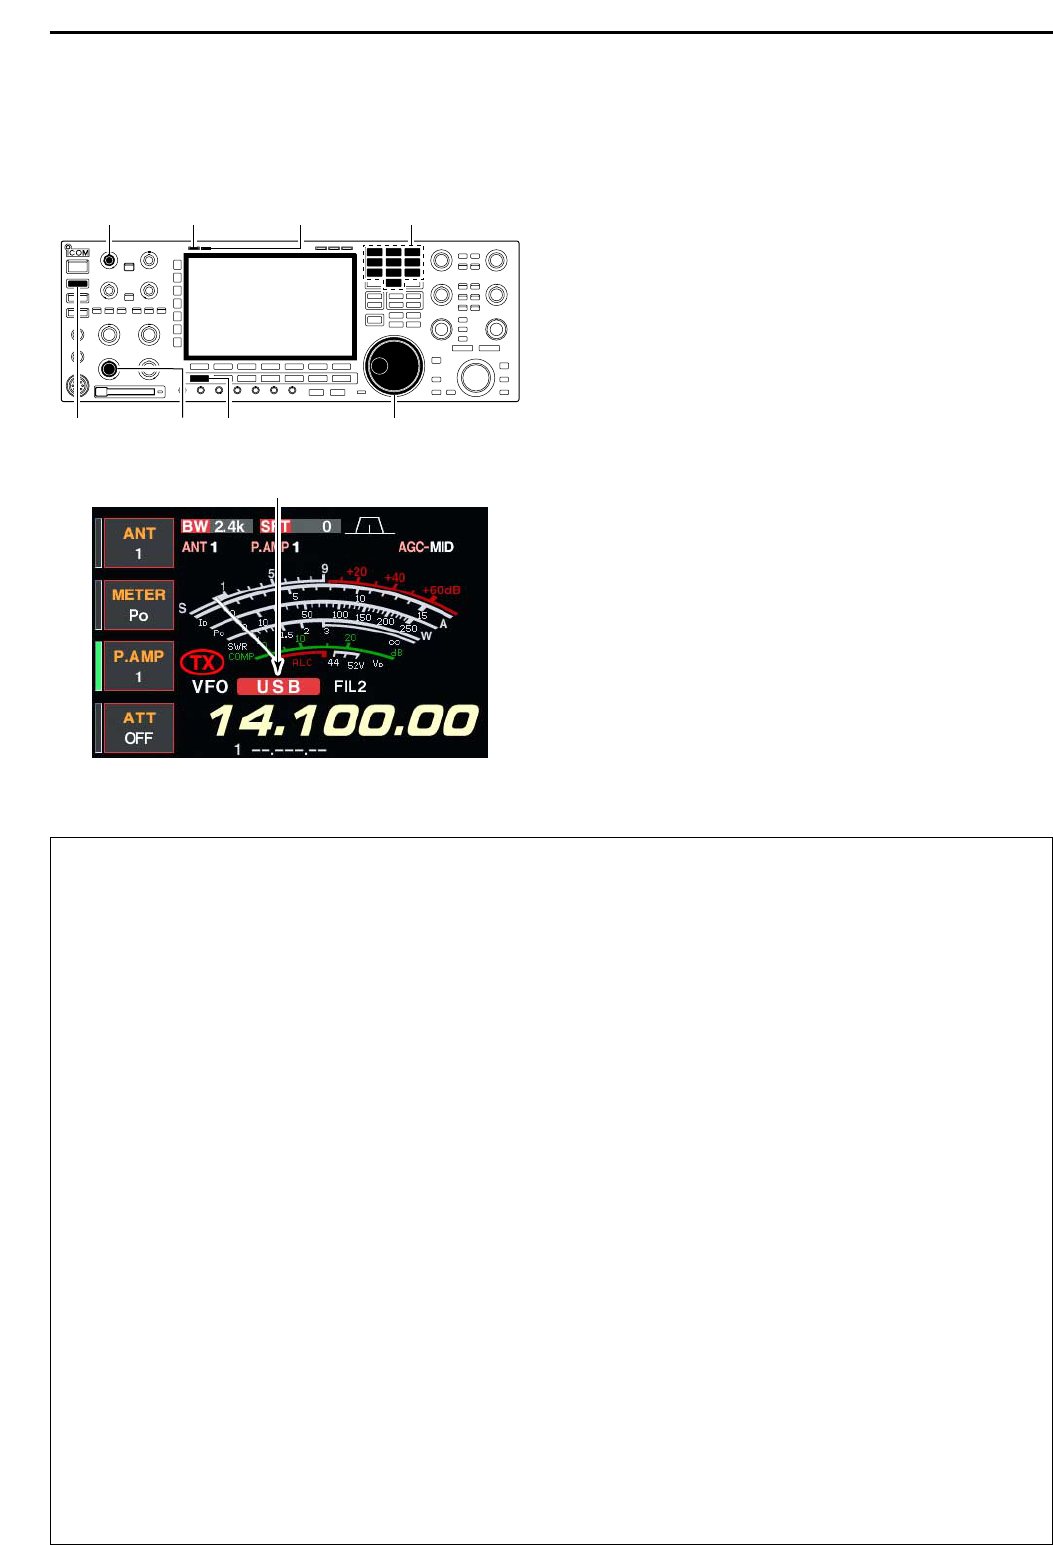
q Push a band key to select the desired band.
w Push [SSB] to select LSB or USB.
• “USB” or “LSB” appears.
• Below 10 MHz LSB is automatically selected; above
10 MHz USB is automatically selected.
e Rotate the main dial to tune a desired signal.
• The S-meter indicates received signal strength when
signal is received.
r Rotate [AF] to set audio to a comfortable listening
level.
t Push [TRANSMIT] or [PTT] (microphone) to trans-
mit.
• [TX] indicator lights red.
y Speak into the microphone at your normal voice
level.
• Adjust the microphone gain with [MIC] at this step, if
necessary.
u Push [TRANSMIT] or release [PTT] (microphone) to
return to receive.
DD
Convenient functions for receive
• Preamp (p. 5-9)
➥ Push [P.AMP] several times to set the preamp
OFF, preamp 1 ON or preamp 2 ON.
• “P.AMP1” or “P.AMP2” appears when the preamp 1 or
preamp 2 is ON, respectively. (Main and sub have
independent preamp controls.)
• Attenuator (p. 5-9)
➥ Push [ATT] several times to set the attenuator in
6 dB steps.
• Pushing [ATT] for 1 sec. to set the attenuator in 3 dB
steps.
• “ATT” and attenuation level appear when the attenu-
ator is ON.
• Noise blanker (p. 5-17)
➥ Push [NB] switch to turn the noise blanker ON
and OFF, and then rotate [NB] control to adjust
the threshold level.
• Noise blanker indicator (above [NB] switch) lights
when the noise blanker is ON.
• Push [NB] for 1 sec. to enter noise blanker set mode.
• Twin PBT (passband tuning) (p. 5-12)
➥ Rotate [TWIN PBT] controls (inner/outer).
• Push [PBT CLEAR] to clear the settings.
• Audio tone control (p. 12-4)
➥ Push [F-7•SET] then [F-1•LEVEL] to enter level
set mode. Select an item with [F-1•Y]/[F-2•Z]
then rotate the main dial to adjust the audio tone.
• Noise reduction (p. 5-18)
➥ Push [NR] switch to turn the noise reduction ON
and OFF.
• Rotate [NR] control to adjust the noise reduction
level.
• Noise reduction indicator (above [NR] switch) lights
when the noise reduction is ON.
• Auto notch filter (p. 5-19)
➥ Push [NOTCH] switch to turn the auto or manual
notch function ON and OFF.
• Rotate [NOTCH] control to set the “valley” frequency
for manual notch operation.
• Notch indicator (above [NOTCH] switch) lights when
either the auto or manual notch is ON.
• AGC (auto gain control) (p. 5-11)
➥ Push [AGC] switch several times to select
AGC FAST, AGC MID or AGC SLOW.
➥ Push [AGC VR] to turn the AGC time constant
manual setting ON and OFF.
• Rotate [AGC] control to adjust the time constant.
• VSC (voice squelch control) (p. 9-3)
➥ Push [VSC] to turn the VSC function ON and
OFF.
• The VSC indicator appears when the voice squelch
function is set to ON.