20 OPERATION
Operation
Basic Operation
Once you have completed the setup and config-
uration of the AVR 300, it is simple to operate
and enjoy. The following instructions should be
followed for you to maximize your enjoyment of
your new receiver:
• When using the AVR 300 for the first time, you
must press the Main Power Switch
1
on the
front panel to turn the unit on.This places the
unit in a Standby mode, as indicated by the
amber color of the Power Indicator
3
. Once
the unit is in Standby, you may begin a listening
session by pressing the System Power Control
2
on the front panel or the AVR Selector b
or CD/DVD Input Selectors c. Note that
the Power Indicator
3
will turn green.This
will turn the unit on and return it to the input
source that was last used.The unit may also be
turned on from Standby by pressing any of the
Source Selector buttons on the remote l
myor front panel
9)!@#$
.
To turn the unit off at the end of a listening
session, simply press the System Power
Control 2 on the front panel or the Power-
Off Button d on the remote. Power to any
equipment plugged into the rear panel
Switched AC Outlet fl will be shut off and
the Power Indicator 3 will turn amber.
When the remote is used to turn the unit “off”
it is actually placing the system in a Standby
mode, as indicated by the amber color of the
Power Indicator 3.
• To program the AVR 300 for automatic turn-
off, press the Sleep Button e on the remote.
Each press of the button will increase the time
before shut down in the following sequence:
The sleep time will be displayed in the
Information Display and it will count down until
the time has elapsed.
When the programmed time has elapsed, the
unit will automatically turn off. Note that the
front-panel display will dim to one-half bright-
ness when the Sleep function is programmed.
To cancel the Sleep function, press and hold the
Sleep Button e until the information
display returns to normal brightness and the
Sleep indicator numbers disappear.
When you will be away from home for an
extended period of time it is always a good
idea to completely turn the unit off using the
front panel Main Power Switch
1
.
NOTE: All preset memories are lost if the unit is
left turned off with the Main Power Switch
1
for more than two weeks.
Using the On-Screen Display
The AVR 300 is equipped with a powerful on-
screen display system that makes it easy to view
the current status of the unit or to have mes-
sages appear to confirm any functional change,
such as a volume increase, input source selec-
tion, or surround-mode selection. Two modes of
on-screen display are available, a “Semi-OSD”
mode that only displays a message when some
aspect of the operation is changed, and a “Full-
OSD” mode that displays a complete status
report on the unit’s current condition.
Semi-OSD
In the Semi-OSD mode, a one-line message will
appear at the bottom of the screen when
changes are made to the unit’s operational sta-
tus. To activate the Semi-OSD mode, press the
OSD button q once.A confirmation message
(Figure 5) will appear briefly at the bottom of
your video display to remind you that this feature
is turned on.The message will time-out and
disappear after a few seconds.
When Semi-OSD mode is in use, single-line
messsages will appear at the bottom of the
screen to confirm changes to the volume,
source, surround mode or tuner frequency.
These messages, which will also be superim-
posed on any video program that is playing,
will disappear after a few seconds.
To turn off the Semi-OSD mode after it has been
activated, simply press the OSD button q
once. When the OSD OFF message
appears, the on-screen displays are deactivated.
Full-OSD
An alternative display option is to have a full-
screen report of the AVR 300’s status appear.
To activate the Full-OSD, press the OSD button
q three times in quick succession. The first
press will turn the Semi-OSD on, the second
will turn the Semi-OSD off, and the third will
bring a full-status report to the screen. NOTE:
Full-OSD displays will always appear against a
blue background. Even if video is playing, they
will not be superimposed over the signal. To
view OSD items and video at the same time you
must use the Semi-OSD mode.
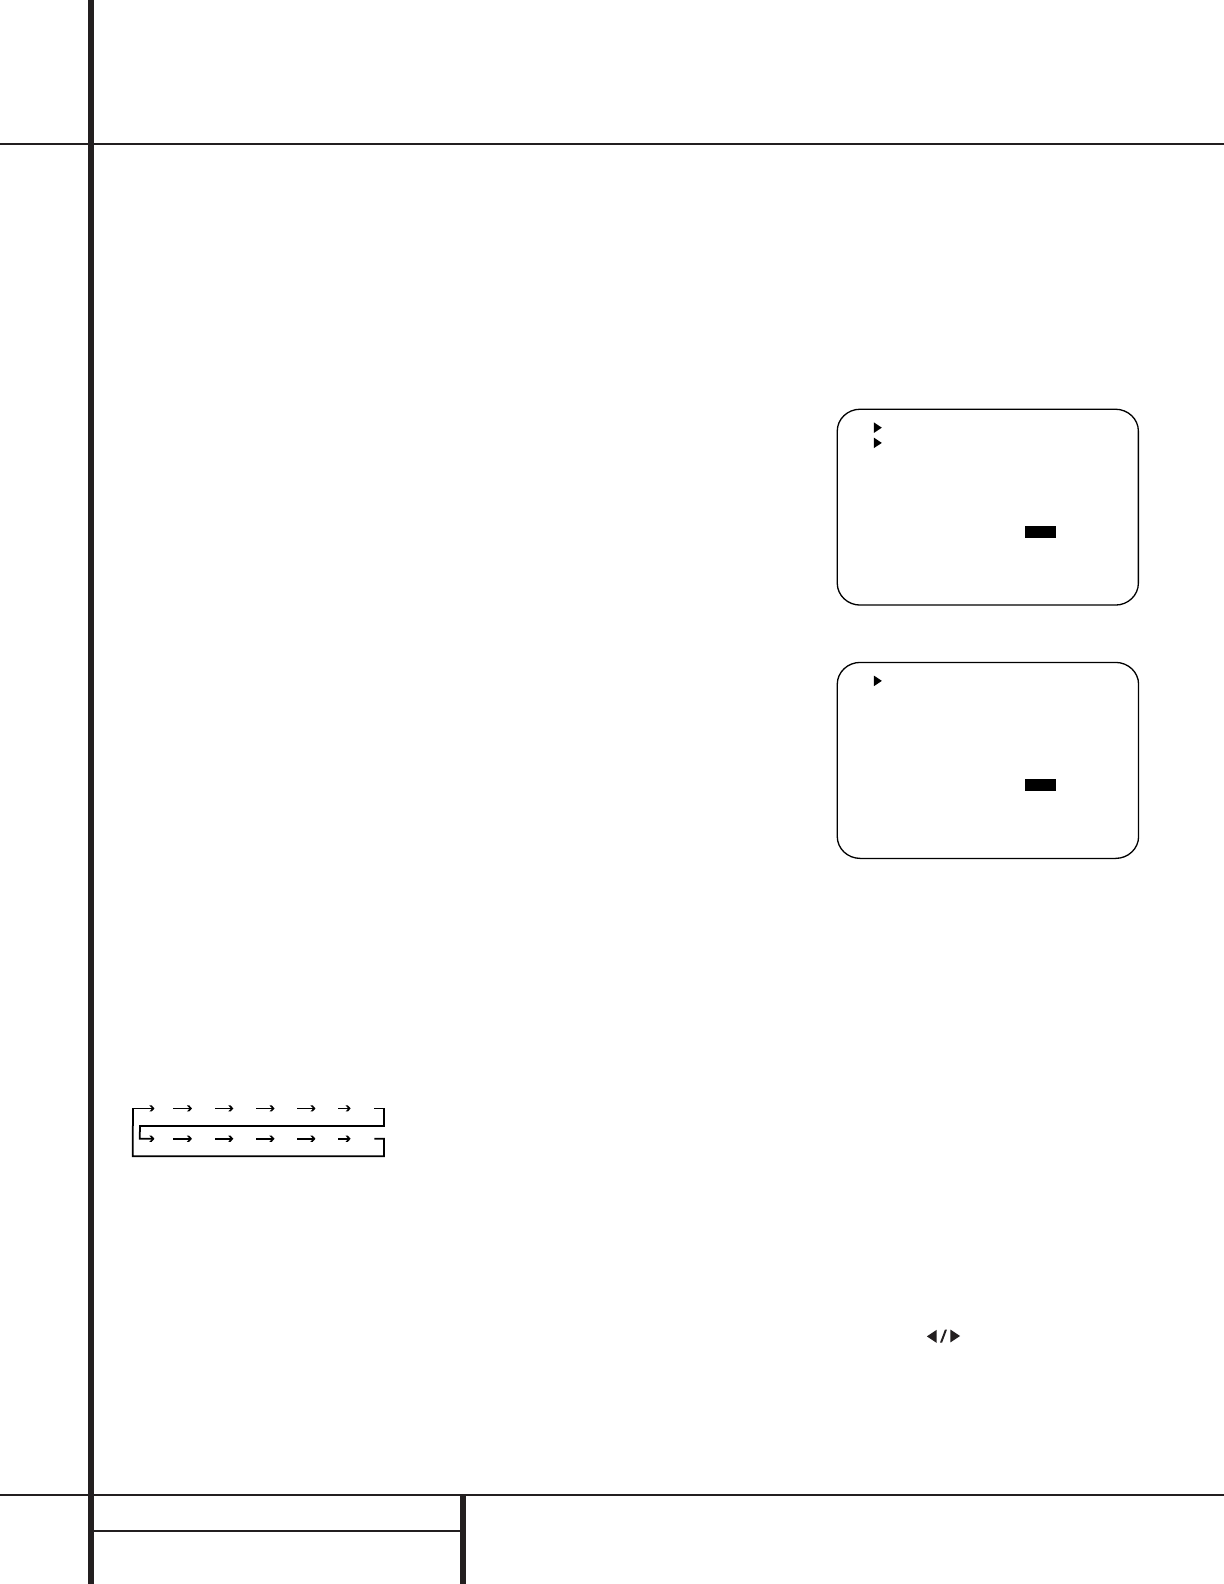
The status report will vary depending on the type
of audio input in use. For an analog source, the
first line in the display will show which audio
input is active (Figure 5).When a digital audio
source is in use, the display will indicate which
coaxial or optical input is active (Figure 6).
Figure 5
Figure 6
Activating the Full-OSD will also simplify adjust-
ments to any system parameter, as a full list of
choices will be shown.The selected option will
appear in reversed, highlighted video, while other
choices will appear in normal white on blue video.
The Full-OSD system may be turned off by
pressing the OSD button q once.
Display Brightness
In the normal, factory default setting , the front
panel Information Display
35
will always
illuminate at full brightness. However, in some
installations you may prefer to have the display
appear at half brightness or not illuminate at all.
To adjust the setting so that the display lights at
other than full brightness, follow these steps:
• Press both Selector Buttons
34
at
the same time. Note that VFD DIMMER
will appear in the Main Information
Display U.