78
Advanced Setup – Part 1 Advanced Setup – Part 1
ENGLISH
ENGLISH
6
Press the ENTER button.
• The “Trigger Out” screen reappears.
5
When “MAIN” was selected at step 3:
Press the CURSOR
DD
or
HH
button to select the
surround mode, then press the CURSOR
FF
or
GG
button to select “ON” or “OFF”.
4
Press the CURSOR
DD
or
HH
button to select the
input source, then press the CURSOR
FF
or
GG
button to select “ON” or “OFF”.
ON:
When that input source is selected, the power supplied from
the trigger out terminal turns on.
OFF:
When that input source is selected, the power supplied from
the trigger out terminal turns off.
ON:
If “ON” is selected when an input source set to “ON” is
selected, the power supplied from the trigger out terminal
turns on.
OFF:
If “OFF” is selected when an input source set to “ON” is
selected, the power supplied from the trigger out terminal
turns off.
When “Yes” is selected for “Default”, the setting are
automatically reset to the default values.
7
Press the CURSOR
DD
or
HH
button to select
“Exit”, then press the ENTER button.
• The “Option Setup” menu reappears.
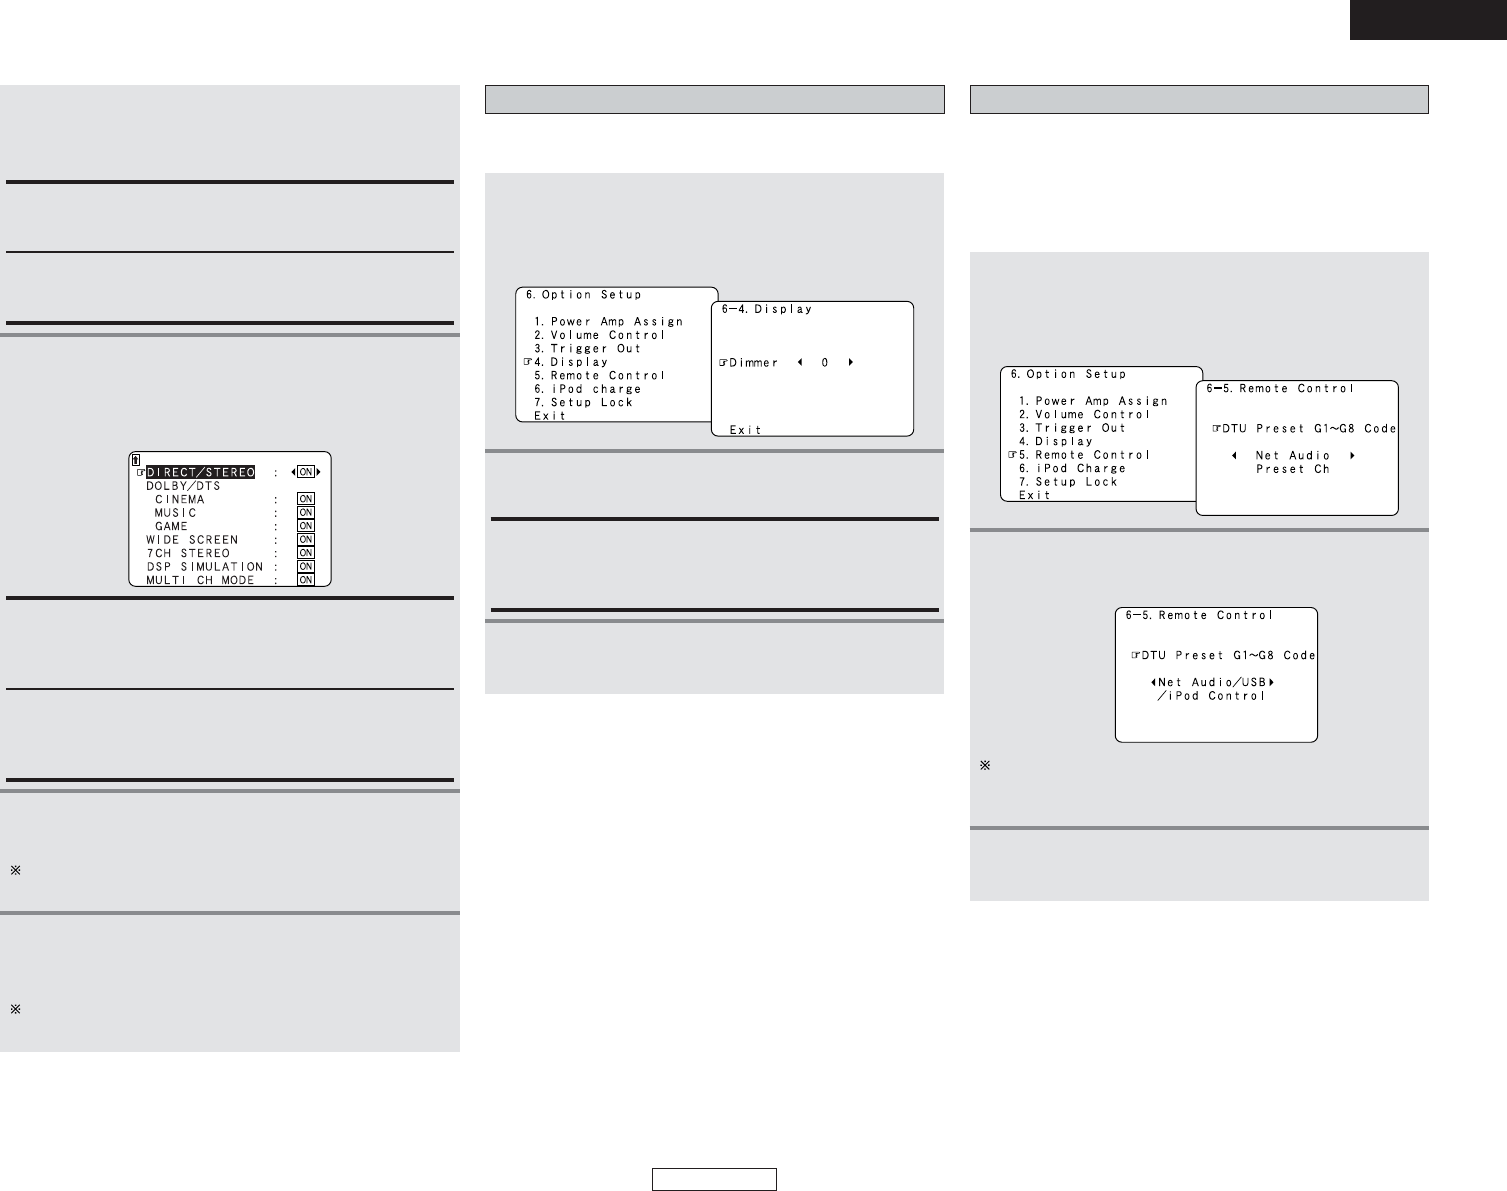
Setting the Display
The brightness of the AVR-4306’s display can be adjusted in
three steps.
1
Press the CURSOR
DD
or
HH
button to select
“Display” at the “Option Setup” menu, then
press the ENTER button.
• The “Display” screen appears.
2
Press the CURSOR
FF
or
GG
button to select the
brightness.
Setting the Remote Control
Set this when you want to select the Network Audio, USB and
iPod functions directly from multi zone with the remote control
unit.
When this setting is made, the remote control unit’s DTU mode’s
G1 to G8 normally used for Network Audio presetting are used,
so they can no longer be used for Network Audio presetting.
1
Press the CURSOR
DD
or
HH
button to select
“Remote Control” at the “Option Setup” menu,
then press the ENTER button.
• The “Remote Control” screen appears.
3
Press the ENTER button to enter the setting.
• The “Option Setup” menu reappears.
2
Press the CURSOR
FF
or
GG
button to select “Net
Audio / USB / iPod Control”.
Use the same procedure to make the settings for Trigger
Out 2.
0: Normal (default setting)
1: Dim
2: Dark
3 (Display Off): Off
3
Press the ENTER button to enter the setting.
• The “Option Setup” menu reappears.
When “Net Audio/USB/iPod Control” is selected, DTU
mode G1 to G8 cannot be used as Network Audio preset
channels.