79
Advanced Setup – Part 1 Advanced Setup – Part 1
ENGLISH
ENGLISH
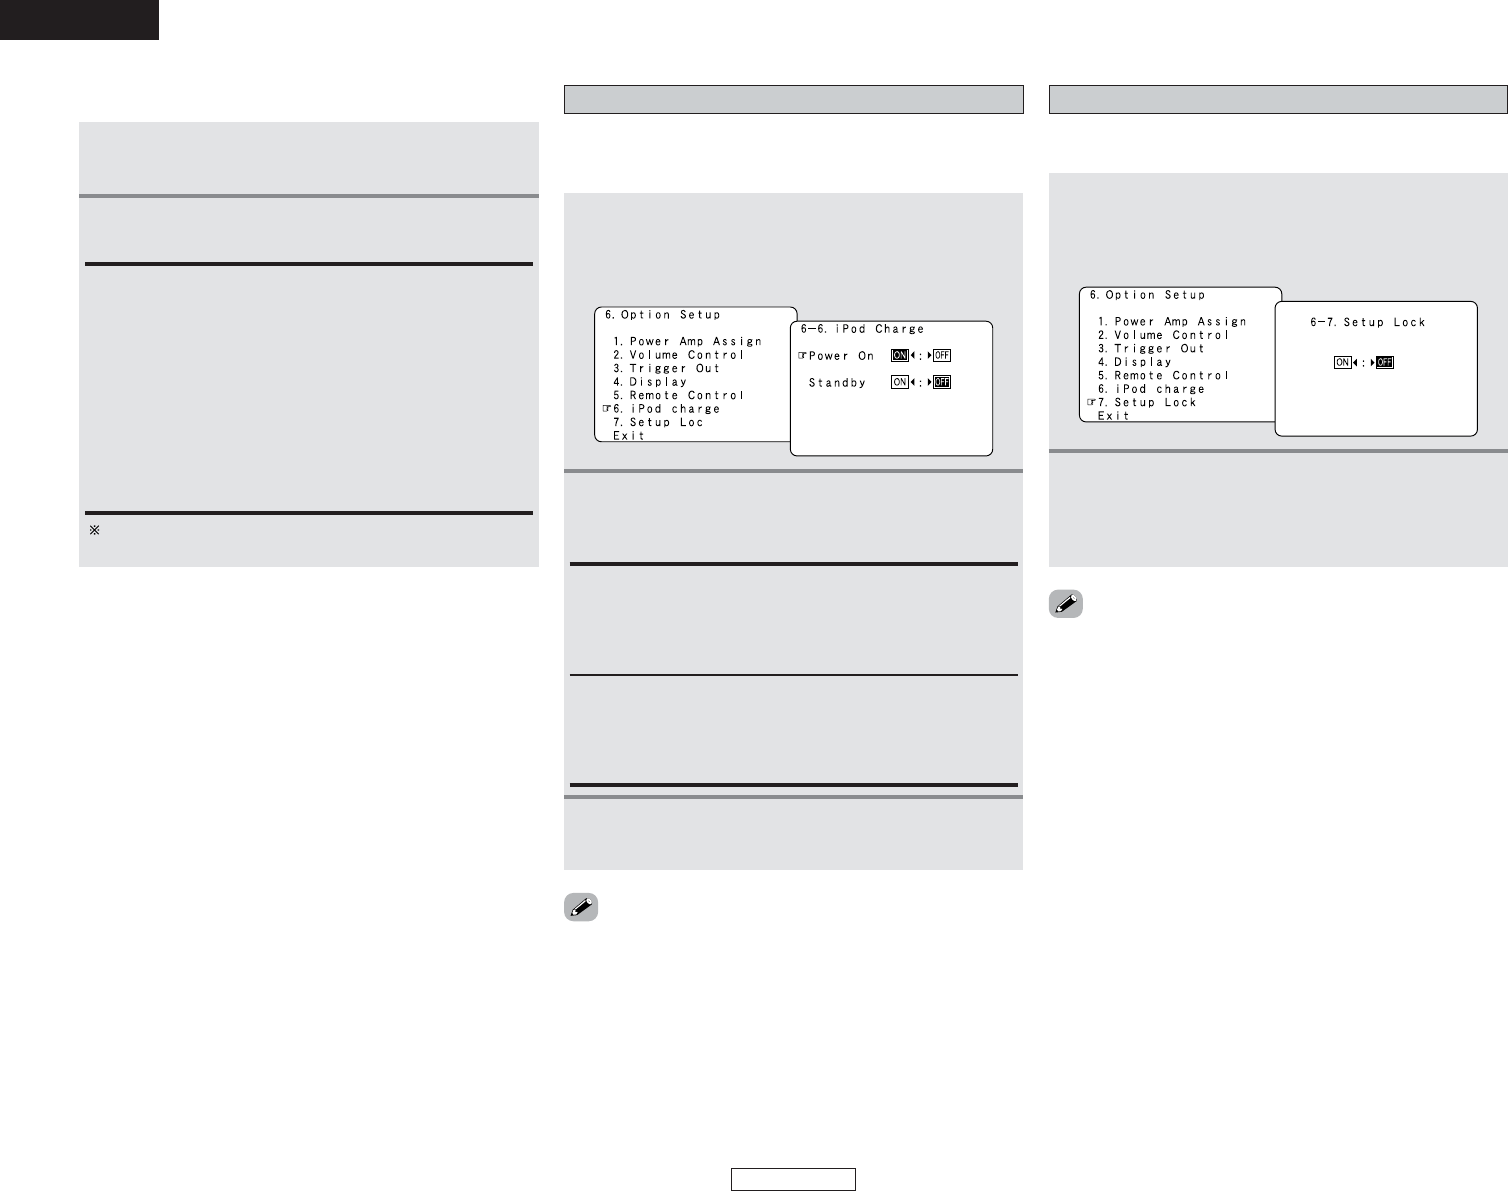
Setup Lock
The system setup settings can be locked so that they cannot be
changed easily.
1
Press the CURSOR
DD
or
HH
button to select
“Setup Lock” at the “Option Setup” menu, then
press the ENTER button.
• The “Setup Lock” screen appears.
2
Press the CURSOR
FF
button to select “ON”, to
lock the system setup settings, then press the
ENTER button.
• The “Option Setup” menu reappears.
• When the setup lock function is activated, the settings listed
below cannot be changed, and “SETUP LOCKED!” is displayed
when related buttons are operated.
• System setup settings
• Surround parameter settings
•Tone control settings
• Channel level settings (including test tones)
• RoomEQ
•To unlock, press the SYSTEM SETUP button again and display the
“Setup Lock” screen, then select “OFF” and press the ENTER
button.
Setting the iPod Charge
It is possible to charge your iPod while it is connected to the AVR-
4306. You can even set the AVR-4306 to charge your iPod while
the AVR-4306 is in the standby mode.
1
Press the CURSOR
DD
or
HH
button to select “iPod
Charge” at the “Option Setup” menu, then press
the ENTER button.
• The “iPod Charge” screen appears.
2
Press the CURSOR
DD
or
HH
button to select the
desired setting item, then press the CURSOR
FF
or
GG
button to select “ON” or “OFF”.
Power On:
Set whether or not to charge the iPod when it is connected
with the AVR-4306’s power on.
• ON : The iPod is charged.
• OFF : The iPod is not charged.
Standby:
Set whether or not to charge the iPod when it is connected
with the AVR-4306’s power standby.
• ON : The iPod is charged.
• OFF : The iPod is not charged.
3
Press the ENTER button to enter the setting.
• The “Option Setup” menu reappears.
• Depending on the connection status between the AVR-4306
and the iPod, the quality of the playback signals may be
affected when playing audio or video signals during charging. If
this happens, set the “iPod Charge” setting to “OFF”.
2 Operation on the remote control unit
1
Press the DTU button to select the DTU mode.
2
Press the G button, then press the corresponding
NUMBER button (1 ~ 8) within five seconds.
1: Switch the ZONE2 input function to “iPod” and start
playback.
2: Switch the ZONE3 input function to “iPod” and start
playback.
3: iPod playback/pause
4: Switch the ZONE2 input function to “USB” and start
playback.
5: Switch the ZONE3 input function to “USB” and start
playback.
6: Network Audio playback/pause
7: Set the ZONE2 input function to “AUX/Net”.
8: Set the ZONE3 input function to “AUX/Net”.
When no music file is selected, playback starts from the first
music file.