18
11.8 How to use ArcSoft Funhouse™ 1.0
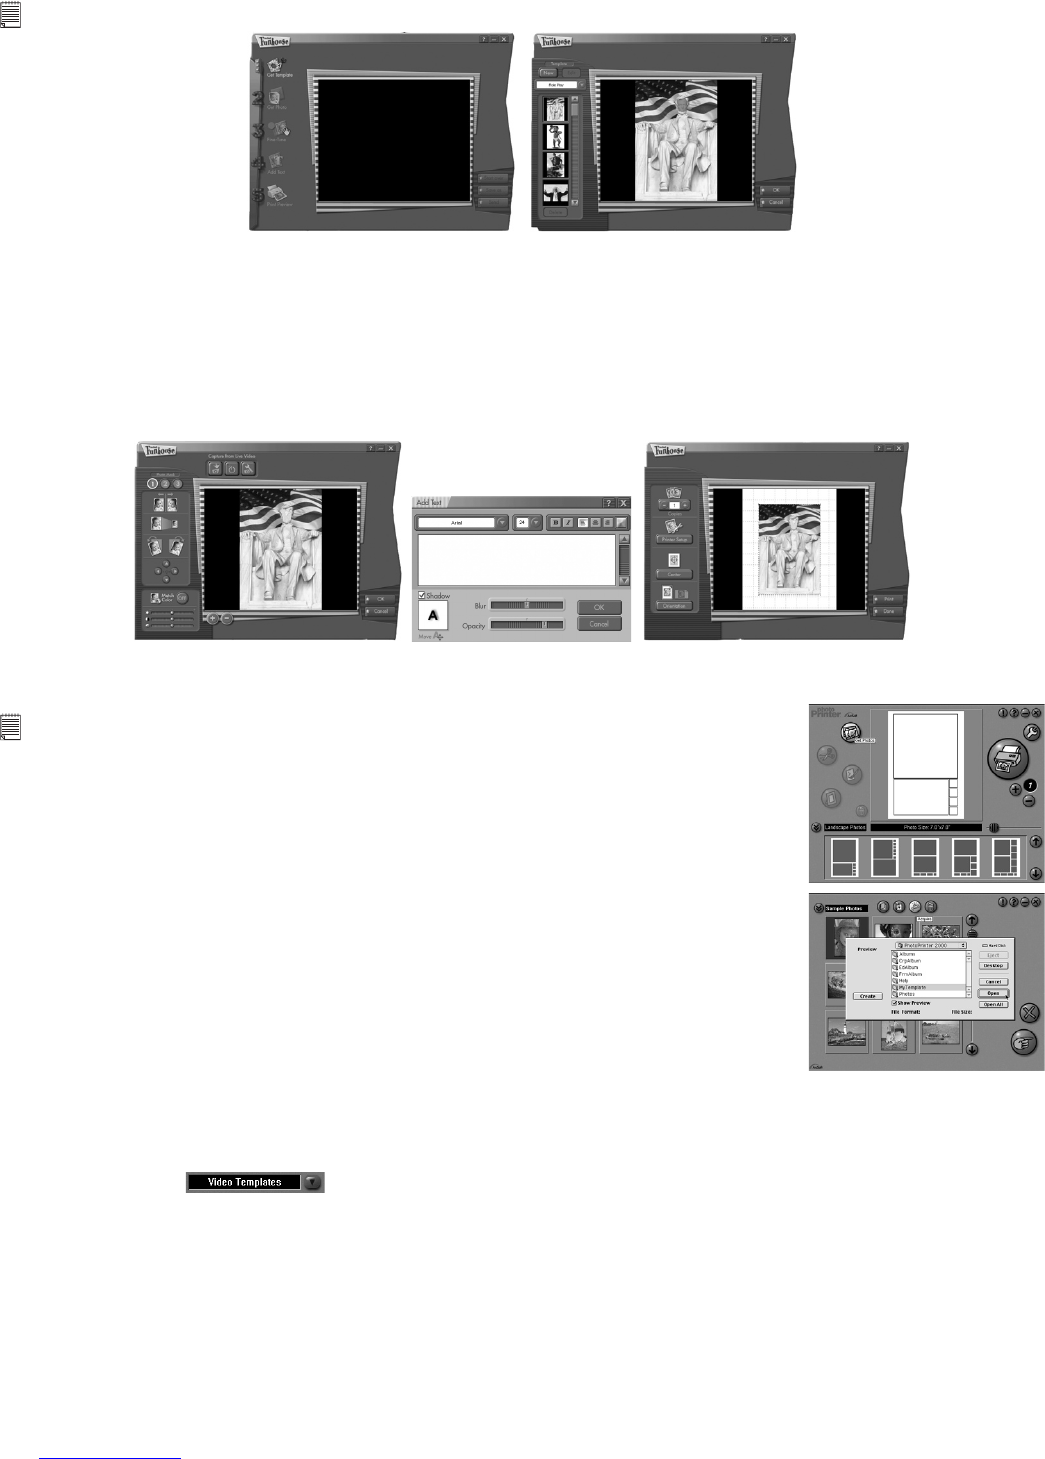
1. Double click the “Funhouse 1.0” icon from the Funhouse™.
2. Click “1. Get Template” to select the template from the category and then click “OK” to conrm.
Important! Make sure the “Digital Camera” CD-ROM is in the CD-ROM Drive.
Using the images stored in your Digital Camera:-
3. Double click on “2. Get Photo” and click “Open”. Select the image you previously saved in your hard disk and
click “Open”.
4. The selected image will be shown within the “mask” on the selected template. You can play with the image by
clicking on “3. Fine-Tune” to resize, rotate or reposition the images by selecting the image using your mouse
and dragging the image. Press “OK” to conrm.
5. Click “4. Add Text”. Type in the text your want to write and then press “OK” to conrm.
6. Click “5. Print Preview” to print a hard copy.
11.9 How to use ArcSoft PhotoPrinter
®
2000
1. Double click the “PhotoPrinter” icon from the PhotoPrinter.
Important! Make sure the “Digital Camera” CD-ROM is in the CD-ROM Drive.
2. Choose the “Page Layout”. The selected page layout will on shown on the
right panel.
3. Click “Get Photo” and then “add photo”. Find the image you want which you
have already saved in your hard disk and click “Open”.
4. The selected images will be shown on the photo library panel. Select the
image you want and click “OK”.
5. The selected image will be shown on the chosen template. Click “Print” when
nish placing the images.
6. For further help on how to use ArcSoft PhotoPrinter® 2000, click the “?” on
the top right hand corner to access the Help Topics.
Visit http://www.arcsoft.com for all your FAQ’s, tips and technical support.
See Section 13 for more details.
11.10 How to use ArcSoft VideoImpression™ 1.6
Lets make a video!
Follow these basic steps to make your rst video.
Step 1 Click on new Icon.
Step 2 Using the selector button select video templates.
Step 3 Double click on the Static.avi screen in the video template selection and a copy will appear in the rst
large frame on the storyboard on the bottom.
Step 4 Double click on the small frame directly right of the large frame. A new template will appear at the top
called “special effects” Double click on the “1. Fire” special effect which will now drop into the special
effect frame you highlighted.