17
Adding an existing video.
Step 6 To add a video you have already made double click on the next large frame in the story board to
the right. Click on the “Get” icon and select a video you had made and led in the folder called
“album” click on Get, with the selector click on the down arrow and select desktop and then double
click on “Album” folder and select a le ending with mov (video le) the video will appear in the
video templates. Double click on the video and it will appear just like other video templates in the
storyboard. Now go to step 10.
Alternatively you can produce a live video.
Ensure your Digital Cam is connected to the computer via the USB cable. Click on the capture icon.
Step 7 And press the record icon. Wait for the video link to go live and now you’re recording, press the
ESC key on your keyboard to end the video.
Step 8 Press the “Save” icon and name your le, and then press “save”. Video impression will ask you where
you want to place your video. Select “video template”.
Step 9 Select the “album” icon and your video clip you have just produced will appear in the video templates.
Double click on your video, your video will now drop into the storyboard.
Running the video.
Step 10 Select the “play movie” icon which will assemble your video together. Press the play icon to
watch your completed video. Watch to see how the special effects merge between the frames on the
story board. Now you try to make your own and also try the audio template.
11.5 How to use Microsoft
®
NetMeeting™
1. Connect your Micro C@m to the USB cable on one end.
2. Connect your USB cable to an available USB port on your PC on the other end.
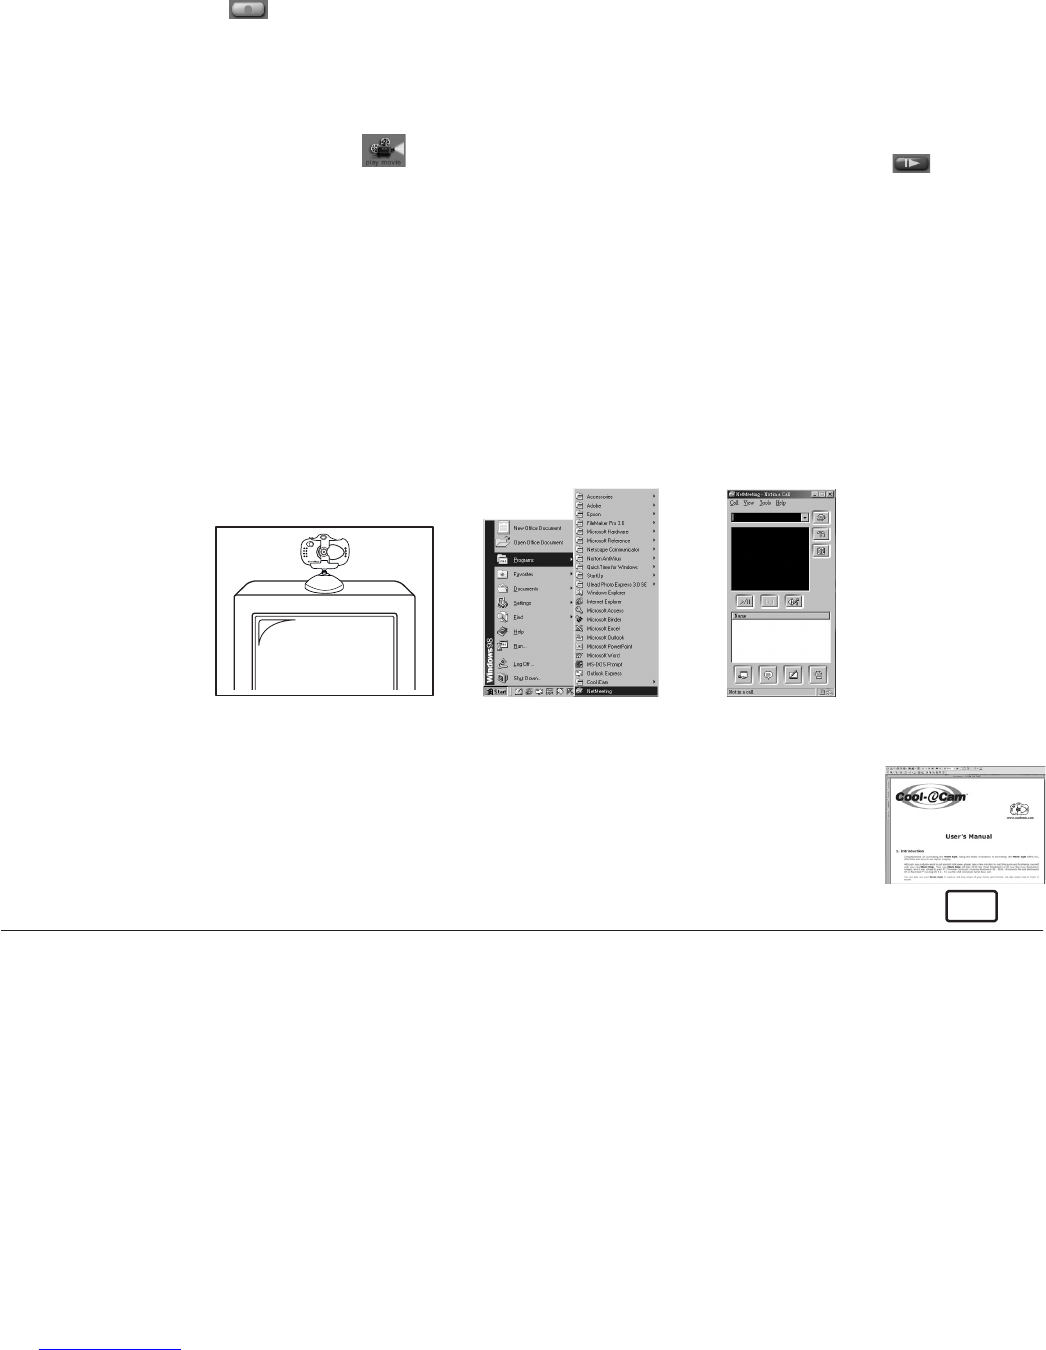
3. Put your Micro C@m on top of your PC monitor or another at surface.
4. Connect your microphone (not included) to your audio card’s external microphone connector.
5. Double click the “NetMeeting” icon on the desktop or select the “NetMeeting” icon from the Windows Start
Menu.
6. Type in the IP address, computer name or telephone number for the person you want to call and press the
“Place Call” button.
To nd your own IP address, go to “Start” and click “Run”. Type in “winipcfg” and click “OK”, IP conguration
window will appear and you can see your IP address.
Place the Micro C@m
on top of your monitor
C
o
o
l
-
i
C
a
m
D
I
G
I
T
A
L
C
A
M
E
R
A
7. If you need further help on how to use Microsoft® NetMeeting™, select the “Help” under the manual bar
and choose the topic you need. Or you can visit the following website: http://www.microsoft.com/windows/
netmeeting.
11.6 How to use Adobe® Acrobat® Reader
Adobe® Acrobat® Reader enables you to view document in .pdf format. For more
details go to www.adobe.com/acrobat.
C
o
o
l
-
i
C
a
m
D
I
G
I
T
A
L
C
A
M
E
R
A
For Macintosh® Users:
MAC
11.7 How to use PhotoStudio
®
4.0
1. Double click the “PhotoStudio®” icon from the PhotoStudio®.
You can now start to download your stored images from your Micro C@m by the following steps:
2. Go to “File” and then select “Open” and select the image(s) you previously saved in your hard disk and click
“Open”.
You can now edit your image(s) with PhotoStudio’s features.
3. For further help on how to use ArcSoft™ PhotoStudio
®
4.0, go to “Help” to access the Help Topics. Visit
http://www.arcsoft.com for all your FAQ’s, tips and technical support. See Section 13 for more details.