solution
Pull the inner ring downwards
using a screwdriver (see
illustration).
NB: the glass is loose!
Pull the halogen lamp out of
the fitting and replace it with a
new 20 W halogen lamp (wall
hoods) or 10 W halogen lamp
(island hoods). Use a clean
cloth to hold the new lamp.
Change the discharge duct
(see installation instructions).
Phone the Service department.
Phone the Service department.
Phone the Service department.
cause
Lamp defective.
NB:
Only use the same type of lamp
with the wattage stated.
Discharge duct too long or has
too many bends.
Motor defective.
Motor or controls defective.
Connection lead defective.
fault
Lighting does not work.
Extractor hood makes a lot of
noise.
No extraction.
GB 5
faults
Please check the following points which may solve the problem, before calling the service
department.
If the connection cable is damaged, it should be replaced by the service department of the
manufacturer or similarly qualified persons in order to prevent dangerous situations from arising.
NB: Disconnect the appliance from the mains before starting any repairs, preferably by removing
the plug from the socket or by setting the isolation switch to zero.
GB 4
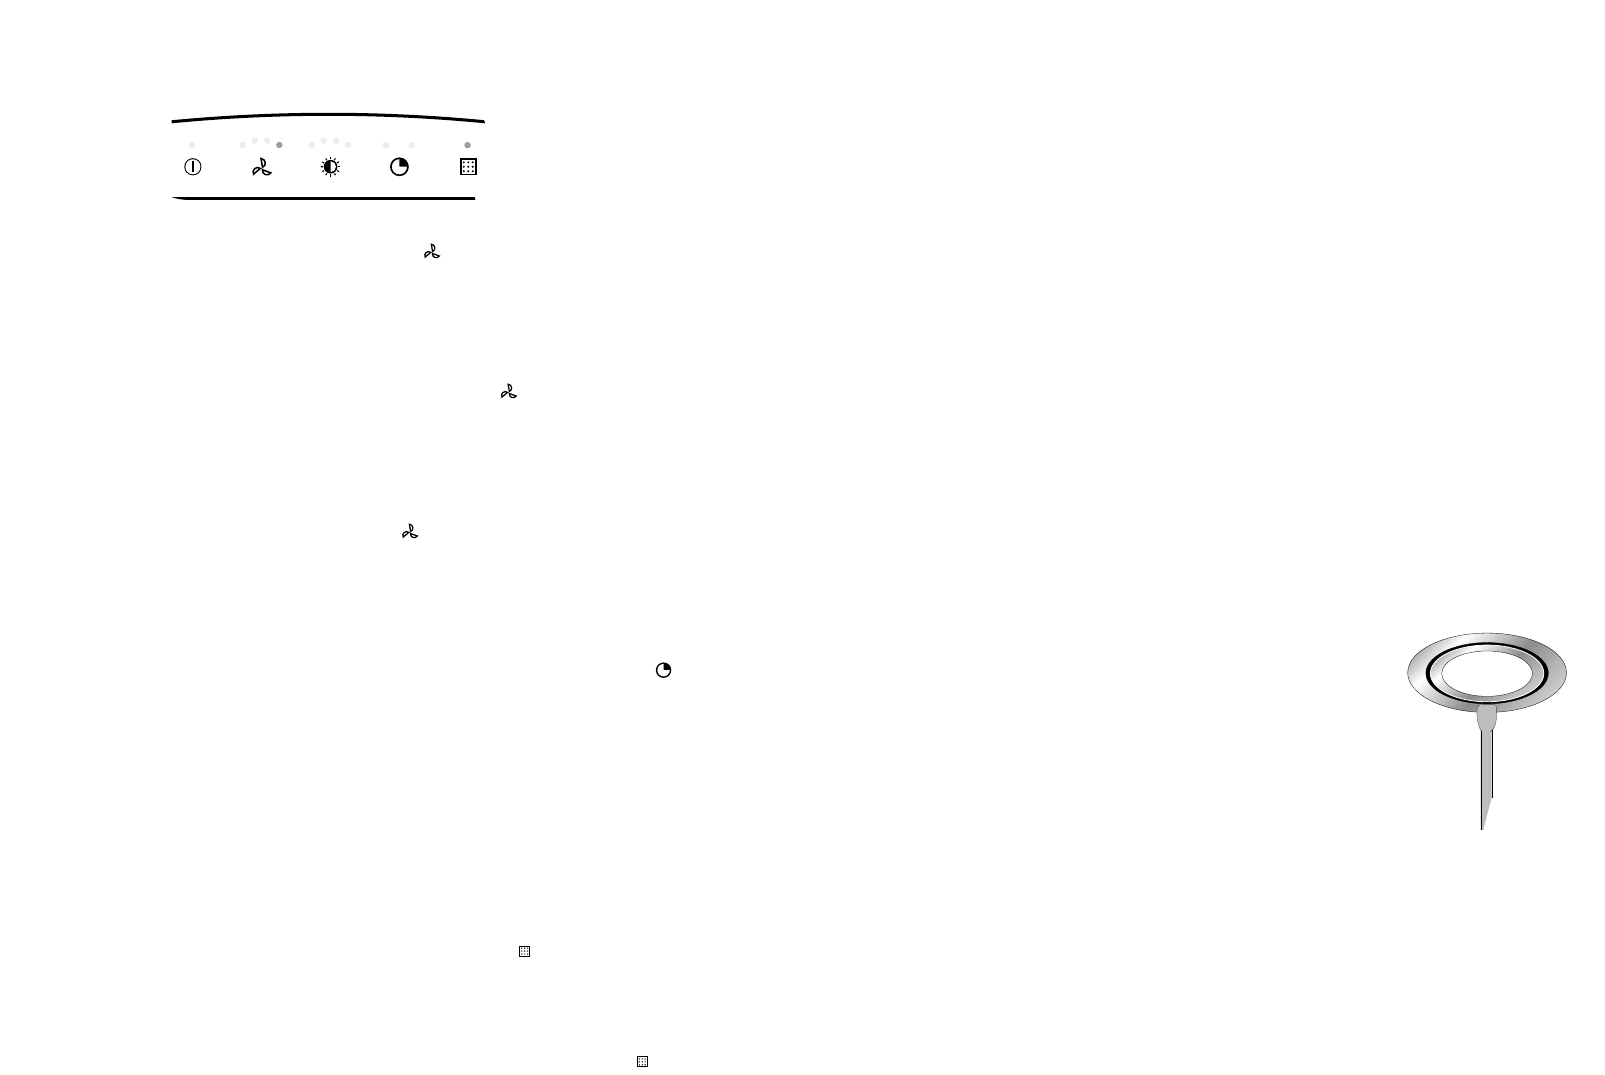
fan (continued)
adjusting extractor capacity
Touching the - symbol switches the fan to its next
setting. The new setting is indicated by the indicator lights
(0-4) lighting up.
intensive setting
Keep your finger on the - symbol until the 4 indicator
lights come on. Let go of the button and the setting is
switched on.
switching the fan off
Touch the - symbol and keep your finger on it until all the
indicator lights go out. When you let go of the button, the
hood switches off.
automatic continued running
First select the fan setting desired. Touch the - symbol.
You can choose whether the extractor hood is turned off
after 10 or after 20 minutes. The light next to the time
selected lights up.
The extractor hood automatically switches back from the
setting chosen to 0. If the lighting was switched on during
the automatic continued running, it will remain switched on.
cleaning the grease filter
If the grease filter symbol ( ) lights up, you should clean
the filter immediately.
Put the filter back in place after cleaning and erase the
electronic memory by touching the symbol and keeping
your finger on it until the indicator light goes out.