• When backup of entire hard disk was performed
Insert the disc which contains the first project to be
restored.
Also when the entire hard disk was backed up, the restore
operation is performed for individual projects.
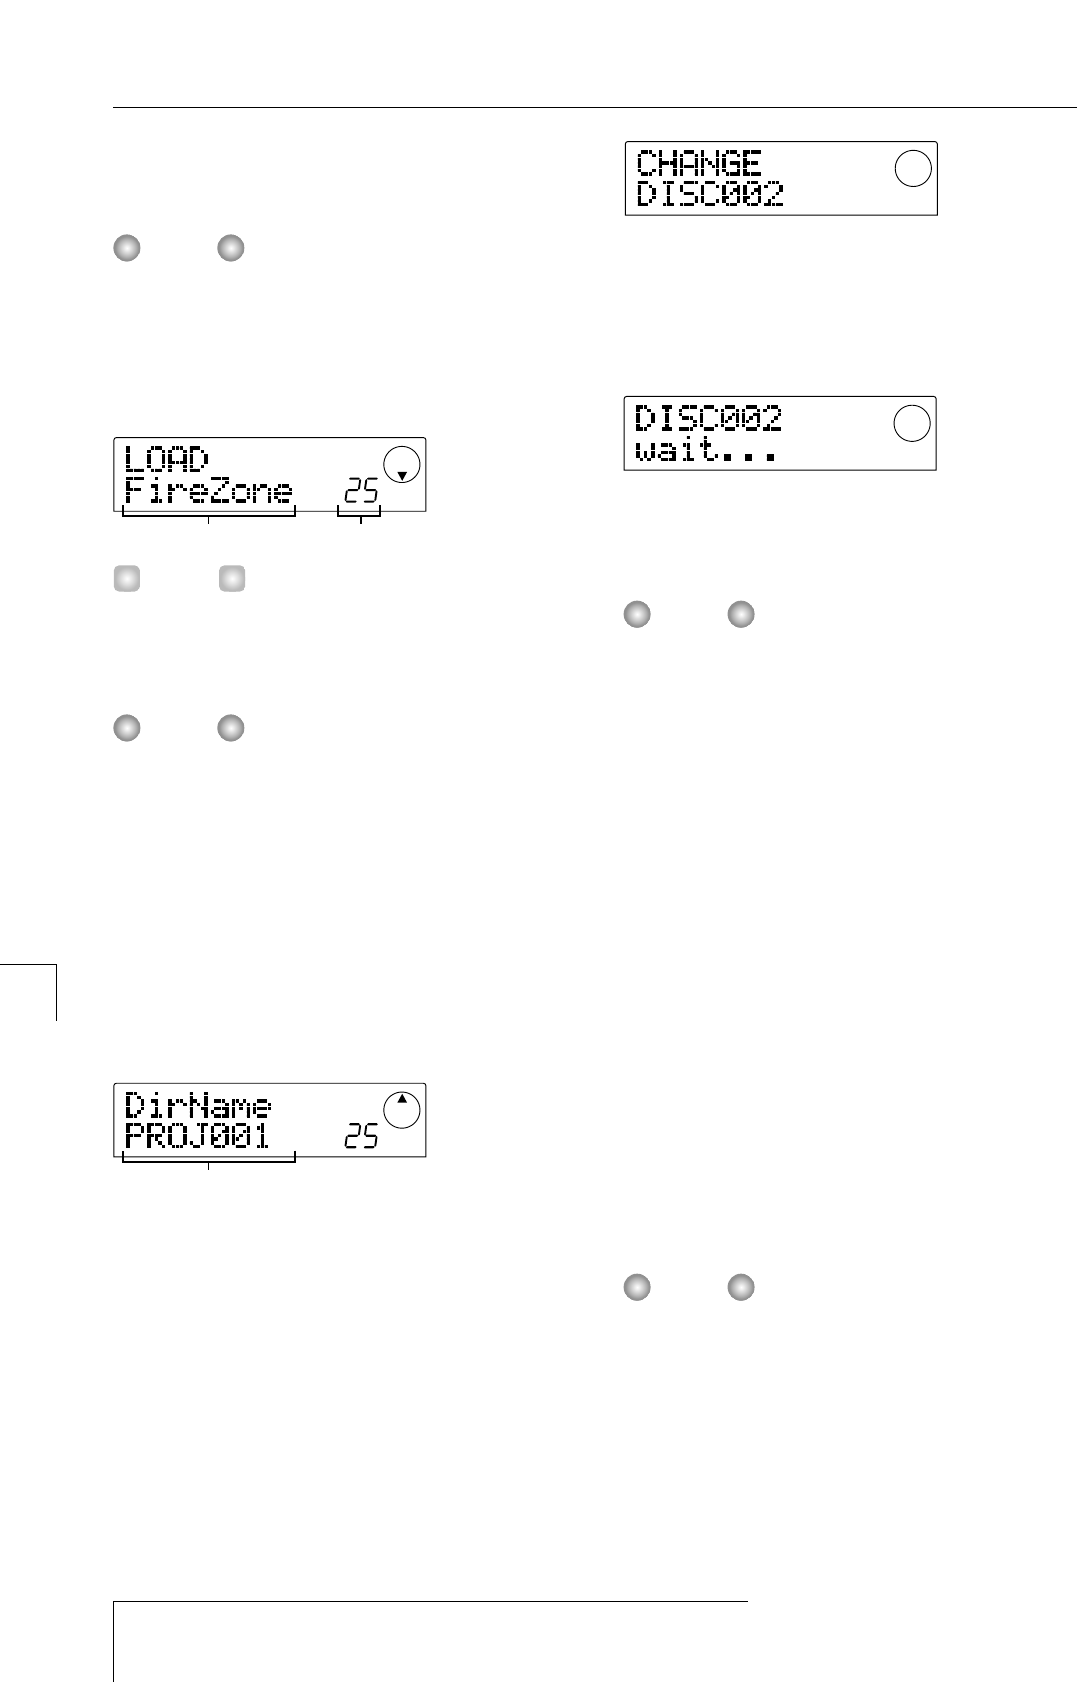
The name of the project to be restored and the new project
number are shown on the display.
When restoring a project, the MRS-1044 series
automatically allocates a new project number. This prevents
accidentally deleting or overwriting an existing project on
the hard disk, even if it has the same name.
• To change the restore source disc, press the [EXIT] key.
Change the disc and then perform step 4 again.
• If a project backup spans several volumes, make sure
that the first disc inserted is the first disc for that project.
If another disc is inserted, the project name will not be
displayed.
6.
If you wish to check the restore source directory,
press the cursor [
W
] key.
The display indication changes to the directory name.
Pressing the cursor [
Q] key returns to the previous display.
7.
Press the [ENTER] key.
The indication "LOAD SURE?" appears on the display, to
verify the restore process.
8.
To execute the restore process, press the [ENTER]
key. If you wish to cancel the process, press the
[EXIT] key instead.
When restore starts, the indication "LOAD wait..." appears
on the display.
When the project backup spans several CD-R/CD-RW
discs, a message prompting the user to insert the next disc
appears after data from the first disc have been read.
9.
When the above message appears, insert the next
CD-R/CD-RW disc, and press the [ENTER] key.
The restore operation resumes. The new disc number and
the indication "wait..." appear on the display.
To cancel the operation, press the [EXIT] key to bring up
the indication "CANCEL?" on the screen, and then press
the [ENTER ] key.
When a backup spans several media volumes, be sure to
insert the discs in the same order as during backup.
Otherwise correct restoration is not possible.
10.
Repeat the above steps until the entire project is
restored.
When the restore operation is finished, the display
indication changes to "LOAD COMPLETE".
11.
To return to the main screen, press the [EXIT] key
several times.
■
Restoring from a ZIP or MO drive
1.
Verify that the ZIP or MO drive is properly
connected to the MRS-1044 series.
2.
In the main screen, press the [PROJECT/UTILITY]
key.
3.
Use the cursor [
E
]/[
R
] keys to make the display
indicate "UTILITY BACKUP", and then press the
[ENTER] key.
If the above menu does not appear, the MRS-1044 series
has not properly recognized the ZIP or MO drive. Check the
power on/off condition of the drive and the SCSI
connection.
4.
Use the cursor [
E
]/[
R
] keys to make the display
indicate "BACKUP LOAD", and then press the
[ENTER] key.
The indication "LOAD InsDisk1" appears on the display.

