Aufbewahrung der TiefkŸhlkost
Nach einem lŠngeren Stillstand des GerŠtes mu§
dieses vor der Einlagerung der TiefkŸhlkost auf
Schnellgefriervorgang (SUPER) wenigstens 2
Stunden in Betrieb gesetzt werden, dann wieder den
normalen Betrieb einstellen.Um den Rauminhalt
des Gefrierschrankes bestmšglichst zu nutzen,
kšnnen die Lade (A) und die Kšrbe (B), (C)
herausgenommen werden. Das Gefriergut direkt auf
den Ablagen der FŠcher einordnen und dabei darauf
achten, da§ es nicht Ÿber die angegebene Ladelinie
hinaus gestapelt wird
Wichtig
Unbeabsichtigt aufgetaute Lebensmittel,
beispielsweise wegen Stromausfall, mŸssen,
wenn der Betrieb fŸr lŠnger als die in der Tabelle
technische Daten unter der Position ãLagerzeit
bei StšrungÒ angegebene Dauer unterbrochen
ist, kurzfristig verbraucht oder sofort gekocht
und erneut eingefroren werden (nach
AbkŸhlung).
Auftauen
Die eingefrorenen oder tiefgekŸhlten Lebensmittel
sollten vor dem Gebrauch aufgetaut werden, indem
man sie am besten im KŸhlabteil oder je nach der
zur VerfŸgung stehenden Zeit bei Raumtemperatur
auftaut. Kleine StŸcke kšnnen eingefroren gekocht
werden. SelbstverstŠndlich verlŠngert sich dabei die
Kochzeit.
EiswŸrfelbereitung
Das GerŠt hat eine oder mehrere EiswŸrfelschalen,
welche mit Wasser aufgefŸllt in das Gefrierfach
gestellt werden.
Bitte zur Entnahme der EiswŸrfelschalen keine
MetallgegenstŠnde benutzen!
6
Einfrieren von frischen
Lebensmitteln
LŠuft jedoch das GerŠt bereits, so wird emplohlen,
den Schnellgefrierschalter mindestens 3 Stunden
vor der Einlagerung der einzufrierenden
Lebensmittel einzuschalten.
Nach der Einlagerung der Lebensmittel rechnet man
24 Stunden, bis der Gefriervorgang beendet ist.
Nach dieser Zeit den Normalbetrieb wieder
einstellen.
Das Gefriervermšgen des Gefrierabteiles (in 24
Stunden) kann auf den Typenschild abgelesen
werden.
Die einzutrierenden Lebensmittel in das oberste
Fach einlegen.Verteilen Sie die Packete gemŠss
Abb.
KŠlteakku
Im Gefrierschrank ist ein KŠlteakku (eutektische
Masse) vorgesehen, der eine VerlŠngerung der
Aufbewahrungszeit des Gefriergutes bei
eventuellem Stromausfall oder Stšrung ermšglicht.
Der KŠlteakku befindet sich in der oberen
Schublade.
47
INSTALLATION
Location
The appliance should be installed well away from
sources of heat such as radiators, boilers, direct
sunlight etc.
For safety reasons, minimum ventilation must be as
shown in Fig.
Appliance positioned under overhanging kitchen wall
units (see Fig. A).
Appliance positioned without overhanging kitchen
wall units (see Fig. B).
Attention: keep ventilation openings clear of
obstruction.
Two adjustable feet at the cabinet base allow
accurate levelling of the appliance.
Electrical connection
Before plugging in, ensure that the voltage and
frequency shown on the serial number plate
correspond to your domestic power supply. Voltage
can vary by ±6% of the rated voltage.
For operation with different voltages, a suitably sized
auto-transformer must be used.
The appliance must be earthed.
The power supply cable plug is provided with a
contact for this purpose.
If the domestic power supply socket is not earthed,
connect the appliance to a separate earth in
compliance with current regulations, consulting a
specialist technician.
The Manufacturer declines all responsibility if
the above safety precautions are not observed.
This appliance complies with the following
E.E.C. Directives:
- 87/308 EEC of 2/6/87 relative to radio interference
suppression.
- 73/23 EEC of 19.2.73 (Low Voltage Directive) and
subsequent modifications;
- 89/336 EEC of 3.5.89 (Electromagnetic
Compatibility Directive) and subsequent
modifications.
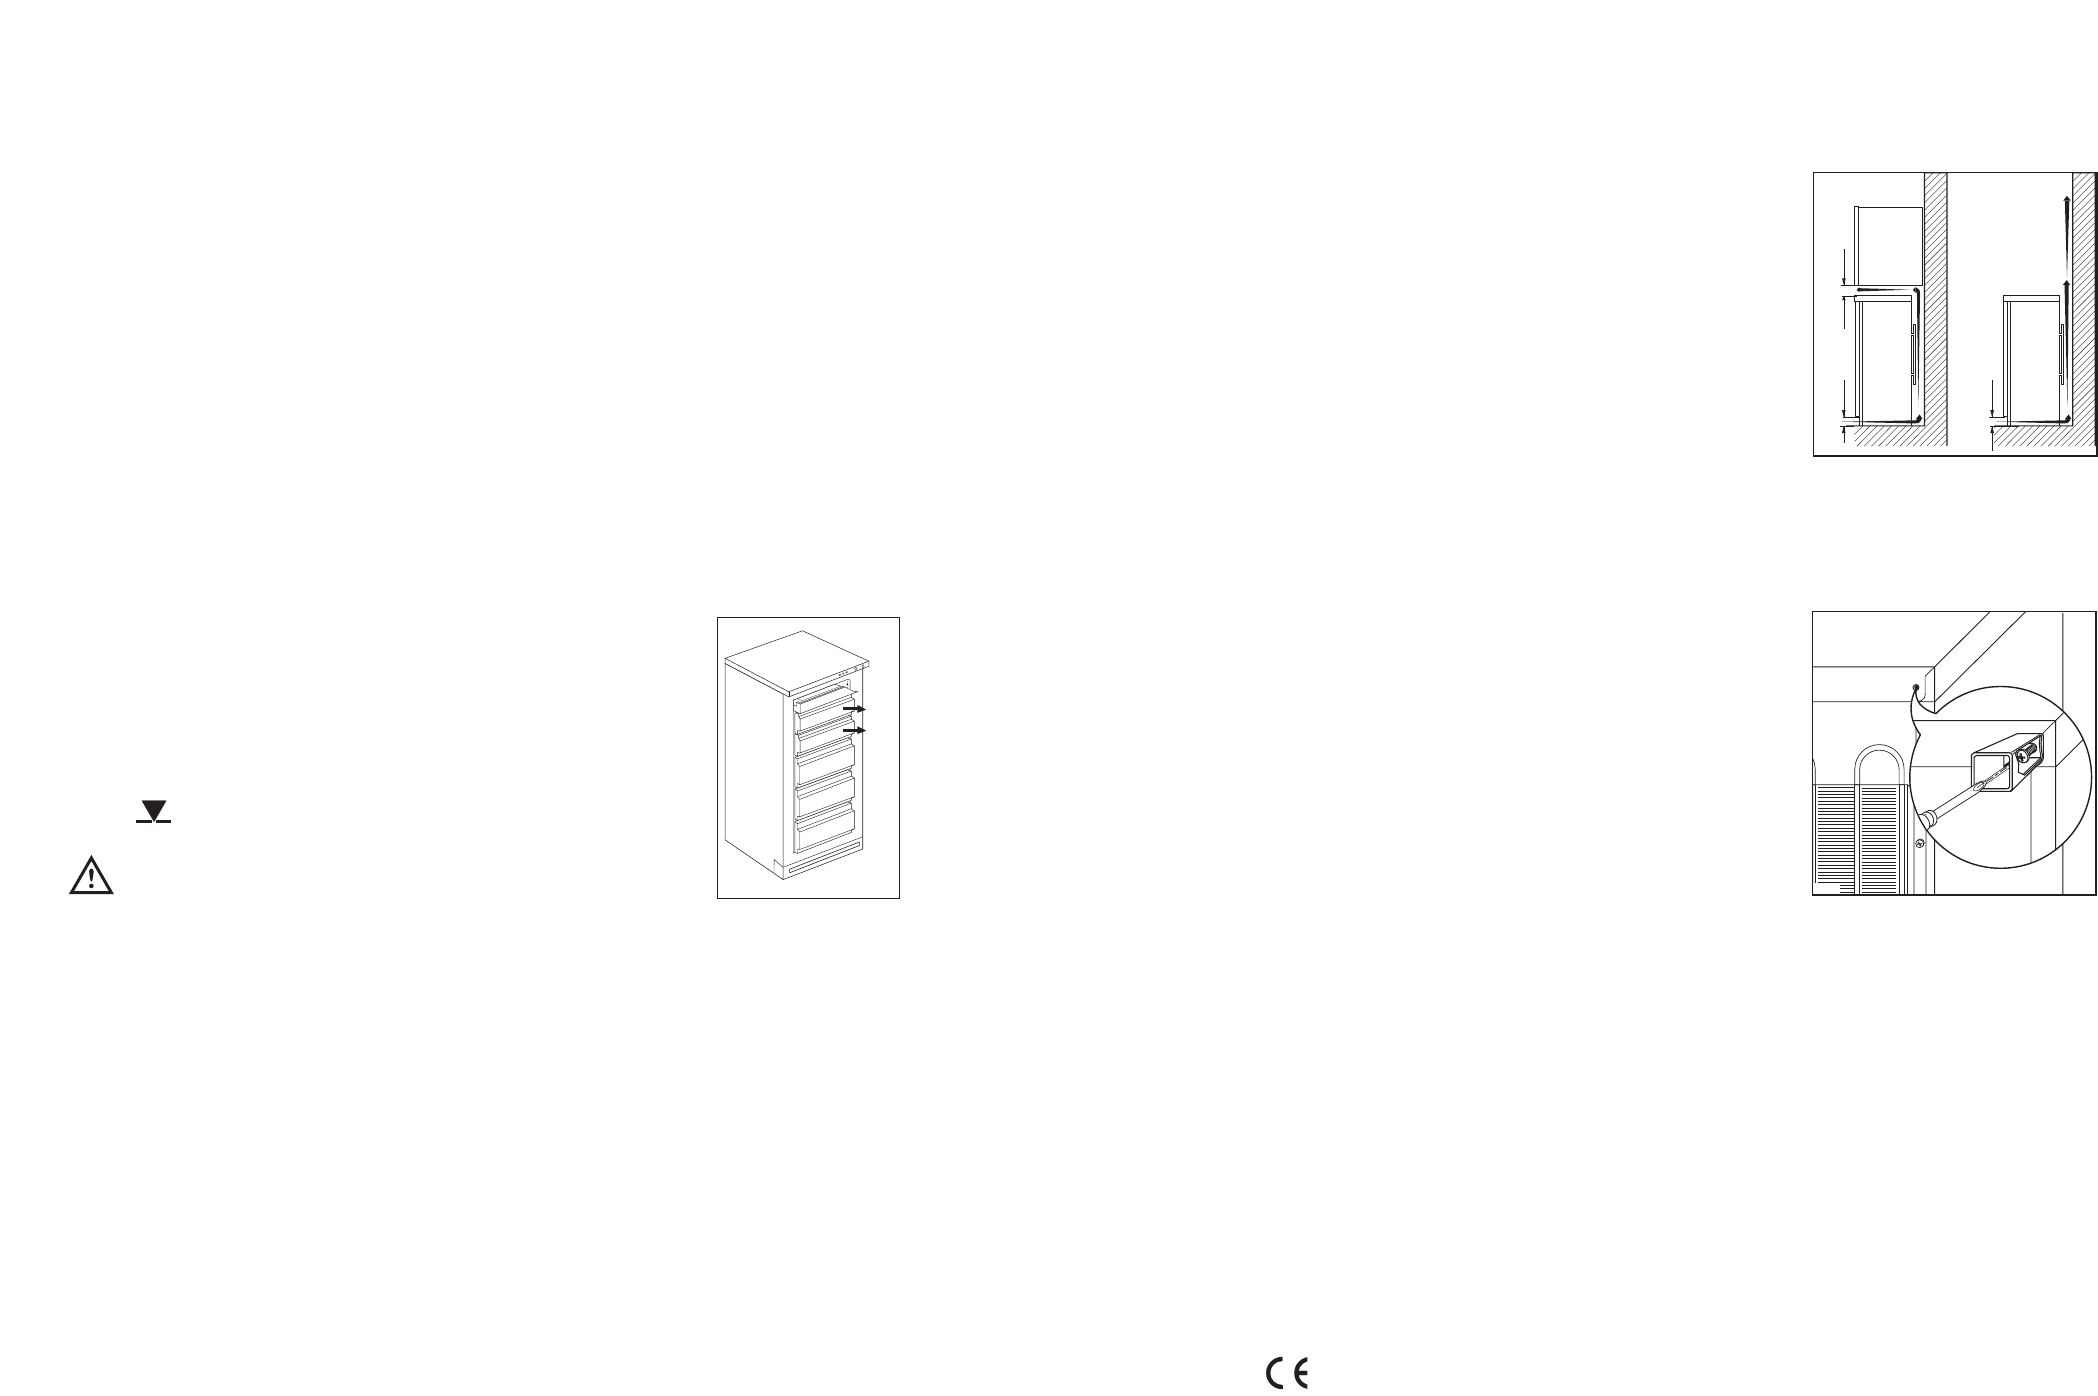
Rear spacers
In the bag with the documentation, there are two
spacers which must be fitted in the two top
corners.
Slacken the screws and insert the spacer under the
screw head, then re-tighten the screws.