–1–
Original instruct
Contents
1 Preca . . . . . 2
2 Acces . . . . . 4
3 Parts . 4
4 Wireless 6
4-1. Parts . . . . 6
4-2. Adjustin 7
4-3. Handlin . . . . 8
4-4. How to 8
5 Wired re 12
5-1. Correct . . . . . . . . 13
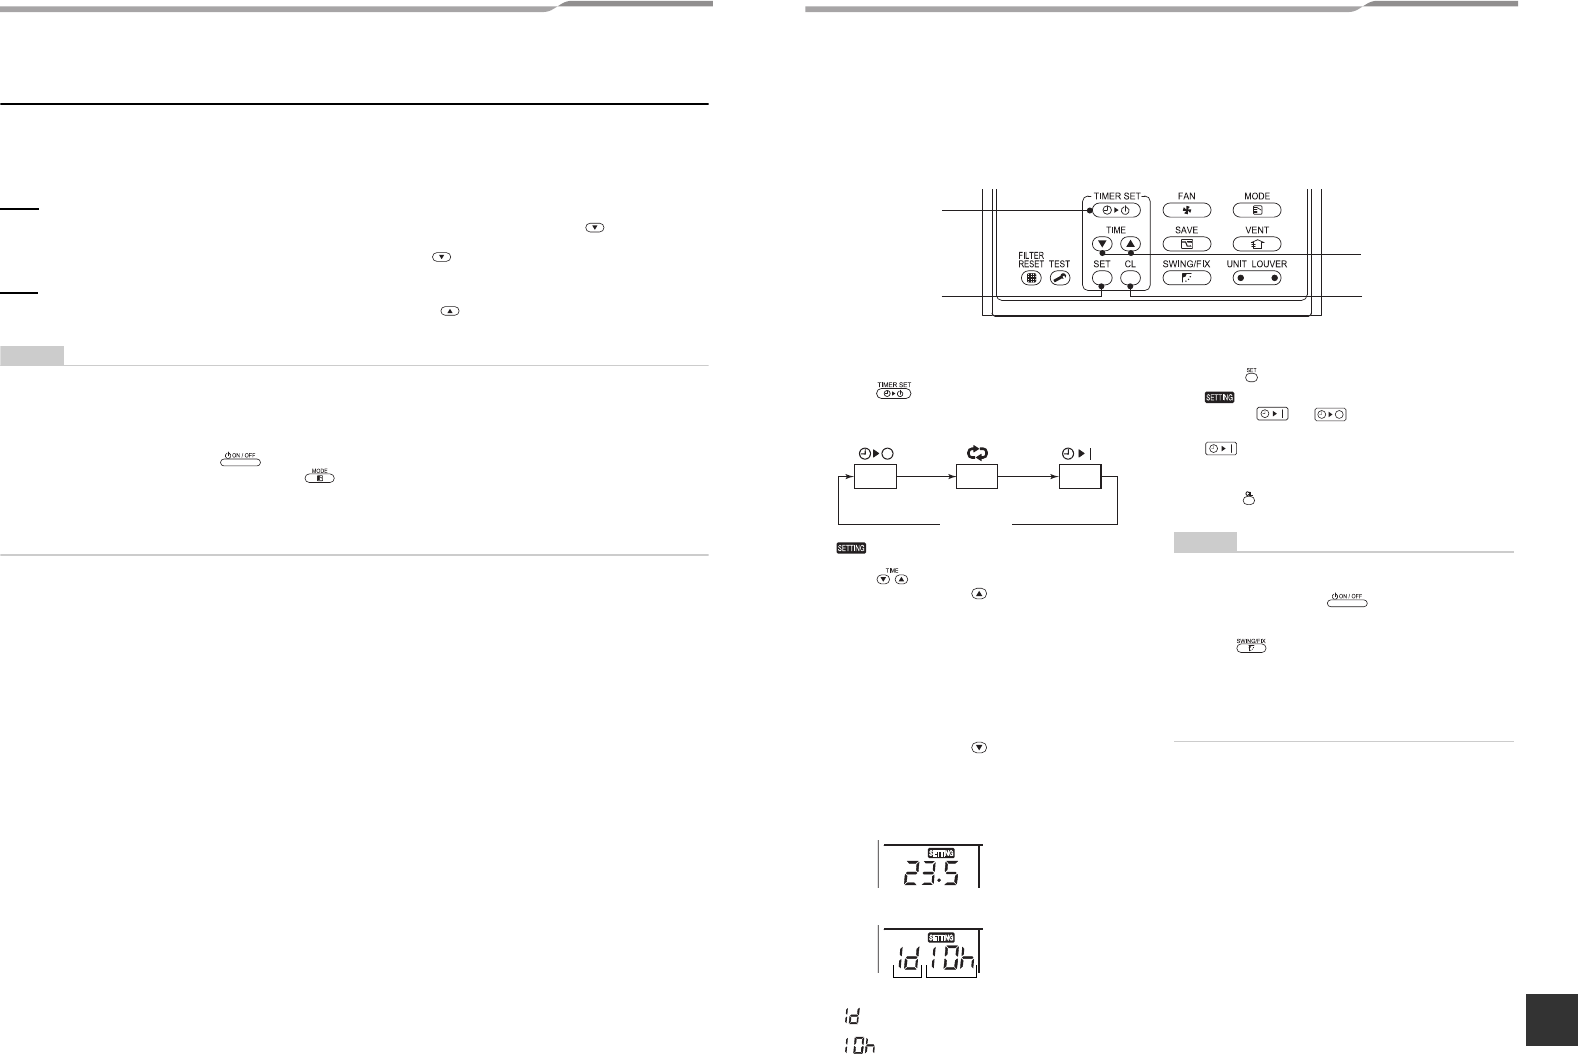
5-2. Timer o . . . . . . . 14
5-3. Power s 15
5-4. Self c 15
6 Limite 16
7 Auto . . . . 16
8 How t 17
9 Hints . . . . . . 17
10 TEMPORARY op 17
11 Maintenanc . . 1
12 Troubleshoot 20
13 Operations . . 21
14 Installat . . . . 22
15 Specificat 22
ADOPTI
This Air Condition
This appliance is not intended for use by person (including children
capabilities, or lack of experience and knowledge, unless they have been given supervision or instruction
concerning use of the appliance by a person responsible for
Thank you for purchasing this Toshiba air conditioner.
Please read
“Machinery” Directive (Dir
After reading these inst
with your
Generic Denomination: Air
Definition of Qualified Installer or Qualified Service Person
The air conditioner must be insed a
person. When
A qualified installer or qualified s
the table below.
Age Qua
Qualified
installer
• The q
by Toshib
condit
operati
knowle
• The q
has the
he or she
by Tos
indi
related
• The qua
relo
stip
relat
or, a
train
• The qu
heigh
inst
acquai
Qualified
service
person
• The qu
condit
relo
has be
thoroug
• The qu
relo
and regu
air c
matter
knowledg
• The qu
inst
pipin
in matt
Corpor
who ha
• The qu
workin
has be
thoroug
1-EN 2-EN
+001111