GALLERY – Wireless weather station
GALLERY – Wireless weather station
16 17
8. Temperature and humidity
8.1 Temperature display
• Press and hold the MAX/MIN button to change between °C (Celsius) or °F (Fahrenheit) as tem-
perature unit.
8.2 Max/Min function
• Press the MAX/MIN button.
• MAX appears on the display.
• The highest indoor and outdoor values (CH 1, 2 or 3) are displayed since the last reset.
• Press the button again.
• MIN appears on the display.
• The lowest indoor and outdoor values (CH 1, 2 or 3) are displayed since the last reset.
• Press the MAX/MIN button again to return to normal mode.
• There is an automatic daily reset of maximum and minimum values (midnight 0:00).
8.3 Trend pointers
• The trend pointers on the display indicate if the temperature and humidity values are increas-
ing, steady or decreasing.
8.4 Frost indicator
• If the outdoor temperature is between -4 °C (+25 °F) and +1 °C (+34 °F) the frost symbol flashes
on the display of the weather forecast.
• If the outdoor temperature is under -4 °C (+25 °F) the frost symbol appears permanently.
• The outdoor temperature for the frost indication refers to the temperature of the outdoor
channel CH1, if a value was registered (ranking CH1, CH2, CH3).
9. Atmospheric pressure
9.1 Weather forecast symbols
• There are 7 different weather symbols (sunny, slightly cloudy, cloudy, rainy, strong rain, snowy,
strong snowfall).
• The weather forecast relates to a range of 6 to 12 hours and indicates only a general weather
trend. For example, if the current weather is cloudy and the rain symbol is displayed, it does not
mean the product is faulty because it is not raining. It simply means that the atmospheric pres-
sure has dropped and the weather is expected to get worse but not necessarily rainy.
• The sun symbol also appears at night if there is a starry night.
9.2 Weather trend pointer
• The trend pointer on the display shows if the atmospheric pressure is increasing, steady or
decreasing.
9.3 Relative atmospheric pressure (see: Setting of the relative atmospheric pressure)
• The display shows the relative atmospheric pressure in hPa and the graphic development of the
last 12 hours.
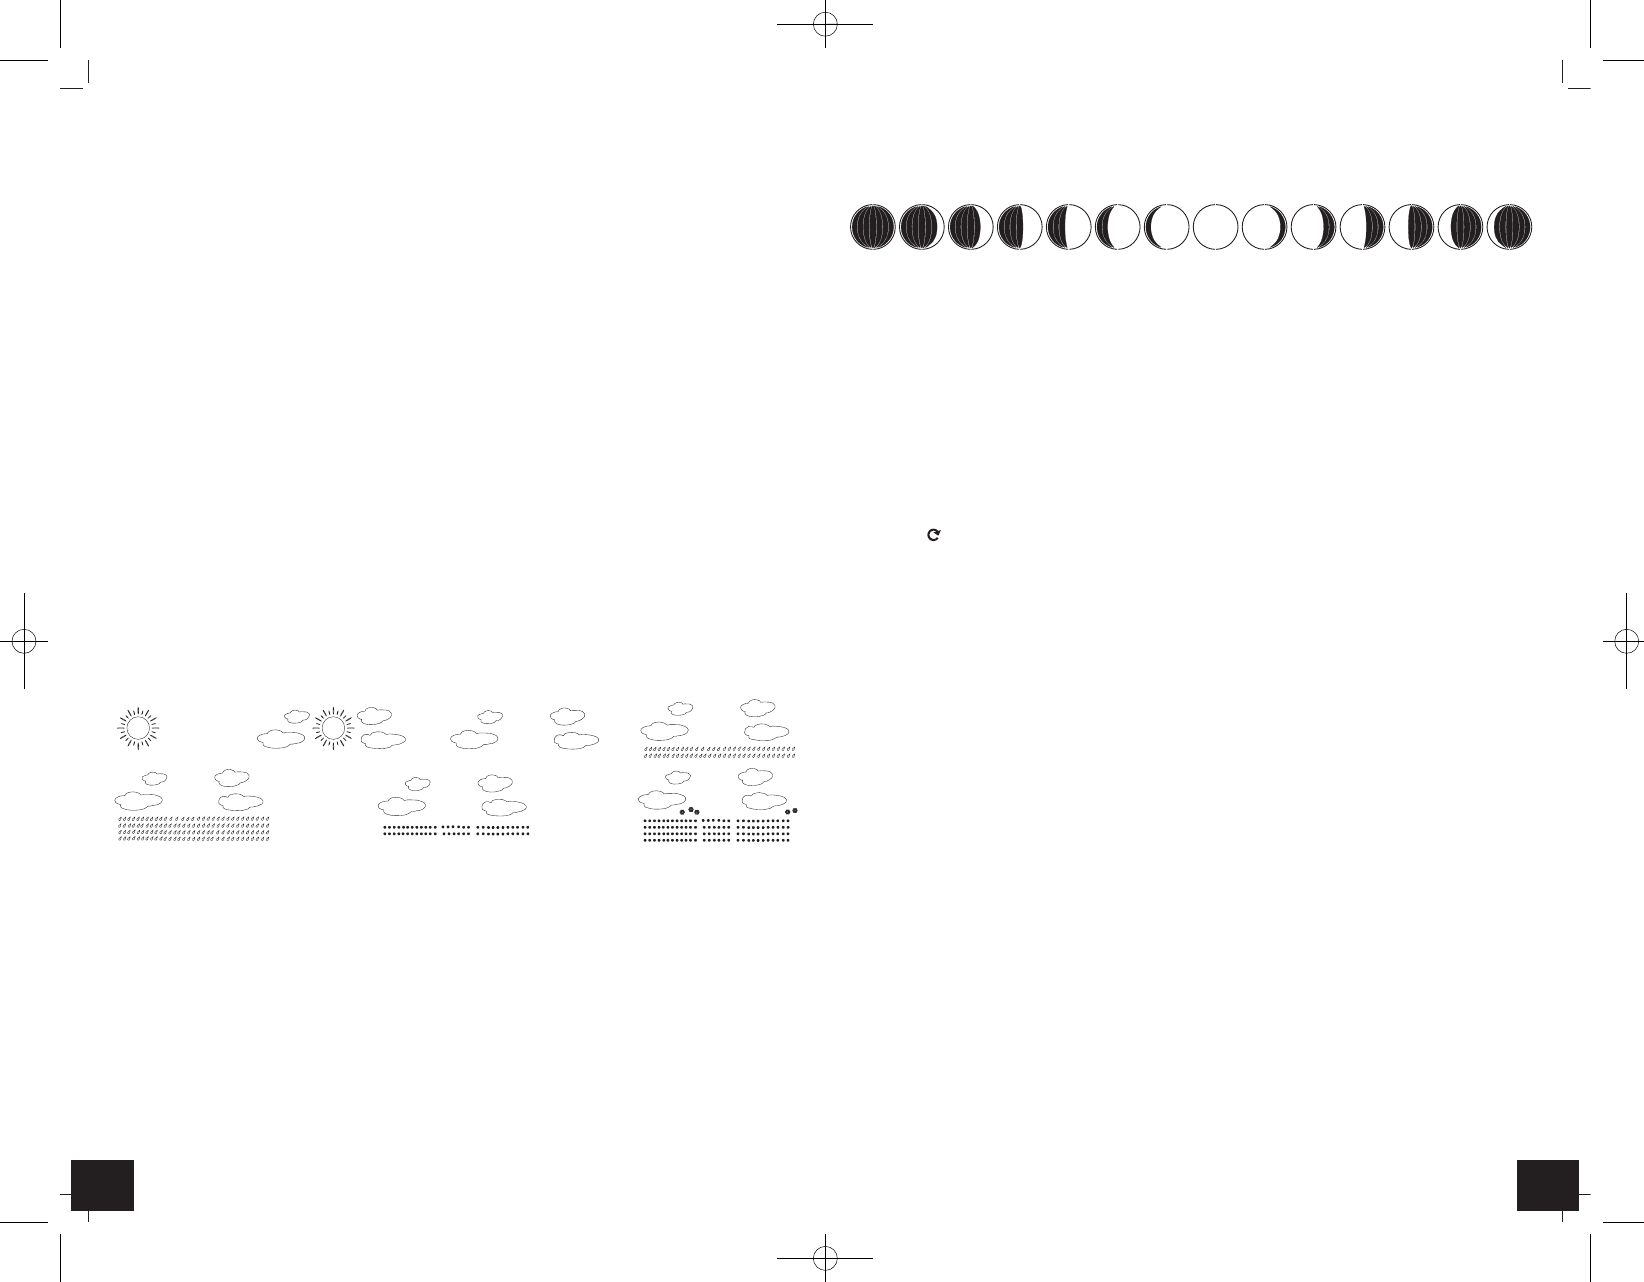
10. Moon phase
• The moon phase of each day is shown on the LCD:
New Moon Waxing Moon Full Moon Waning Moon
11. Outdoor transmitter
• Press the °C/°F button to select temperature display in °C (Celsius) or °F (Fahrenheit) for the
transmitter.
• For having more than one external transmitter select a different channel (2 or 3) for each trans-
mitter with the 1-2-3 switch inside the battery compartment of the transmitter.
• Insert two new batteries 1,5 V AAA. Make sure the polarities are correct.
• Press the CHANNEL button on the basic station for three seconds to start the initialization man-
ually.
• If you have installed more than one transmitter, press the CHANNEL button to change between
the outdoor transmitters.
• You can also choose an alternating channel display. Press the CHANNEL button until the circle
symbol ( ) appears for alternating channel.
• To deactivate the function press the CHANNEL button again and the symbol disappears.
12. Positioning and fixing of basic station and outdoor transmitter
• Choose a shady and dry position for the transmitter. (Direct sunshine falsifies the measurement
and continuous humidity strains the electronic components needlessly).
• Place the basic station in the living room with the table stand (fold out). With the suspension
device you can fix it on a wall. Avoid the vicinity of any interfering field like computer monitors
or TV sets and solid metal objects.
• Check the transmission of the signal from the outdoor transmitter to the basic station (transmis-
sion range of up to 40 m free field). Within ferro-concrete rooms (basements, superstructures),
the received signal is naturally weakened.
• If necessary choose another position for the outdoor transmitter and/or basic station.
• Is the transmission is successfully, you can wall mount the transmitter.
• By attaching the holder on the back of the transmitter, the transmitter can be hung with the
suspension device on a wall, or use the table stand (fold out) to place the instrument on a flat
surface.
13. Care and maintenance
• Clean the instruments with a soft damp cloth. Do not use solvents or scouring agents.
• Remove the batteries and pull out the plug of the socket, if you do not use the product for a
long period of time.
• Keep the instrument in a dry place.
13.1 Battery replacement
• Change the batteries of the outdoor transmitter when the battery symbol appears on the dis-
play of the outdoor values.
• Change the batteries of the basic station when the battery symbol appears on the display of the
indoor values.
• Please note:
When the batteries are changed, the contact between transmitter and receiver must be restored
– so always restart both units or start a manual transmitter search.
TFA_No. 35.1126_Anleit_08_16 08.08.2016 14:22 Uhr Seite 9