3
5
6
7
3
5
6
7
ENGLISH
Photo Mode : Selecting File Options
5959
ENGLISH
Photo Mode : Selecting File Options
5858
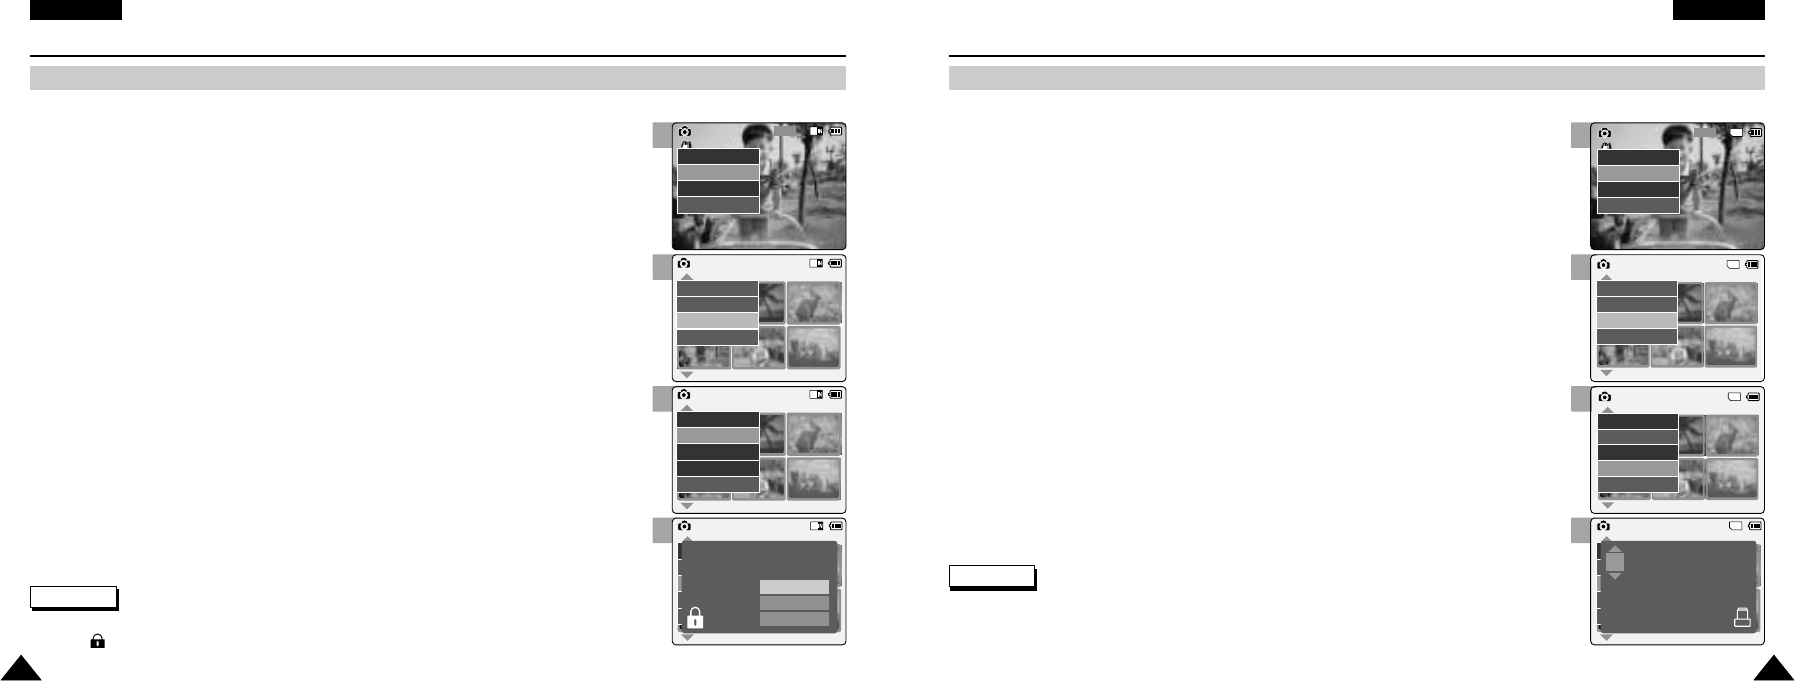
Locking Photo files
You can lock the important photo file not to be deleted.
1. Move [Mode Selector] down to turn on the CAM and move it down again.
◆ The Mode Selection screen appears.
2. Move the [ ▲/ ▼ ] switch to select Photo mode and press the [OK] button.
◆ The Photo Capture screen appears.
3. Press the [Menu] button and move the [ ▲/ ▼ ] switch.
Press the [OK] button after selecting <View>.
4. Move the [ ▲/ ▼ ] switch to select the photo file you want to lock.
5. Press the [Menu] button to select <File Options> and press the [OK] button.
◆ You can select <File Options> only in <View>.
1. Move [Mode Selector] down to turn on the CAM and move it down again.
◆ The Mode Selection screen appears.
2. Move the [ ▲/ ▼ ] switch to select Photo mode and press the [OK] button.
◆ The Photo Capture screen appears.
3. Press the [Menu] button and move the [ ▲/ ▼ ] switch.
Press the [OK] button after selecting <View>.
4. Move the [ ▲/ ▼ ] switch to select the photo file you want to print.
5. Press the [Menu] button to select <File Options> and press the [OK] button.
6. Move the [ ▲/ ▼ ] switch to select <DPOF> and press the [OK] button.
◆ You can select <DPOF> only when you’ve selected storage type ‘External’.
Refer to page 32.
7. Move the [ ▲/ ▼ ] switch to select copies you want to print.
6. Move the [ ▲/ ▼ ] switch to select <Lock> and press the [OK] button.
7. Move the [ ▲/ ▼ ] switch to select the followings and press the [OK] button.
◆ Selected: The selected photo file is locked.
◆ All: All photo files are locked.
◆ Cancel: Cancel locking photo files.
Setting DPOF (Digital Print Order Format) Function
Notes
✤
Press and hold the [Menu] button in Photo View, you can move to <File Options> directly.
✤
The < > icon is displayed on the locked file.
Notes
✤
Press and hold the [Menu] button in Photo View, you can move to <File Options> directly.
✤
Refer to page 116 for further details about printing DPOF files.
✤
You can set copies for DPOF print up to 30.