661068
48
Zoom out
Zoom in
Previous page
1/116
Next page
10
If the machine starts to vibrate unusually heavily or to make unusual noises, please
have it checked immediately by an authorised workshop.
Pos: 21.10 /Innenteil/Mähbetrieb/1.1 Zeitliche Einschränkungen @ 0\mod_1115358910000_1521.docx @ 1775 @ 2 @ 1
Time restrictions
Pos: 21.11 /Innenteil/Mähbetrieb/Zeitliche Einschränkungen Text @ 0\mod_1115358942500_1521.docx @ 1784 @ @ 1
The time at which lawnmowers may be used varies from region to region. Please ask
the corresponding authorities before using your mower.
Pos: 21.12 /Innenteil/Mähbetrieb/1.1 Tipps zur Rasenpflege @ 2\mod_1144832859503_1521.d ocx @ 12193 @ 2 @ 1
Tips on caring for your lawn
Pos: 21.13 /Innenteil/Mähbetrieb/1.1 Mähen (Abbildung M) @ 2\mod_1144824073403_1521.docx @ 12093 @ 2 @ 1
Mowing (Illustration M )
Pos: 21.14 /Innenteil/Mähbetrieb/Tipps zu r Rasenpflege Mähen Hinweis @ 23\mod_1368694771094_1521.docx @ 173504 @ @ 1
WARNING
Remove any objects (stones, wood, branches, etc.) from the lawn before each
cut; but still watch out for objects lying around during the mowing process.
Ask your dealer about lawn care instructions. Information and instructions about
mowing can also be found on the manufacturer website.
Pos: 21.15 /Innenteil/Mähbet rieb/1.1 Mulchen @ 2\mod_1144824162792_1521.docx @ 12103 @ 2 @ 1
Mulching
Pos: 21.16 /Innenteil/Mähbetrieb/Mulchen Hinweis Benzin Heckauswurf @ 23\mod_1368695054750_1521.docx @ 173521 @ @ 1
Your lawn mower can also be equipped with a mulching kit. The respective conversion
kit to a mulching system is available as an accessory from professional dealerships
(see genuine spare parts and accessories for the conversion kit order no.).
The mulching kit also includes tips and information about mulching. You will also find
information about mulching on the manufacturer website.
WARNING
Always have an authorised workshop carry out the conversion of the mower to a
mulching system. A wrongly assembled cutting blade coupling or a blade screw
that is tightened too tightly or too loosely can allow the cutting blade bars to
become loose and cause severe injuries.
If the grass should happen to be too high for mulching, the mulching mower can be
converted for mowing with a grass collecting bag in no time.
Pos: 21.17 /Innenteil/Mähbet rieb/1.1 Umbau auf Heckauswurfmäher (Abbildung U2 + S1) @ 2\mod_1144827658643_1521.docx @ 12143 @ 2 @ 1
Converting the machine to rear ejection (Illustration U2 + S1 )
Pos: 21.18 /Innenteil/Mähbetrieb/Umbau als Heckauswurfmäher Text @ 28\mod_1384943124229_1521.docx @ 219461 @ @ 1
Stop the engine.
Lift the ejection flap.
Remove the mulching plug from the channel U2 .
Hook the grass collecting bag in the bracket provided on the mower housing S1 .
The mulching blade system does not have to be converted! The capacity of the
collecting bag can be reduced under difficult mowing conditions (e.g. wet grass).
For the equipment to be used as a mulching machine again, the mulching plug must be
installed again. To do this, remove the grass collecting bag, insert the mulching plug
into the ejector channel and close the ejector flap.
Clean the ejector channel first.
Pos: 22.1 /---------- 1 Leerzeile ---------- @ 0\mod_1114611787140_1521.docx @ 2070 @ @ 1
Pos: 22.2 /Innenteil/Wartungsintervalle/1 WARTUNGSINTERVALLE @ 4\mod_1159190053844_1521.docx @ 20987 @ 1 @ 1
16 SERVICE INTERVALS
Pos: 22.3 /Innenteil/Wartungsintervalle/Wartungsintervalle Wichtig @ 19\mod_1346242607856_1521.docx @ 148773 @ @ 1
IMPORTANT
Avoid damage! Under extreme or unusual conditions, shorter servicing intervals
than the ones specified below may be necessary. If you establish any problems,
please contact an authorised workshop.
Pos: 22.4 /Innenteil/Wartungsintervalle/Wartungsintervalle Text @ 19\mod_1346242427863_1521.docx @ 147976 @ @ 1
Carry out routine servicing on the machine in line with the following servicing intervals.
Work must be carried out at the following servicing intervals in addition to the
maintenance work listed in these operating instructions.
Pos: 22.5 /Innenteil/Wartungsintervalle/Vor der ersten Inbetriebnahme Benziner m.A. (Modellabhängig) @ 27\mod_1381311077103_1521.docx @ 197257 @ @ 1
Before initial use
Check the oil level Y1 .
Check all screw connections for a tight fit.
Check the cutting blade screw and have an authorised workshop tighten it if
necessary.
Check whether the safety control bar for the engine brake is working perfectly.
Check whether the drive control bar is working properly (depending on the model).
Check that all protective devices have been attached properly and are not
damaged.
Pos: 22.6 /Innenteil/Wartungsintervalle/Vor jedem Betrieb Benziner m.A. (Modellabhängig) @ 27\mod_1381311197046_1521.docx @ 197546 @ @ 1
Before every operation
Check the lawn area and remove any objects.
Check the area of the boundary wires (if an automatic mower is being used for
lawn care).
Check the oil level Y1 .
Check the condition and firm fit of the blade, if necessary have an authorised
workshop tighten the blade screw.
Check whether the safety control bar for the engine brake is working perfectly.
Check whether the drive control bar is working properly (depending on the model).
Check that all protective devices have been attached properly and are not
damaged.
Check grass collecting equipment for wear or loss of functionality.
Pos: 22.7 /Innenteil/Wartungsintervalle/Alle 10 Betriebsstunden @ 19\mod_1346242969351_1521.docx @ 148864 @ @ 1
Every 10 operating hours
Check all screw connections for a tight fit.
Check the fan, blade coupling and fan housing regularly for wear and a tight fit.
Pos: 22.8 /Innenteil/Wartungsintervalle/Nach jedem Betrieb @ 19\mod_1346243106654_1521.docx @ 148981 @ @ 1
After every operation
Clean the mower.
Check the blade for damage and wear.
Pos: 22.9 /Innenteil/Beschrei bung der Bauteile/43-VARIO (SA1455), R43V, R43VE @ 50\mod_1488789973726_0.docx @ 561653 @ @ 1
43-VARIO (SA1455), R43V, R43VE
Pos: 22.10 /Innenteil/Wartungsintervalle/Einfahrzeit – Nach den ersten 5 Betriebsstunden B&S @ 19\mod_1346244491464_1521.docx @ 149253 @ @ 1
Running-in time – after the first 5 operating hours
Change the engine oil.
Pos: 22.11 /Innenteil/Wartungsintervalle/Alle 50 Betriebsstunden oder jährlich 43/47/52S/54er Benziner, 38BV @ 42\mod_1455094274151_1521.docx @ 432390 @ @ 1
Every 50 operating hours or annually
Change the motor oil.
Pos: 22.12 /Innenteil/Beschreibung der Bauteile/Alle Modelle_dl_text_bold_8 @ 33\mod_1409212920947_1521.docx @ 245827 @ @ 1
All models
Pos: 22.13 /Innenteil/Wartungsintervalle/Alle 15-20 Betriebsstunden oder jährlich 40/43/47/52S/54er, 38-BV, JS63 @ 42\mod_1455093458180_1521.docx @ 431578 @ @ 1
Every 15-20 operating hours or annually
Lubricate the wheel bearings.
Pos: 22.14 /Innenteil/Wartungsintervalle/Alle 25 Betriebsstunden oder jährlich Luftfilter, Zündkerze reinigen @ 42\mod_1455093646420_1521.docx @ 432054 @ @ 1
Every 25 operating hours or annually
Clean the air filter paper insert W .
Clean the spark plug and adjust electrode distance Y .
Pos: 22.15 /Innenteil/Wartungsintervalle/Bei der Jahresinspektion Benziner, mit Antrieb @ 19\mod_1346244765719_1521.docx @ 149304 @ @ 1
During annual servicing
Have the air filter paper insert replaced W .
Have the spark plug replaced Y .
Clean the gearbox and the area under the belt cover.
Check the drive throttle cable and adjust it if necessary.
Pos: 23.1 /---------- 1 Leerzeile ---------- @ 0\mod_1114611787140_1521.docx @ 2070 @ @ 1
Pos: 23.2 /Innenteil/Pflege und Wartung des Mähers/1 PFLEGE UND WARTUNG DES MÄHERS @ 0\mod_1115362755234_1521.docx @ 1809 @ 1 @ 1
17 CARE AND SERVICING OF YOUR LAWNMOWER
Pos: 23.3 /Innenteil/Pflege und Wartung des Mähers/Pflege und Wartung des Mähers Hinweis @ 26\mod_1377171519784_1521.docx @ 189748 @ @ 1
Regular care is the best way to guarantee a long service life and problem-free
operation. Insufficient equipment maintenance will lead to safety-related faults!
Pos: 23.4 /Innenteil/Pflege und Wartung des Mähers/Originalersatzteile Hinweis @ 6\mod_1199788471285_1521.docx @ 43484 @ @ 1
Only use original spare parts because only those guarantee safety and quality!
Pos: 23.5 /Innenteil/Sicherheitshinweise/Sicherheitshinweis: Lesen, Messer, Stein, Motorstop, Heiss, Zündkerze, Zündschlüssel, Handschuhe @ 41\mod_1447057302097_1521.docx @ 428618 @ @ 1
Safety instruction!
See table for explanation of
symbols page 3
Pos: 23.6 /Innenteil/Pflege und Wartung des Mähers/1.1 Reinigung (Abbildung O ) @ 0\mod_1115363511390_1521.docx @ 1817 @ 2 @ 1
Cleaning (Illustration O )
Pos: 23.7 /Innenteil/Pflege und Wartung des Mähers/Reinigung Text Benzin 43er, 47er ,54er Quantum+675EXi @ 44\mod_1469519032086_1521.docx @ 507849 @ @ 1
IMPORTANT
During cleaning and maintenance work, do not place the mower on its side, tilt it
forwards (spark plug facing upwards) as otherwise start-up difficulties could
occur. When tilting the mower upwards make sure the ejection flap does not get
damaged. Secure the mower in its raised position!
NOTE
When tilting the mower upwards, make sure no oil or petrol escapes. Fire hazard!
Remove dirt and residual grass directly after mowing. Use a brush or cloth for cleaning.
Do not rotate the cutter bar, as otherwise motor oil is pumped into the carburettor/air
filter and start-up difficulties can occur.
NOTE
Do not insert your fingers into the openings in the fan housing and hold the fan.
If the cutter bar should be turned during cleaning, there is a risk of fingers being
squashed between fan and fan housing.
IMPORTANT
Never use high-pressure cleaners or a normal water jet to clean the drive area,
engine parts (such as ignition system, carburettor etc.), seals and bearing points.
Damage or expensive repairs can be the consequence of such action.
Pos: 23.8 /Innenteil/Pflege und Wartung des Mähers/1.1 Aufbewahrung @ 0\mod_1115363938281_1521.docx @ 1810 @ 2 @ 1
Storage
Pos: 23.9 /Innenteil/Pflege und Wartung des Mähers/Aufbewahrung Text @ 0\mod_1115364661953_1521.docx @ 1824 @ @ 1
Always keep the machine in a clean condition in a closed, dry room out of reach of
children. Always allow the engine to cool down before you store the machine in a
closed room.
Pos: 23.10 /Innenteil/Pflege und Wartung des Mähers/1.1 Umklappen des Führungsholmes (Abbildung A1) @ 1\mod_1132311550241_1521.docx @ 5669 @ 2 @ 1
Collapsing the handle (Illustration A1 )
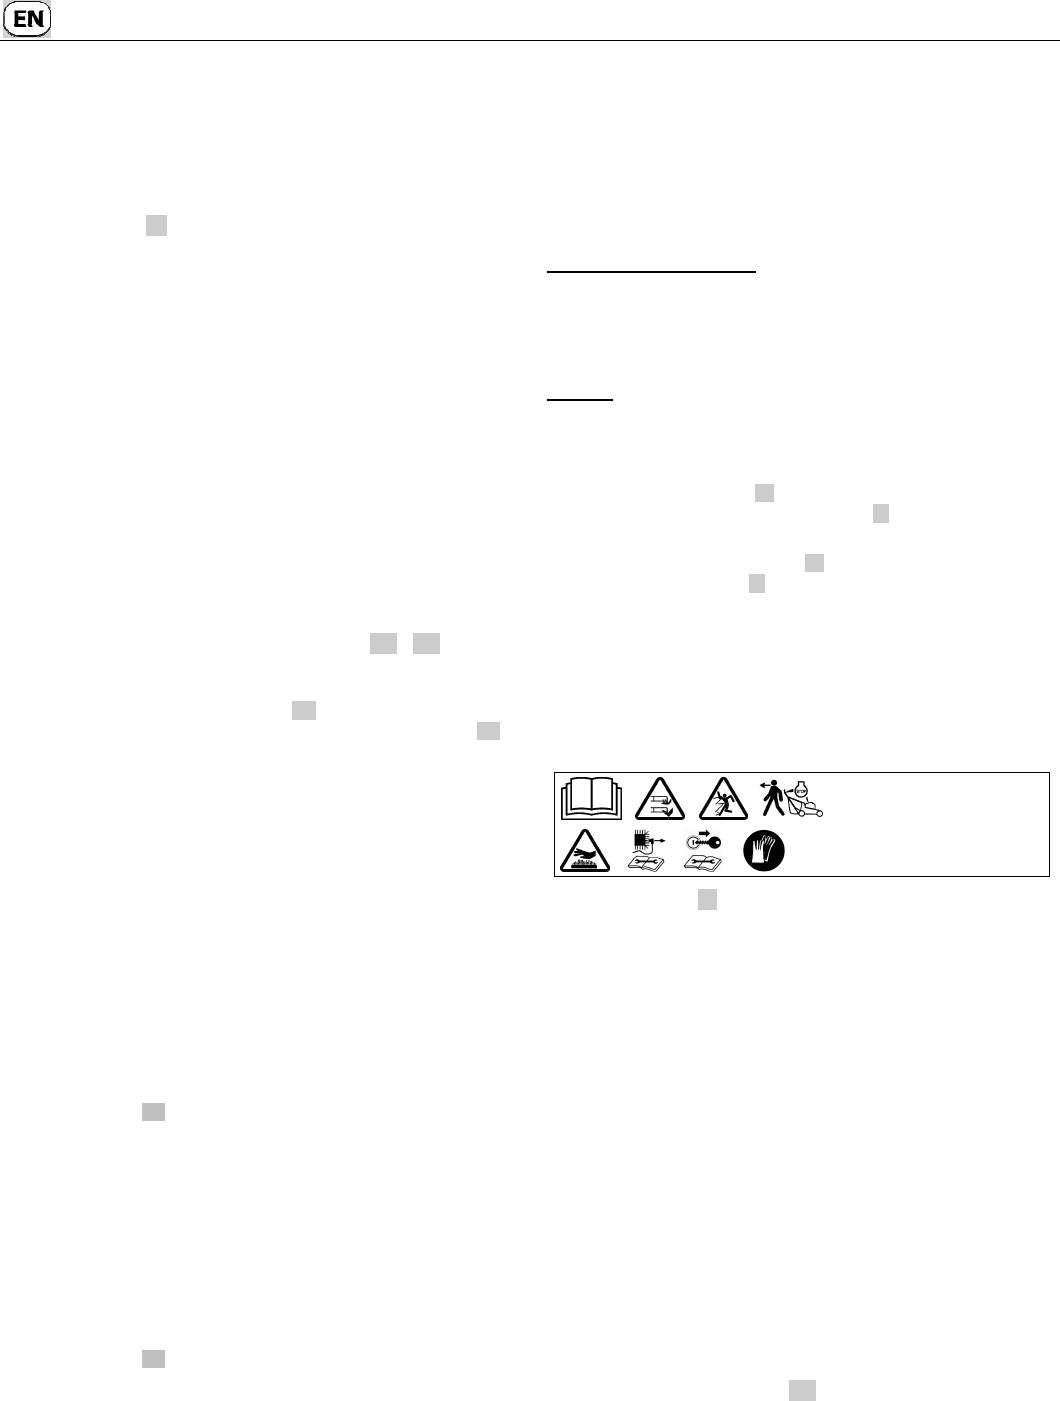
Pos: 23.11 /Innenteil/Pflege und Wartung des Mähers/Umklappen des Führungsholmes Text 43er Redesign, Schnellspanner @ 44\mod_1470121220189_1521.docx @ 509621 @ @ 1
For space-saving storage space or for transportation, open the quick releases,
loosen the wing nuts such that the handlebar can be folded together without
48


Need help? Post your question in this forum.

Forumrules


Report abuse

Libble takes abuse of its services very seriously. We're committed to dealing with such abuse according to the laws in your country of residence. When you submit a report, we'll investigate it and take the appropriate action. We'll get back to you only if we require additional details or have more information to share.

Product:

For example, Anti-Semitic content, racist content, or material that could result in a violent physical act.

For example, a credit card number, a personal identification number, or an unlisted home address. Note that email addresses and full names are not considered private information.

Forumrules

To achieve meaningful questions, we apply the following rules:

Register

Register getting emails for Sabo R43S at:


You will receive an email to register for one or both of the options.


Get your user manual by e-mail

Enter your email address to receive the manual of Sabo R43S in the language / languages: English, German, Dutch, French, Italian, Spanish as an attachment in your email.

The manual is 3,82 mb in size.


You will receive the manual in your email within minutes. If you have not received an email, then probably have entered the wrong email address or your mailbox is too full. In addition, it may be that your ISP may have a maximum size for emails to receive.

The manual is sent by email. Check your email

If you have not received an email with the manual within fifteen minutes, it may be that you have a entered a wrong email address or that your ISP has set a maximum size to receive email that is smaller than the size of the manual.

The email address you have provided is not correct.

Please check the email address and correct it.

Your question is posted on this page

Would you like to receive an email when new answers and questions are posted? Please enter your email address.


Info