Descrizioni delle impostazioni
INPUT MODE (modalità d’ingresso)
Questa unità rileva automaticamente se l’ingresso è
digitale o analogico, ma è possibile selezionare la modalità
d’ingresso.
AUTO: L ’unità rileva automaticamente se l’ingresso è
digitale o analogico.
ANALOG: L’unità imposta l’ingresso analogico.
DIG: L’unità imposta l’ingresso digitale.
PCMFIX
1
: Seleziona l’ingresso PCM.
A
DRCOMP (compressione gamma dinamica)
Cambiare questa impostazione per l’ascolto di supporti
registrati in Dolby Digital a basso volume (come di sera)
mantenendo la chiarezza del suono. Riduce il livello di picco
nelle scene rumorose senza danneggiare il campo sonoro.
OFF:
Il supporto viene letto con la gamma dinamica originale
(impostazione di fabbrica).
STANDARD:
Livello consigliato dal produttore del supporto per la visione
domestica.
MAX:
Compressione massima consentita (consigliata per la visione
di sera).
B
ATTENUATOR (attenuatore A/D)
Attivare l'attenuatore A/D se “OVERFLOW” si accende più
volte utilizzando l'ingresso analogico a 2 canali.
C
DTS-PCM
In caso di lettura di un CD DTS contenente DTS e PCM, ma
letto in modo scorretto, selezionare “YES”.
Se i n q u e s t o mo d o s i produce r u m o r e , tornar e
all’impostazione “NO”. (Questa impostazione è efficace per
ogni sorgente digitale.)
D
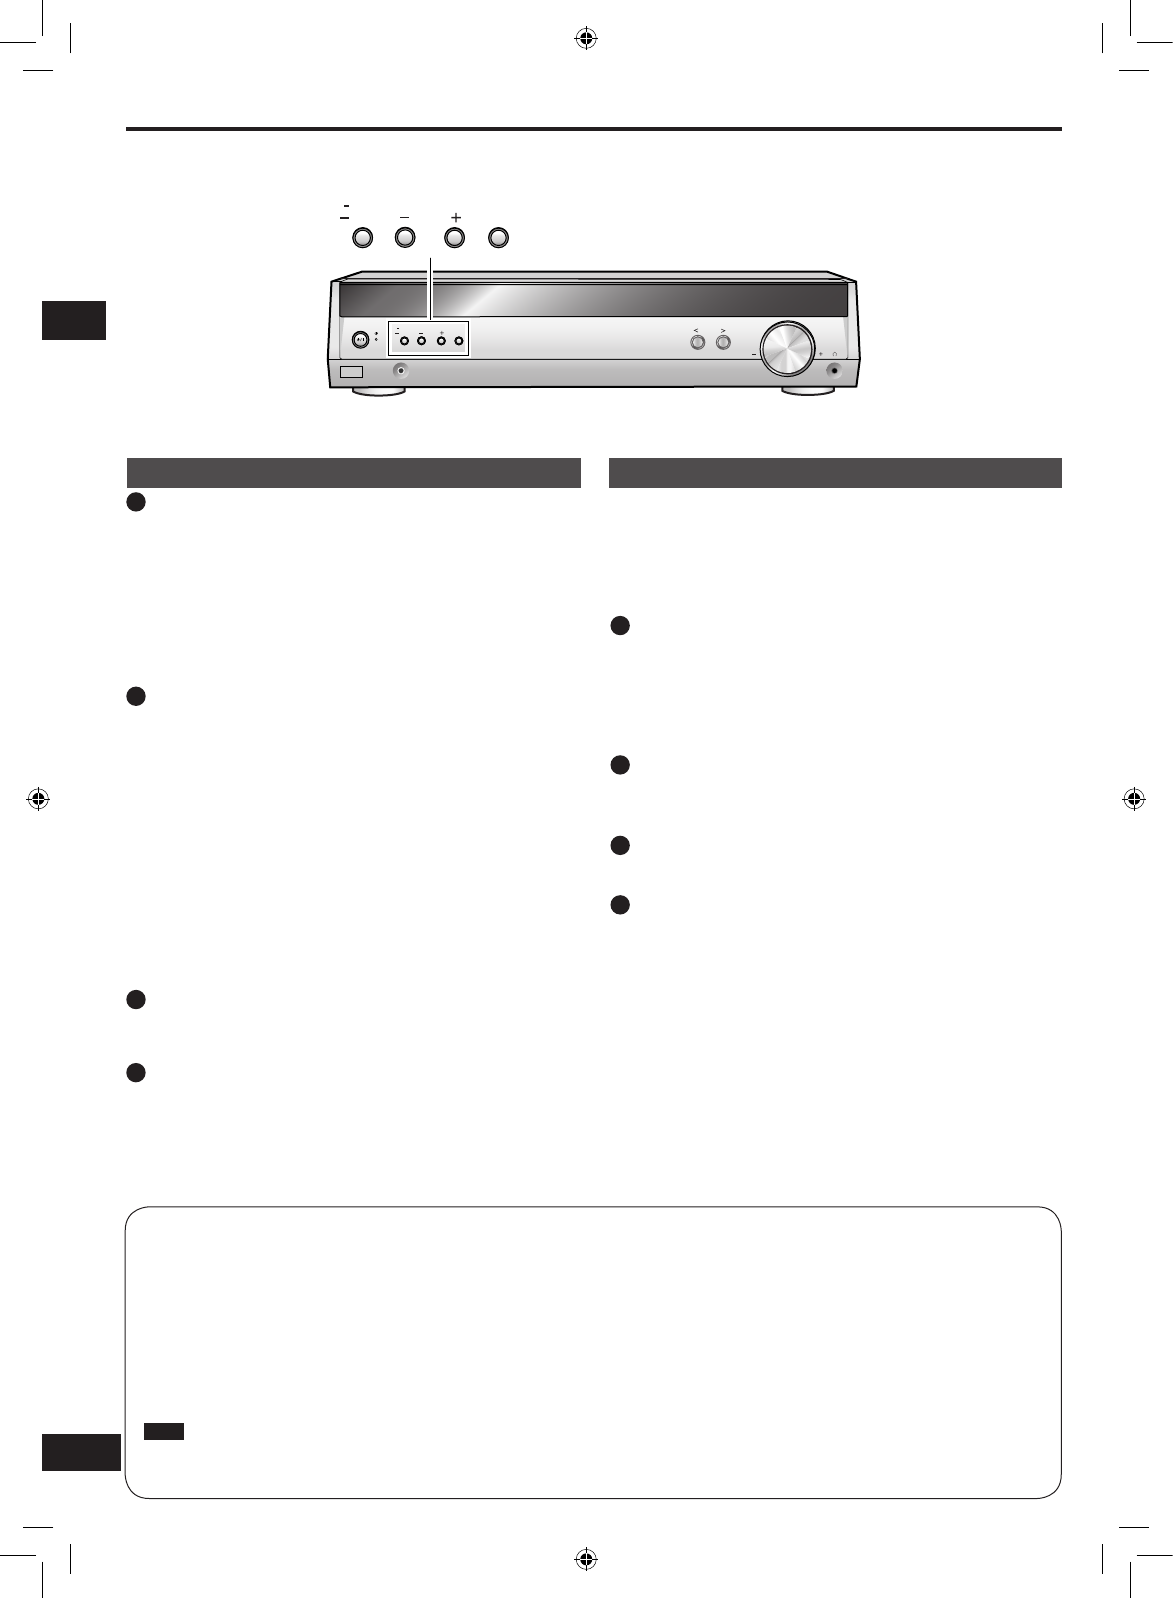
Modifica dell’impostazione
1. Tenere premuto il tasto [
―
SETUP] per entrare nel
menu di configurazione.
2. Premere [TUNE - o +] per selezionare l’opzione da
modificare
➡ [ENTER].
3. Modifica delle impostazioni.
INPUT MODE
1. Premere [TUNE - o +] per selezionare “TV” o “DVR”
➡ [ENTER].
2. Premere [TUNE - o +] per modificare l’impostazione.
Il display cambia come segue:
AUTO ↔ ANALOG ↔ DIG ↔ PCMFIX
DRCOMP
Premere [TUNE - o +] per selezionare “OFF”, “STANDARD”
o “MAX”.
ATTENUATOR
Premere [TUNE - o +] per selezionare “OFF” o “ON”.
DTS-PCM
Premere [TUNE - o +] per selezionare “NO” o “YES”.
4. Premere più volte [RETURN] finché viene
visualizzato “EXIT” ➡ [ENTER].
A
B
C
D
1
In casi rari, l’unità potrebbe non riconoscere i segnali PCM e pertanto le parti iniziali delle tracce potrebbero venire tagliate. In
tal caso, selezionare “PCMFIX”.
Con il DTS, i segnali potrebbero non essere riconosciuti affatto. In tal caso, attivare la modalità DTS FIX.
Per attivare la modalità DTS FIX:
Tenere premuti i tasti [-MENU] e [ENTER] contemporaneamente.
“DTS” si accende.
Per disattivare la modalità DTS FIX:
Tenere premuti i tasti [-MENU] e [ENTER] contemporaneamente.
La modalità si disattiva quando la modalità d’ingresso è impostata su AUTO o quando l’unità è spenta.
Quando la modalità FIX è attiva, l’unità non può elaborare altri segnali. Ciò potrebbe rendere rumorosa l’uscita. In tal caso,
selezionare una modalità d’ingresso diversa da PCMFIX o disattivare la modalità DTS FIX.
•
Nota
42