2322
Web Site : http://www.oneforall.com Web Site : http://www.oneforall.com
If the light does not blink when you press the num-
ber 2, the digit is zero.
5. For the third digit, press 3 and count the number of
times the red light (LED) blinks on the Cinema 6+.If
the light does not blink when you press the number
3, the digit is zero.
6. For the fourth and final digit, press 4 and count the
number of times the red light (LED) blinks on the
Cinema 6+. If the light does not blink when you
press the number 4, the digit is zero. Now you have
your four-digit code.
NOTE: To find out the code for your other components,
repeat Steps 1 through 6, only substitute the appropriate
device key (VCR, DVD/LD, RCVR, CD or CBL/SAT) for the
component code you wish to learn.
LEARNING FUNCTIONS ONTO THE 1L, 2L, 3L AND 4L
KEYS
The 1L, 2L, 3L and 4L keys can be used to customize those
functions that are unique to your home entertainment needs.
For example, the Cinema 6+ does not offerTracking Up or
Down for a VCR. With the learning feature on the Cinema 6+,
you can add these functions and many others learned from
your original remote control.
NOTE: Please have your original remote controls handy before
performing learning on the Cinema 6+.
1. Press and hold SETUP until the Cinema 6+’s red
light blinks twice, then release
SETUP.
2. Press 9 - 7 - 5. The Cinema 6+’s red light will blink
twice.
3. Press and release the Device key in which you want to
learn a feature (e.g., TV).
NOTE: Steps 4 through 6 need to be completed within 10
seconds. Please read the next three steps before proceed-
ing.
4. Press and release the L key in which the new fea-
ture is to be learned. The Cinema 6+’s red light will
flash rapidly.
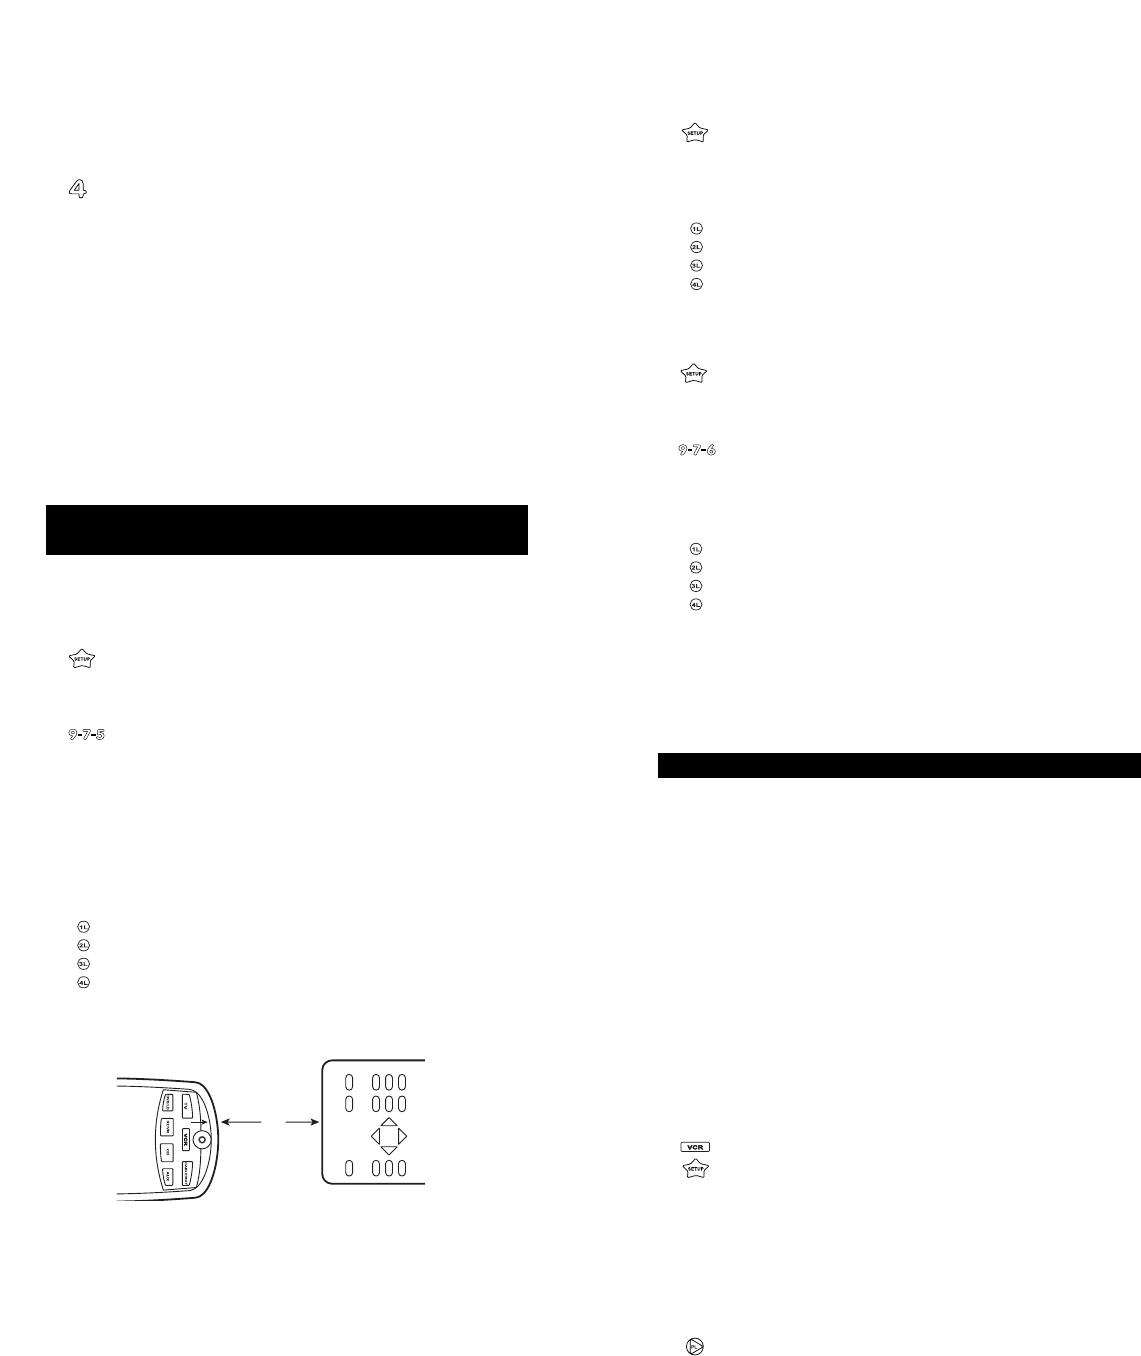
5. Align your original remote control with the arrow mark
to the left of the LED on your Cinema 6+ remote con-
trol (see diagram below)
6. On your original remote, press and hold the key (fea-
ture) you want to learn until the red light on the
Cinema 6+ blinks twice. (If the red light does not blink
twice, stop and repeat steps 1 through 6.)
NOTE: You can now repeat steps 3 through 6 to learn func-
tions on the other L keys.
7. Press and hold in the SETUP key until the Cinema
6+’s red light flashes twice to lock in your new fea-
ture. (If the red light does not blink twice, stop and
repeat steps 1 through 6).
8. To test the new feature, press and release the
Device key in which the feature was learned followed
by the L key on which the feature was learned.
Deleting Functions from the L Keys:
1. Press and hold in the SETUP key until the Cinema
6+’s red light flashes twice and then release the
SETUP key.
2. Enter in 9 - 7 - 6.
3. Press and release the Device key (e.g., TV) where
the learned feature to be deleted is stored.
4. Press the L key to be deleted twice. The Cinema
6+’s red light will blink twice after the second press
of the L key.
SETTING UP OTHER COMPONENTS
In addition to the components labeled on the device keys
(TV, VCR, DVD/LD, CBL/SAT, etc.), the Cinema 6+ can also
operate the following components: Cassette Decks, Infrared
Home Automation, MiniDisc, Video Accessories, Amplifier
and Miscellaneous Audio Components (Graphic Equalizers
and Digital Music Service Boxes).
The Setup Codes for these components can be accessed
under the following device keys:
Cassette Decks:Use the VCR Key
IR Home Automation: Use the CD Key
MiniDisc: Use the CD Key
Video Accessories: Use the CBL/SAT Key
(Note : WebTV found under Video Accessories)
Amplifier Use the RCVR Key
Miscellaneous Audio: Use the RCVR Key
For example, to set up a Cassette Player on the VCR key:
1. Turn on your Cassette Player and insert a tape.
2. Press VCR and release. Press and hold SETUP until
the Cinema 6+’s red light blinks twice, then release
SETUP.
3. Enter the first four-digit Cassette Player code listed
for your brand in the “Setup Codes For Audio
Cassettes” section. If you perform this procedure