22
ENGLISH
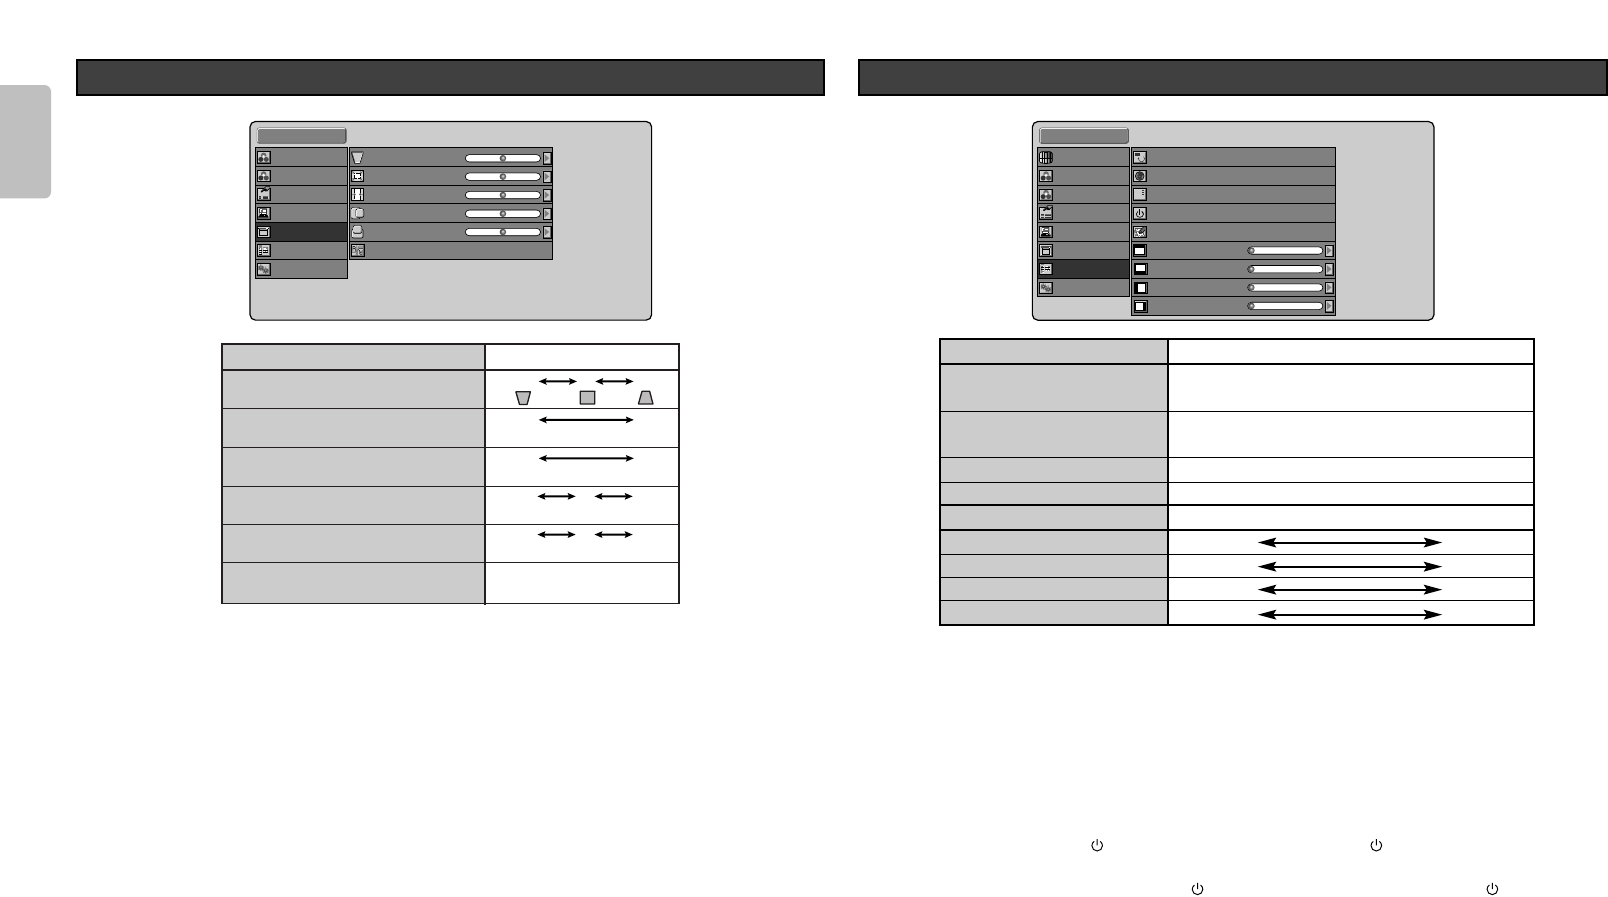
– Keystone
Adjust trapezoid image to rectangle image.
– Scale
Reduces the image without changing the aspect ratio. The image can be reduced to about 70% the
original size.
– Width
Reduces the image width without changing the image height. The width can be reduced to about 75%
the original size.
– Position H, V
Adjust the position of the input signal. H adjusts the horizontal position of the input signal. V adjusts the
vertical position of the input signal.
However, when Scale and Width are set to their default settings, the picture position cannot be
adjusted.
– Instllation
Sets the installation mode of the projector.
Front: Select to set the projector on a tabletop and project from in front of the screen.
Rear: Select to set the projector on a tabletop and project from behind the screen.
F + Ceiling: Select to mount the projector on the ceiling and project from in front of the screen.
R + Ceiling: Select to mount the projector on the ceiling and project from behind the screen.
Display
– Menu Position
OSD position is selected from 9 positions.
– Status Info.
Enable: Displays the current status of the projector for a set amount of time in the upper right-hand
corner of the screen at startup and whenever the Input Source, Picture Mode, Aspect ratio or
other setting is changed.
Disable: Does not display Status Info.
– Power-OFF Confirm.
Disable:
Directly puts the projector on standby without displaying the confirmation message when power
is shut off from the button on the remote controller or the
/I
button on the projector.
Enable: Displays a confirmation message asking whether to shut the power off or continue use
when power is shut off from the button on the remote controller or the /I button on the
projector. To shut off the power immediately, select “Yes” and press the ENTER button. To
not shut off the power, select “No” and press the ENTER button.
– Blanking Memory
Sets the blanking mode with which part of the screen can be hidden in black bands. To use this mode
or change the setting, select from Memory 1 to 3.
Off: Turns the blanking mode off. No masking occurs.
Memory 1-3: Memorize the blanking width of the top, bottom, left and right masks set with the
below features. Up to three settings can be memorized.
– Blanking Top, Bottom, Left and Right
Set the blanking width of the top, bottom, left and right masks, which are then memorized in Memory 1
– 3 of Blanking Memory. Each can be set from 0 (no mask) to a maximum 100.
Status Info.
Power-OFF Confirm.
Config.
OSD/Blanking
Item
Menu Position
Language
Status Info.
Power-OFF Confirm.
Blanking Memory
Blanking Top
Blanking Bottom
Blanking Left
Blanking Right
Adjustments
Top-L, Top, Top-R, Center-L, Center, Center-R,
Bottom-L, Bottom, Bottom-R
English, Deutsch, Français, Español,
Português, Italiano
Enable, Disable
Enable, Disable
Off, Memory 1, Memory 2, Memory 3
0 100
0 100
0 100
0 100