29
Nederlands
Veiligheidsvoorschriften
• Verzeker u ervan dat de netspanning van uw elektrische installatie overeenkomt
met die welke op het kenplaatje van het apparaat staat vermeld.
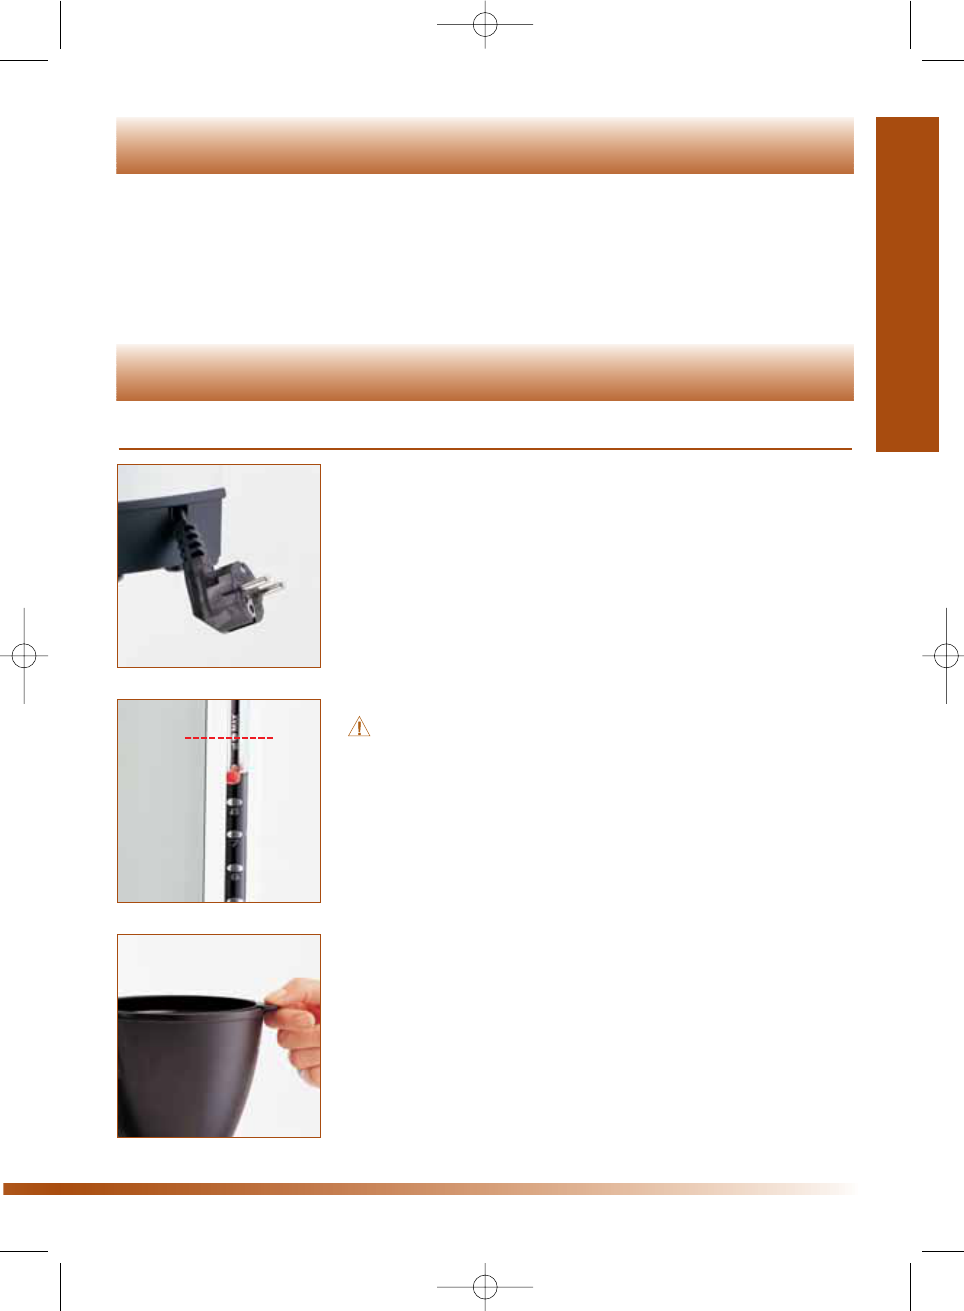
• Het apparaat moet altijd op een geaard stopcontact worden aangesloten met
gebruikmaking van het originele snoer. Als u een verlengsnoer gebruikt, moet dit
zijn voorzien van een geaarde stekker.
• Gebruik het apparaat nooit met een beschadigd snoer. Als het snoer beschadigd
is, mag het uitsluitend worden vervangen door de fabrikant, door een erkende
reparatieservice of door een erkend elektricien, om risico te voorkomen.
• Trek altijd eerst de stekker van het apparaat uit het stopcontact, voordat u het
verplaatst, schoonmaakt of in geval van een technische storing. Trek niet aan het
snoer om de stekker uit het stopcontact te nemen.
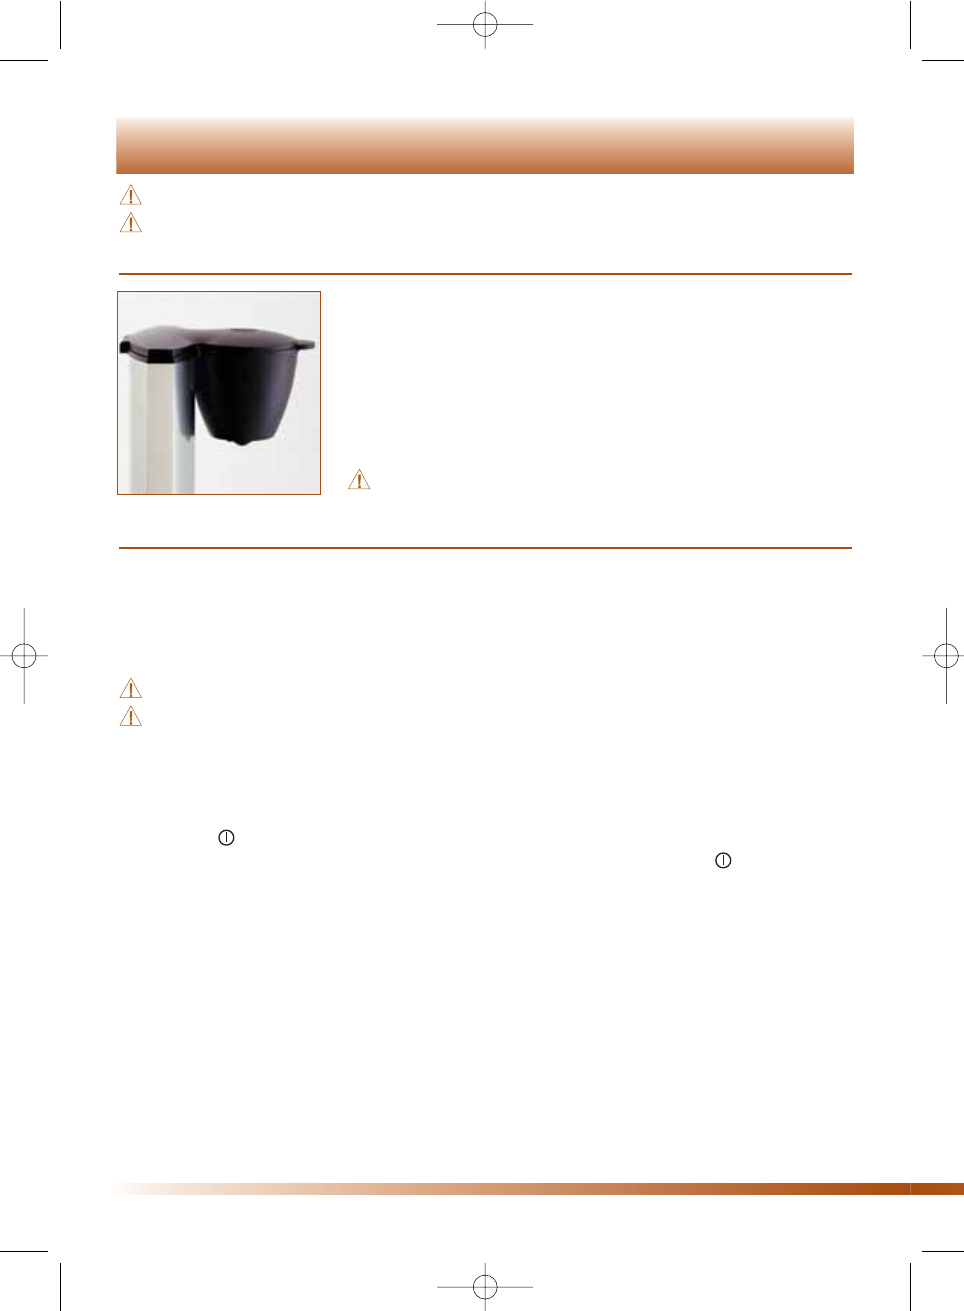
• Plaats het apparaat, de schenkkan of het snoer nooit op of naast een zeer warm
oppervlak.
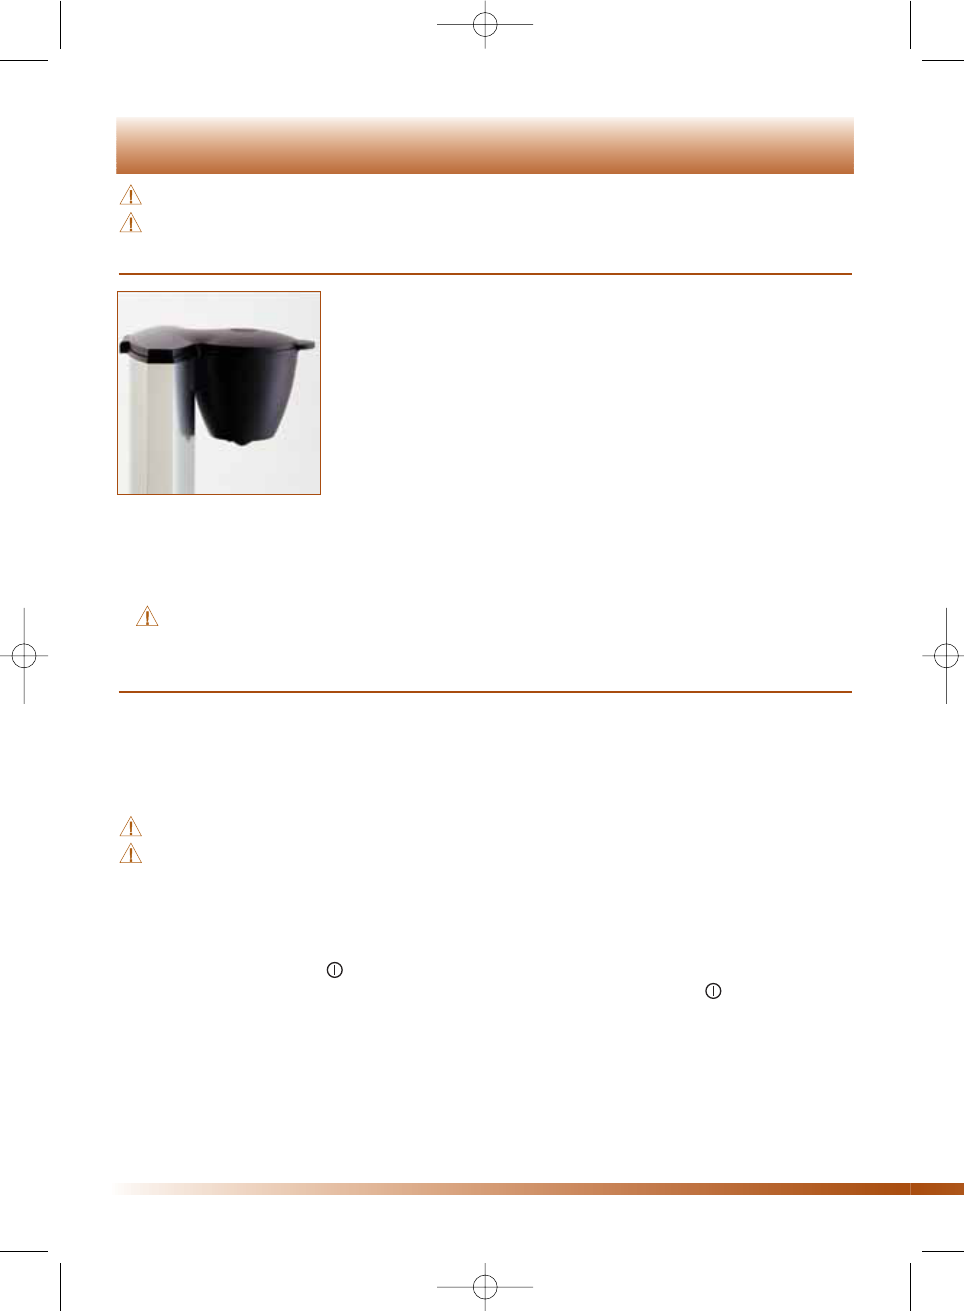
• Vul het waterreservoir nooit tot boven het maximumniveau, want anders kan de
schenkkan overlopen.
• Wacht na het koffiezetten ongeveer 5 min. voordat u opnieuw koffiezet, om het
apparaat te laten afkoelen.
• Laat kinderen niet zonder toezicht in de buurt van het apparaat.
• Dompel het apparaat nooit in water onder.
• Doe uitsluitend koud water in het waterreservoir en geen andere vloeistoffen.
• Gebruik het apparaat niet buitenshuis.
• Dit apparaat is uitsluitend bestemd voor huishoudelijk gebruik en is niet geschikt
voor professioneel / commercieel gebruik.
• Dit apparaat is niet bedoeld voor gebruik door personen (inclusief kinderen) met
verminderd lichamelijk, zintuiglijk of geestelijke vermogen of gebrek aan ervaring
en kennis tenzij zij aanvankelijk supervisie of instructie met betrekking tot gebruik
van het apparaat hebben gekregen door een persoon die verantwoordelijk is voor
hun veiligheid.
Voor alle bijkomende inlichtingen kunt
u terecht bij onze Klantenservice op het nummer :
BELGIË HOLLAND
26 rue des Hayettes MICAVE B.V.
6540 Mont-Sainte-Geneviève Postbus 2086
Tél. : (071) 59 32 62 5300 CB - ZALTBOMMEL
Fax : (071) 59 36 04 Tel.: 0418 54 05 05 - Fax: 0418 54 05 06
Wij behouden ons het recht voor de technische kenmerken van deze apparaten zonder voorafgaande kennisgeving te wijzigen.
De in dit document vervatte informatie is niet contractueel en kan op elk moment gewijzigd worden.
© Alle rechten voor alle toestellen voorbehouden aan: Magimix.