L
0405HOH-AL-VP
(M5S7)
© 2005 Victor Company of Japan, Limited
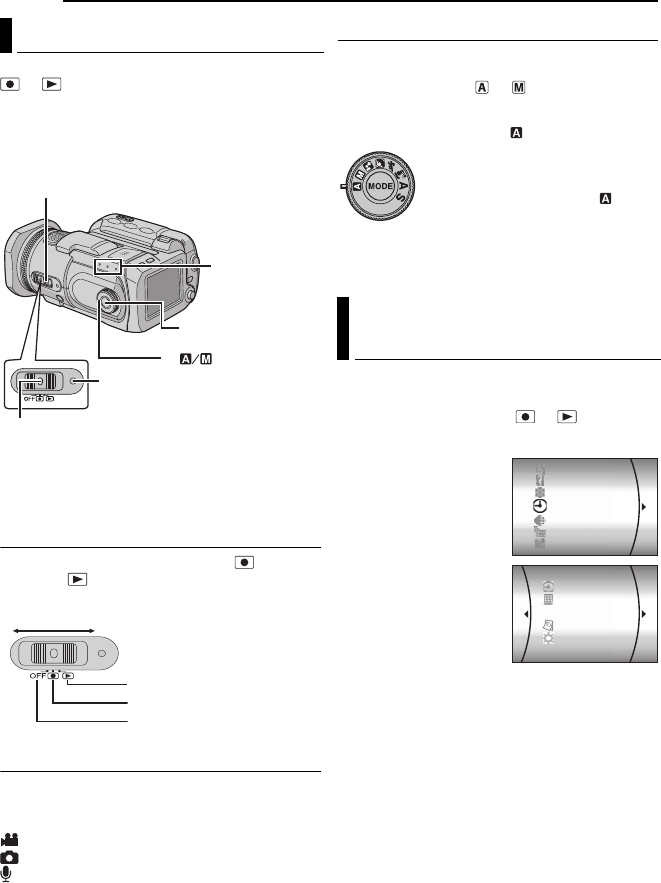
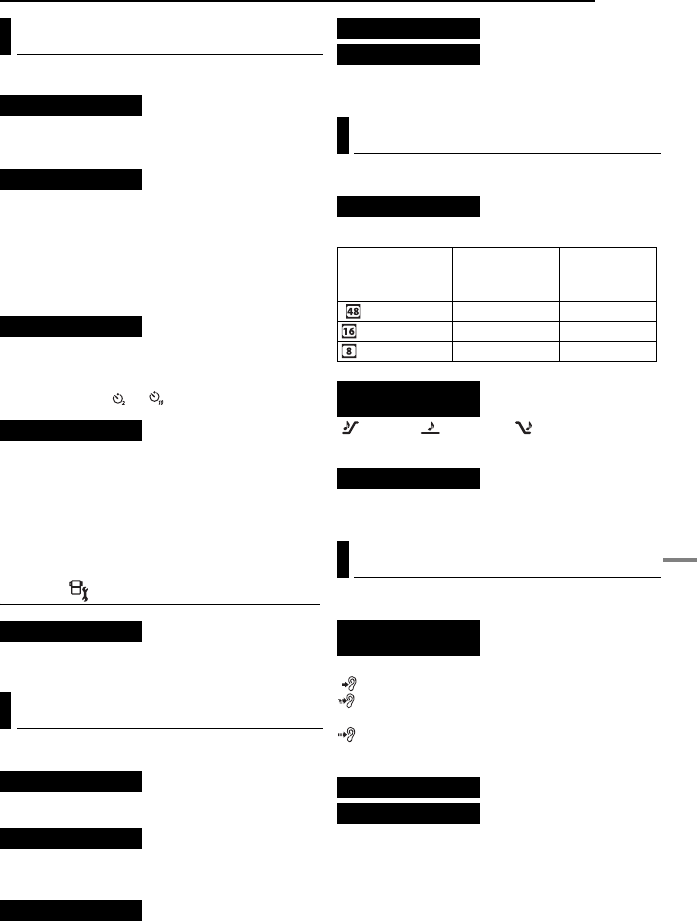
Slide
Schieben
F
Schuiv
Deslizar
F
Skub
Empurre
T
Skjut
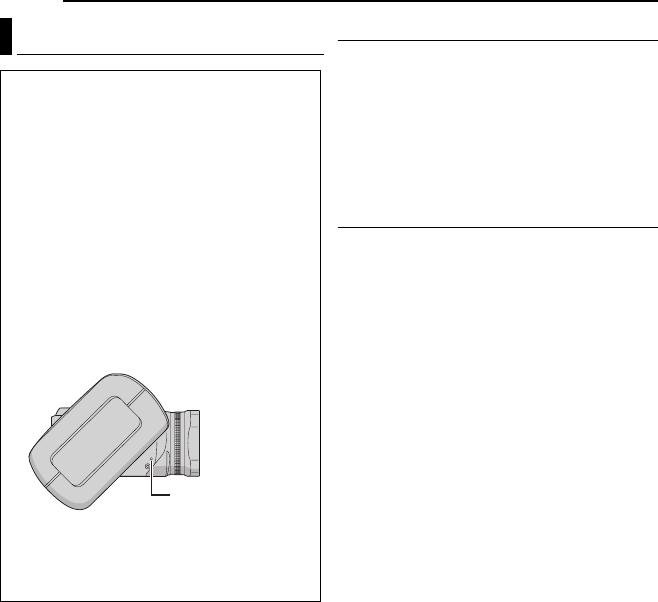
Read Before Usage
—Operation of the Removable Hard Disk—
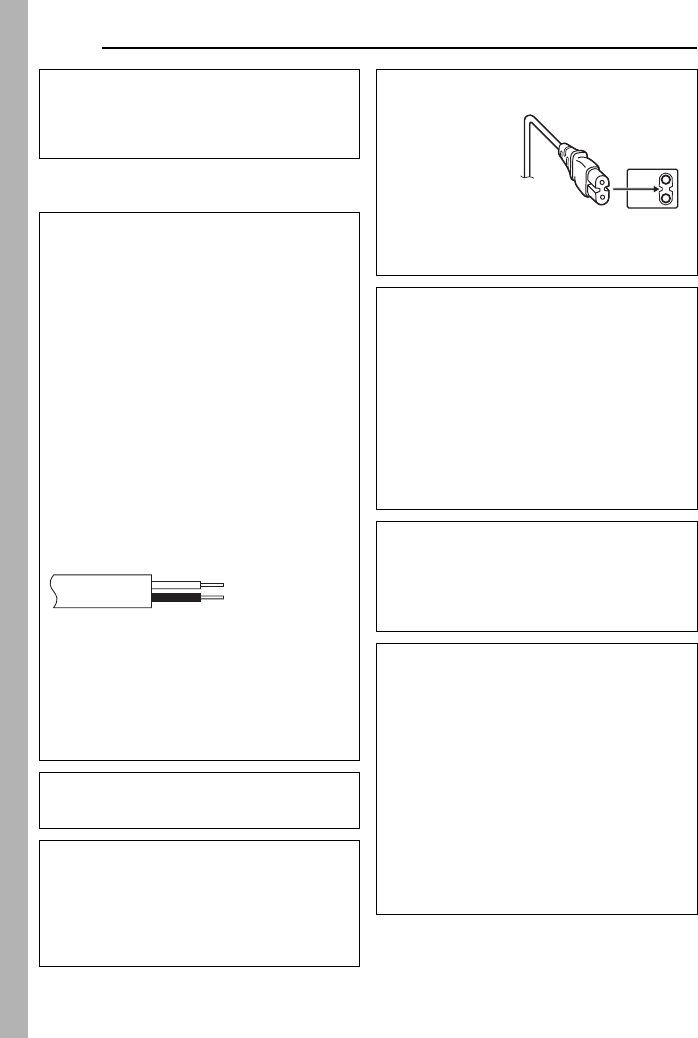
The removable hard disk is a precision elec
devi
Do not subject
pressure.
● This could cause a breakdo
● Be especially careful
or during play
● After remo
inserting into the supplied protective case
● Slide the disk t
protec
● Do not apply str
grasping it
side.
Cautions for tempera
● The camera’
recording or pl
temperature is too high or too
recordin
● The camera and remo
used f
malfunction.
● Be careful when removing th
camera. Do not remo
immediately after shoot
NOTE:
Refer t
instruction manual.
Vor Gebrauch lesen
— Betrieb der herausnehmbaren Festplatte —
Die herausnehmba
elektronisches Präz
Setzen Sie
oder großem Druck aus.
● Dies könnte zu
● Achten Sie b
Wiedergabe dar
● Nachdem Sie die F
haben, be
auf
● V
zu entnehmen bzw
● Üben Sie k
Beispiel durch
Etikett
Hinweise zur
● Die Schutzschaltu
T
niedrigen T
F
werden.
● Bei ausgiebigem Gebr
herausnehmbare F
Fe
● Seien Sie v
Fe
Datenträger nicht sof
aus der Kamera
HINWEIS:
Siehe Abschnitt
des Bedienungsh
À lire avant utilisation
— Utilisation du disque dur amovible —
Le disque dur amovible est un dispositif électronique
de précis
Ne pas soumettr
saccadés o
● Cela p
● F
brusques pendant la prise de vue et la lecture
● Une f
l’insérant dan
● F
du boîtier de
● Ne pas appliquer
l’extérieur comme
saisissez fe
vous écriv
Mises en gar
● Le circuit de pro
pour une lecture o
température
trop basse.
risquent d’être désactivés.
● L
chauff p
T
● F
l’appareil photo
immédiatement après une prise de vue ou une lecture
REMARQU
Se reporter à la section « Disque dur amovible » à la page
6 du manuel d’utilisation.
Lezen voor gebruik
—W
De verwijder
precisie-in
Stel de schijf niet
duw er niet hard op.
● Hierdoor
● Let er
tijdens het mak
● Berg de
los hebt genomen v
● Plaat
beschermende verpakking, op dezelfde wijz
schijf ook weer uit de v
● Duw niet hard op de schijf
druk uit op het label door erop te schrijv
Let op de
● Het be
komen o
wanneer de temper
wordt. W
opnamen te mak
● De camer
worden w
gebruikt. Dit is echter geen storing.
● Ga v
schijf losneemt v
onmiddellijk na het mak
de camera.
OPMERKI
Zie de paragr
de instructiehandleiding.
Leer antes de usar
—Funcionamiento del disco duro extraíble—
El disco duro extraíble es un dispositivo electrónico
de prec
Evite sacudir
disco.
● P
● Evite especialment
filmación o la re
● Después de
funda protecto
● Deslice el disco tanto
de la caj
● No ejerza u
el disco por el lado de la etique
etiqueta.
Precaucione
● P
el circuito de protección de la cáma
funcionamiento si
demasiado alta o baja. Cuando esto suceda
o reproducción pueden desacti
● T
calentarse si se utilizan de f
esto no es un f
● Retire
cuidado
después de filmar o reproducir
NOT
Consulte la sección "Disco duro e
manual de instrucciones.
Leggere prima dell’uso
—Utilizzo dell’hard disk rimovibile—
Lapparecchio elettronico di
precisione.
Non sottporre
pressione ec
● In caso contr
● Presta
improvvi
● Dopo a
conservarlo inserendolo nella custodia protetti
dotazione
● F
protettiv
● Non a
affe
lato dell’etichetta.
Precauzioni relative
● Il
entrare in funzion
riproduzione corretta quand
Media camera
la registrazione
disatti
● La Media
riscaldarsi se utilizzati per periodi di tempo prolu
T
● F
camera. Non rimuo
dopo av
NOT
Consultare la sezione "Hard disk rimo
manuale d’uso
Ler antes da utilização
—Funcionamento do disco rígido amovível—
O disco rí
de precisão.
Não submeta o disc
estremeções
● Se o fiz
● Dur
súbitos.
● Depois de reti
protecção f
● Empurr
respectiv
● Não f
escre
etiqueta.
Cuidados
● Se a temper
baixa, o circuito de protecção da câmara pode ser activ
para gar
Quando isto acontece
ser desact
● Se os utilizar
amovív
avar
● T
câmara. Não r
depois de terminar a filmagem ou reprodução
NOT
Consulte a secção "Disco rígido amov
manual de instruções.
Læs dette før brug
—Betjening af den flytbare harddisk—
Den flytbare harddisk er en præcisionsteknolog
elektronisk enhed.
Udsæt ikke disken
tryk.
● Dett
● Sø
eller afspilning.
● Når d
den medfø
● T
beskyttelsesæsk
● Udsæt den
hårdt f
Forsigtighedsre
● Kamer
korrekt indspiln
temperatur er f
muligvis ikke udf
● Kamer
bruges i længere tid ad gangen.
● Vær f
kameraet. T
eller afspilning.
BEMÆRK:
Se i afsnittet "Flytbar har
Lue ennen käyttöä
—Siirrettävän kiintolevyn käyttö—
Siirrettävä kiintolevy on e
Älä altista l
paineell
● Ne v
● Vräyksiä kuvauksen ja toiston
aikana.
● K
toimitetussa suojak
● T
suojako
● Älä k
tarttumalla lujasti nimiöpuolelta tai kirjoitt
nimiöpuolelle.
V
● Kamer
nauhoituksen tai toiston,
on liian k
voiv
● Kamer
käytetään pitkän aikaa
virhetoiminto
● Ole v
kamerasta. Älä poista l
kuva
HUOM:
Katso käyttöohjeen k
Läs detta före användning
—Handhavande för den borttagbara hårddisk
Den bor
precisions
Utsätt int
tryck.
● Det kan orsaka ett ha
● V
fot
● Efter
medföljande skyddsf
● Skjut di
● Utsätt den
i den hårt
etiket
V
● Kamer
eller uppspelning då kamerans i
hög eller för låg. När detta händ
avakt
● Kamer
uppvärmda när de använts under en läng
dock inte något
● V
ur kameran. Ploc
efter f
ANMÄRKNING
Refe
bruksanvisningen.
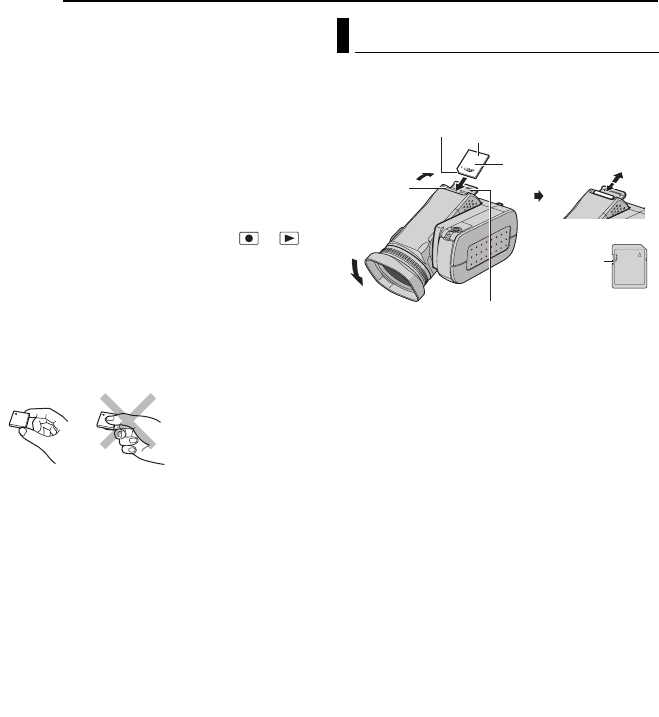
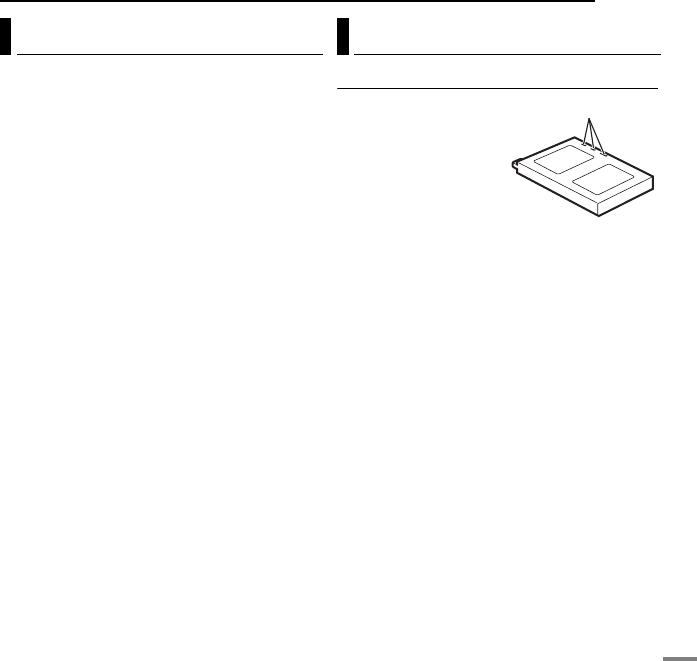
ENGLISH
The remov
packaged in a silv
DEUTSCH
Die herausnehmbare F
befinden sich in einer silbernen Tüte.
FRANÇAIS
Le disque dur
placés da
NEDERLANDS
De verwijderba
beschermende verpakking in een zilveren zakje
ESP
El disco duro e
dentro de un en
IT
Lua custodia protettiva sono
impacchettati in una b
PORTUGUÊS
O disco rígido amovív
estão embalados n
DANSK
Den flytbare disk og dens beskyttelsesæske er pakket ind
i en sø
SUOMI
Siirrettävä kiintole
hopeanvärisessä pussissa.
SVENSKA
Den bor
lev
LYT1423-004A_A3.fm