2.) The “New Account” page will show. Please fill in all required fields and click the “Sign up” button
Logging into HeartPal online with an existing account
On the HeartPal main page, enter your login name and passwordand click the “Log in” button
Uploading data from the Iqua ACTIVE to your PC
After successfully logging in or signing up, the upload data page will show on the screen.
If there is any data available, you will be able to click “Yes” to upload data from your device to your PC.This will also enable the HeartPal software to save any changes made to your
account in the device.
Click “No” to skip uploading data from your device to your PC.This will also disable the HeartPal software from saving any changes made to your account in the device.
MY HOME
Click the “My Home” button at the bottom of the screen to go to the “My Home” main page.
This page will show the user’s name, total number of runs, total distance ran, and total time used during the runs.
This page will also show the status of the latest goal, if available.
Device Setting
Click the “Device Setting” button at the bottom of the screen to go to the “Device Setting” main page.
Note: This page shows when a compatible HeartPal device is detected
General Setting
1.) On the “Device Setting” page, click “General Setting”
2.) Configure your settings: units, double-tap speed and step distance
3.) Click the “Save” button
Voice Prompt
1.) On the “Device Setting” main page, click “Voice Prompt”.
2.) Configure your settings: record information, volume level, language, Voice Out mode and duration option
3.) Click the “Save” button
MY RUNS
The following buttons offer the following functions:
My Runs – Takes you to the “My Runs” page
Weeks – Shows run data by weeks
Months – Shows run data by months
Heart rate – Shows heart rate data
Calories – Shows calories data
Line graph – Shows run data in a line graph
Bar chart – Shows run data in a bar chart
Left or Right – Moves the current display time frame forward or backward
Facebook logo – Takes you to the Facebook HeartPal application. This will start automatically updating your workout data to Facebook
MY GOAL
Click the “My Goals” button at the bottom of the screen to go to the “My Goal” main page.
Creating a new goal
1.) Select the type of goal – distance, time, or calories
2.) Enter/modify the target number for the type of goal
3.) Enter/modify the “StartAt” date
4.) Select time period unit – days, weeks, or months
5.) Enter/modify the number for the time period
6.) Click the “Create new” button
Editing goals
1.) Select the goal record on the right side of the page that needs to be edited
2.) Select type of goal – distance, time, or calories
3.) Modify the target number for the type of goal
4.) Modify the “StartAt” date
5.) Select time period unit – days, weeks, or months
6.) Modify the number for the time period
7.) Click the “Edit” button
Deleting goal
1.) Select the goal record on the right side of the page that needs to be deleted
2.) Click the “Delete” button
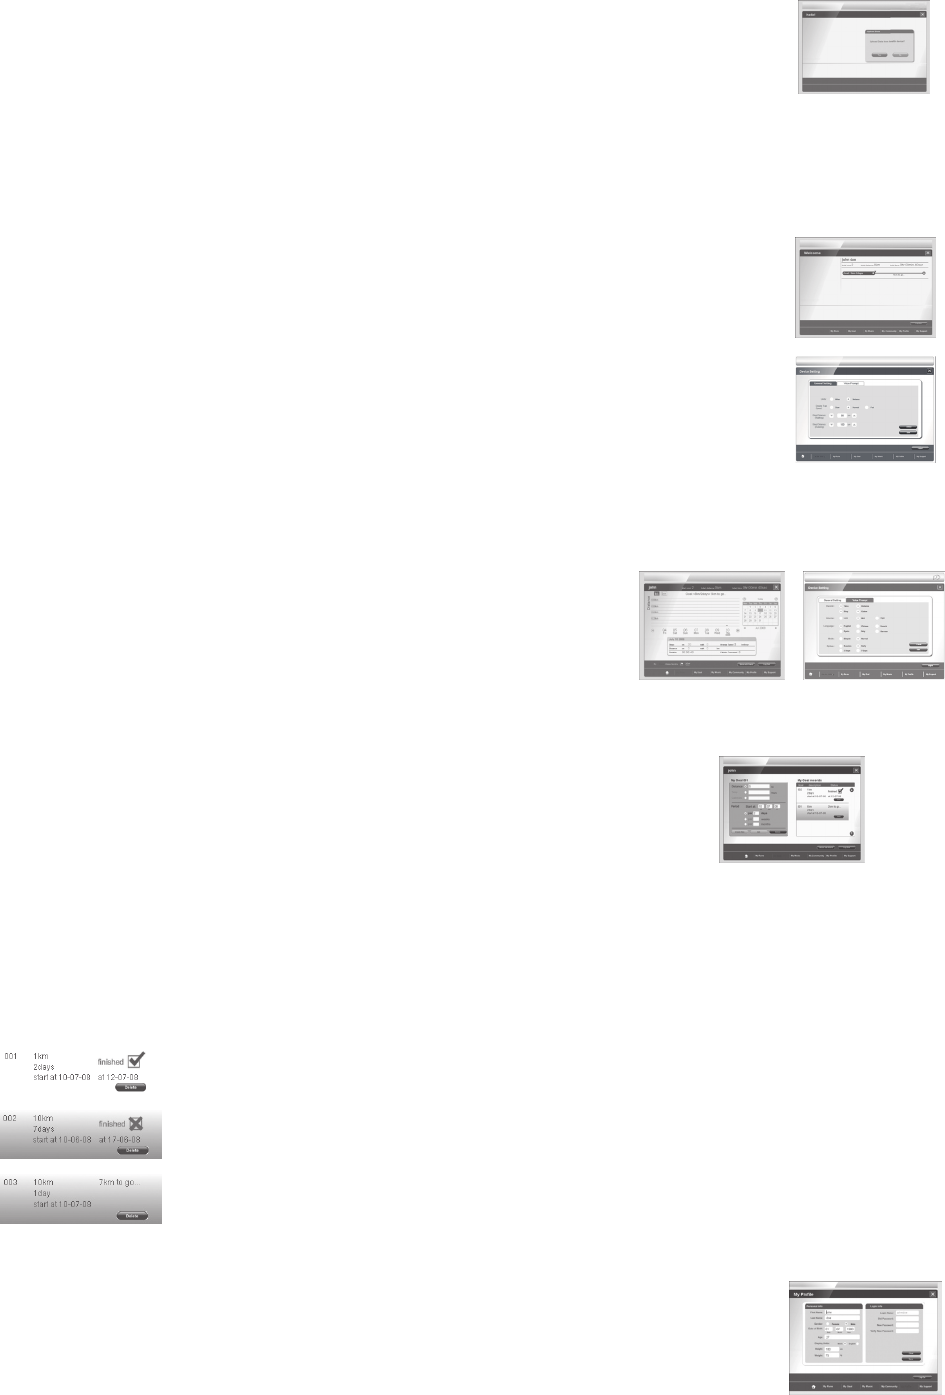
Goal Status
A finished goal is shown with a check
An unfinished and expired goal is shown with a cross and an orange background
And unfinished and ongoing goal is shown with the amount left to reach the target
MY MUSIC
Click the “My Music” button at the bottom of the screen to start Windows Media Player
MY PROFILE
Editing and saving your profile
1.) Modify the desired information in your profile
2.) Enter the password information – If you’re not changing the password, enter the existing password information in the “New Password” and “Confirm
New Password” sections
3.) Click the “Save” button. If device is connected and your data was uploaded successfully from the device, the changes will be saved to both the device
and your PC. Otherwise, the changes will only be saved on the PC. It is recommended that you have the device connected to your PC when making
changes to the profile in order to ensure that the data is synced between the device and PC.
Deleting your profile
Deleting only the profile data is not supported. You can choose to remove the account (under the “My Support” section), but please note that both profile and run data for the account will be
permanently deleted.
Clearing entries
Click the “Clear” button to clear all entries on the page. This will not affect data that is already saved on the device and PC.
MY SUPPORT
Click the “My Support” button at the bottom of the screen to go to the “My Support” main page.
This page shows the current version of the software.
Ensure the Iqua Active is powered off before connecting the USB dongle to your PC.
Libble takes abuse of its services very seriously. We're committed to dealing with such abuse according to the laws in your country of residence. When you submit a report, we'll investigate it and take the appropriate action. We'll get back to you only if we require additional details or have more information to share.
Product:
Forumrules
To achieve meaningful questions, we apply the following rules:
First, read the manual;
Check if your question has been asked previously;
Try to ask your question as clearly as possible;
Did you already try to solve the problem? Please mention this;
Is your problem solved by a visitor then let him/her know in this forum;
To give a response to a question or answer, do not use this form but click on the button 'reply to this question';
Your question will be posted here and emailed to our subscribers. Therefore, avoid filling in personal details.
Register
Register getting emails for Iqua Active at:
new questions and answers
new manuals
You will receive an email to register for one or both of the options.
Get your user manual by e-mail
Enter your email address to receive the manual of Iqua Active in the language / languages: English, German, Dutch, Danish, French, Italian, Polish, Portuguese, Swedish, Turkish, Spanish, Norwegian, Finnish as an attachment in your email.
The manual is 8,29 mb in size.
You will receive the manual in your email within minutes. If you have not received an email, then probably have entered the wrong email address or your mailbox is too full. In addition, it may be that your ISP may have a maximum size for emails to receive.
The manual is sent by email. Check your email
If you have not received an email with the manual within fifteen minutes, it may be that you have a entered a wrong email address or that your ISP has set a maximum size to receive email that is smaller than the size of the manual.
The email address you have provided is not correct.
Please check the email address and correct it.
Your question is posted on this page
Would you like to receive an email when new answers and questions are posted? Please enter your email address.