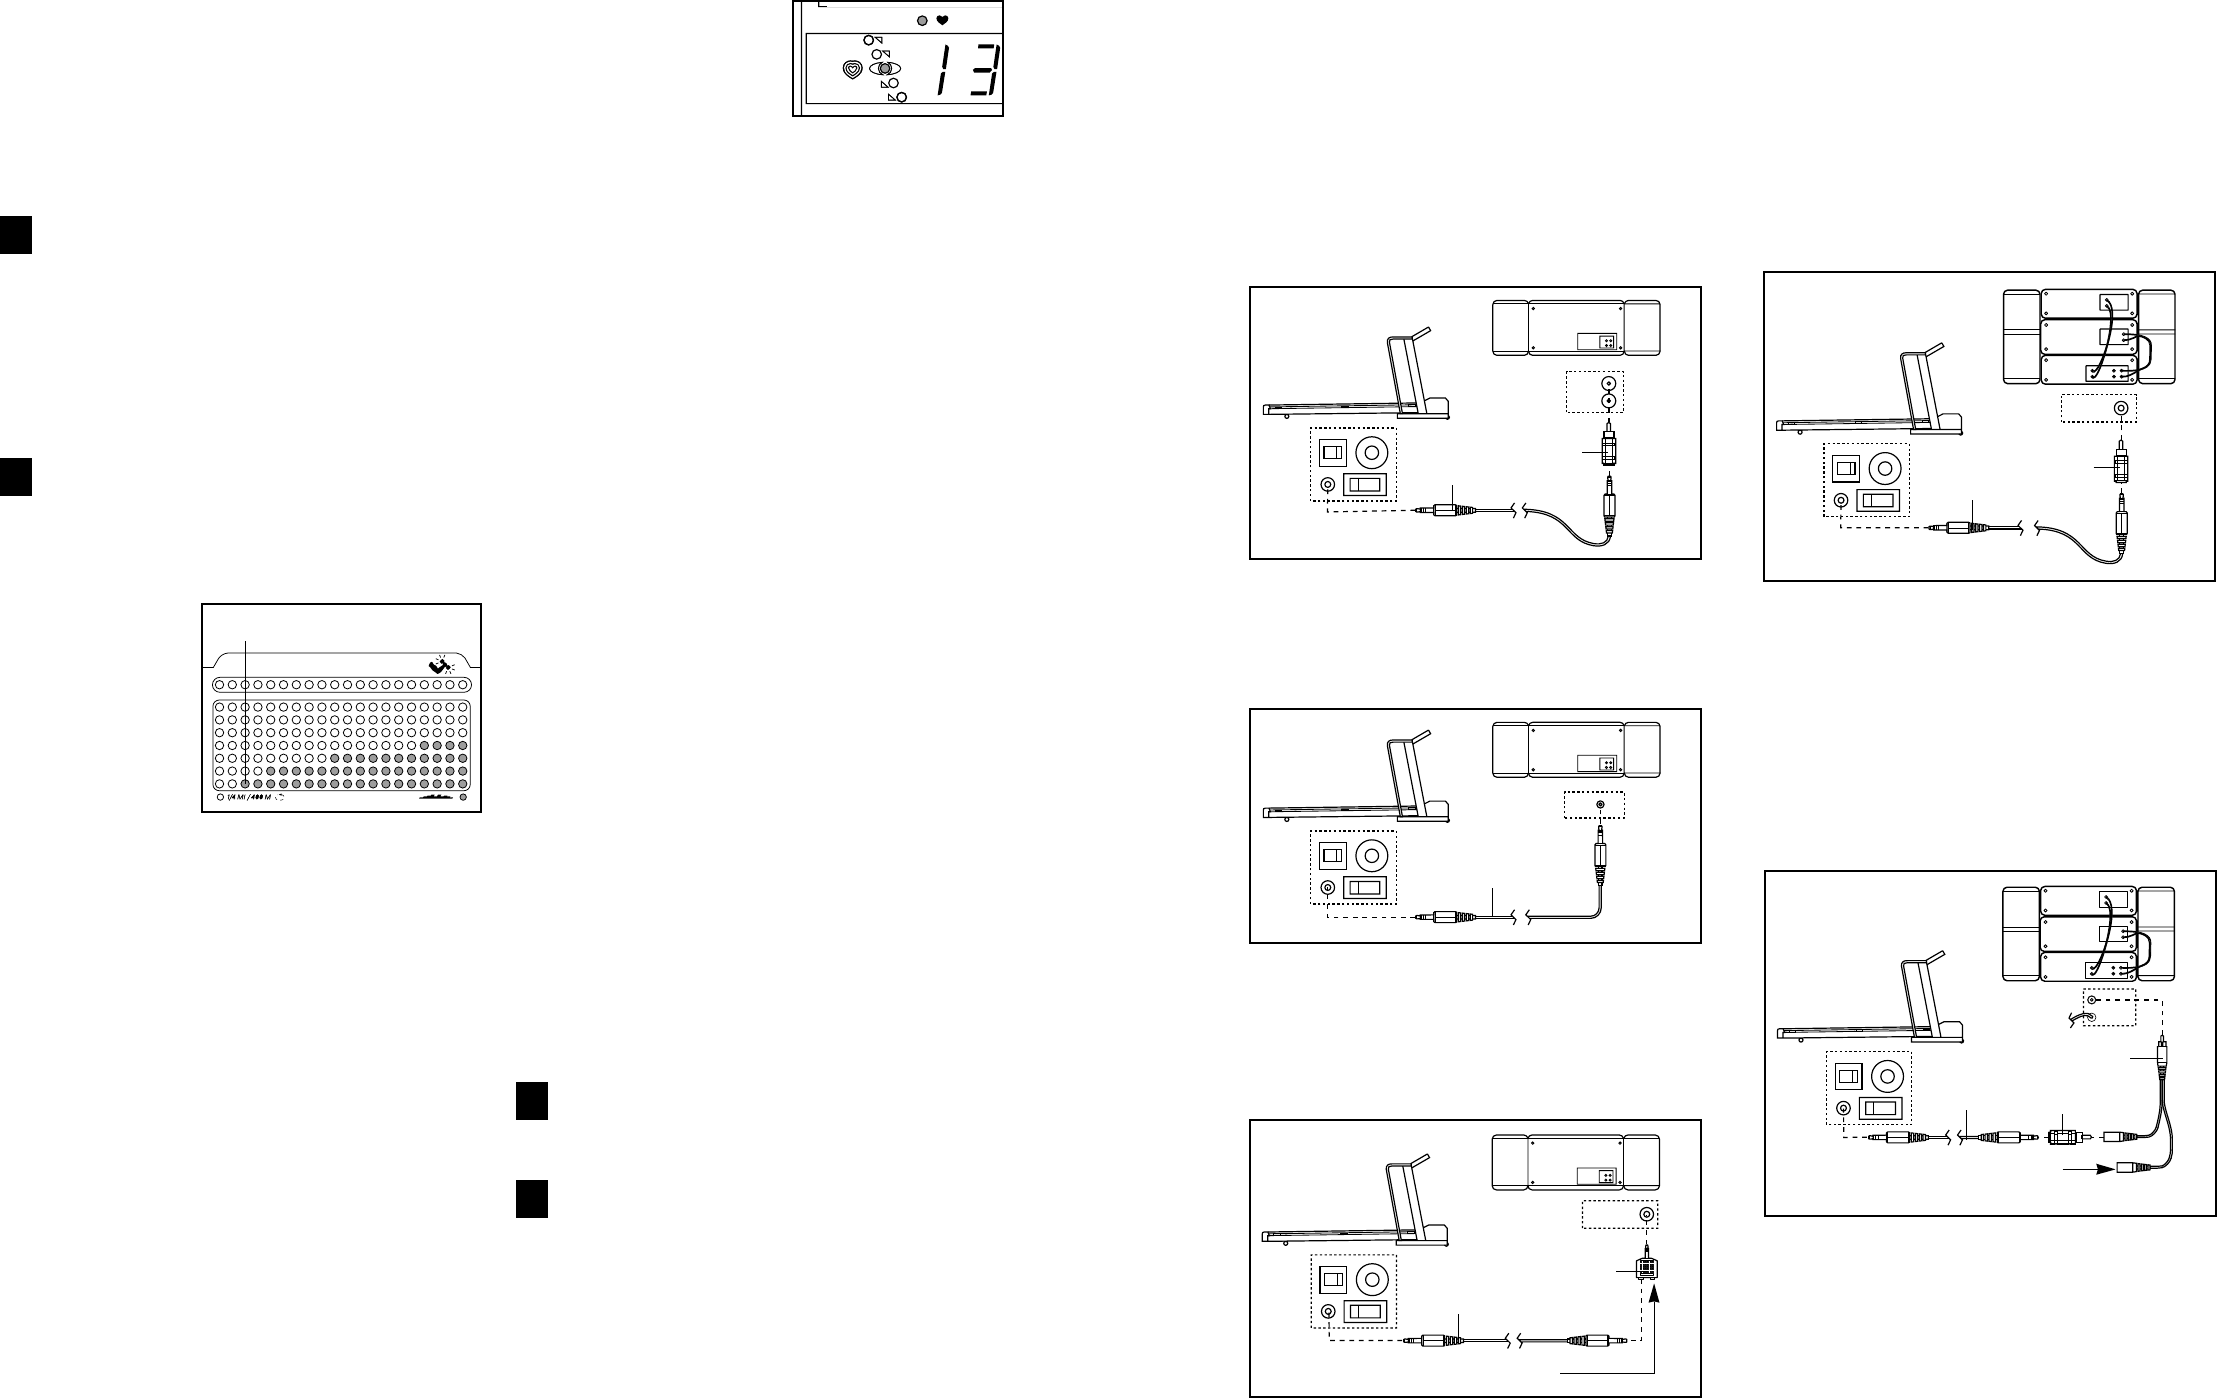
1914
When the desired setting is shown, press the Enter
button. Note: The maximum target heart rate set-
ting can be between 65% and 85% (or 65% and
80%) of your estimated maximum heart rate (your
estimated maximum heart rate is 220 minus your
age). If the setting does not change when the
▲▲
or
▼▼
button is pressed, the setting has reached its
high or low limit.
Put on the heart rate monitor.
The heart rate monitor must be worn when a pulse
program is used. See HOW TO USE THE HEART
RATE MONITOR on page 6. Note: A pulse pro-
gram can be started without a heart rate reading;
however, the speed and/or incline of the treadmill
may automatically decrease if your heart rate is not
detected during the program.
Press the Start button.
A moment after the button is pressed, the walking
belt will begin to move. Hold the handrails and
begin walking.
Each pulse
program is
divided into
twenty-three,
one-minute
periods. One
heart rate
setting is pro-
grammed for
each period.
The heart rate setting for the first period will be
shown in the flashing Current Period column of
the program display. The heart rate settings for
the next seventeen periods will be shown in the
seventeen columns to the right.
When only three seconds remain in the first period
of the program, both the Current Period column
and the column to the right will flash, the Time/
Segment Time display will flash, a series of tones
will sound, and all heart rate settings will move
one column to the left. The heart rate setting for
the second period will then be shown in the flash-
ing Current Period column and the speed and/or
incline of the treadmill will automatically change, if
necessary, to bring your heart rate closer to the
heart rate setting for the second period.
As you exercise, the
Target Heart Rate dis-
play will show whether
your heart rate is near
the target heart rate. If
your heart rate is
within 15 beats per minute of the target heart rate,
the indicator in the centre will light. If your heart
rate is too low or too high, the low or high arrows
will light.
If your heart rate is not detected during the pro-
gram, the Pulse display will be blank. (See HEART
RATE MONITOR TROUBLE-SHOOTING on page
6.) The speed and/or incline of the treadmill may
also decrease until your heart rate is detected.
The program will continue until the heart rate set-
ting for the last period is shown in the Current
Period column and the Time/Segment Time dis-
play counts down to zero. The walking belt will
then slow to a stop.
Whilst the program is in progress, minor adjust-
ments can be made to the speed or incline of the
treadmill with the Speed or Incline buttons.
However, if you increase the speed, the incline
will automatically decrease; if you decrease the
speed, the incline will increase. If you increase the
incline, the speed will decrease; if you decrease
the incline, the speed will increase. The console
will always attempt to keep your heart rate near
the target heart rate setting for the current period.
Note: When the incline reaches the lowest setting,
the speed cannot be increased any further. When
the incline reaches the highest setting, the speed
cannot be decreased any further.
To stop the program temporarily, press the Stop
button. All displays will pause and the Time/
Segment Time display will begin to flash. To
restart the program, press the Start button. To end
the program, press the Stop button, remove the
key, and then reinsert the key.
Follow your progress with the five displays.
Refer to step 6 on page 11.
Remove the key from the console.
Refer to step 6 on page 13.
8
7
6
5
HOW TO CONNECT YOUR PORTABLE STEREO
Note: If your stereo has an RCA-type AUDIO OUT
jack, see instruction A below. If your stereo has a
3.5mm LINE OUT jack, see instruction B. If your
stereo has only a PHONES jack, see instruction C.
A. Plug one end of the audio cable into the jack on the
front of the treadmill near the power cord. Plug the
other end of the cable into the adaptor. Plug the
adaptor into an AUDIO OUT jack on your stereo.
B. Plug one end of the audio cable into the jack on the
front of the treadmill near the power cord. Plug the
other end of the cable into the LINE OUT jack on
your stereo.
C. Plug one end of the audio cable into the jack on the
front of the treadmill near the power cord. Plug the
other end of the cable into the splitter. Plug the split-
ter into the PHONES jack on your stereo. Plug your
headphones into the other side of the splitter.
HOW TO CONNECT YOUR HOME STEREO
Note: If your stereo has an unused LINE OUT jack,
see instruction A below. If the LINE OUT jack is
being used, see instruction B.
A. Plug one end of the audio cable into the jack on the
front of the treadmill near the power cord. Plug the
other end of the cable into the adaptor. Plug the
adaptor into the LINE OUT jack on your stereo.
B. Plug one end of the audio cable into the jack on the
front of the treadmill near the power cord. Plug the
other end of the cable into the adaptor. Plug the
adaptor into an RCA adaptor (available at electron-
ics stores). Next, remove the wire that is currently
plugged into the LINE OUT jack on your stereo and
plug the wire into the unused side of the RCA adap-
tor. Plug the RCA adaptor into the LINE OUT jack
on your stereo.