560206
5
Zoom out
Zoom in
Previous page
1/50
Next page
4
In addition to the chime sounds, your chime has a
visual indication to show which device has activated it.
An icon will illuminate when the chime is
activated by a bell push or another compatible
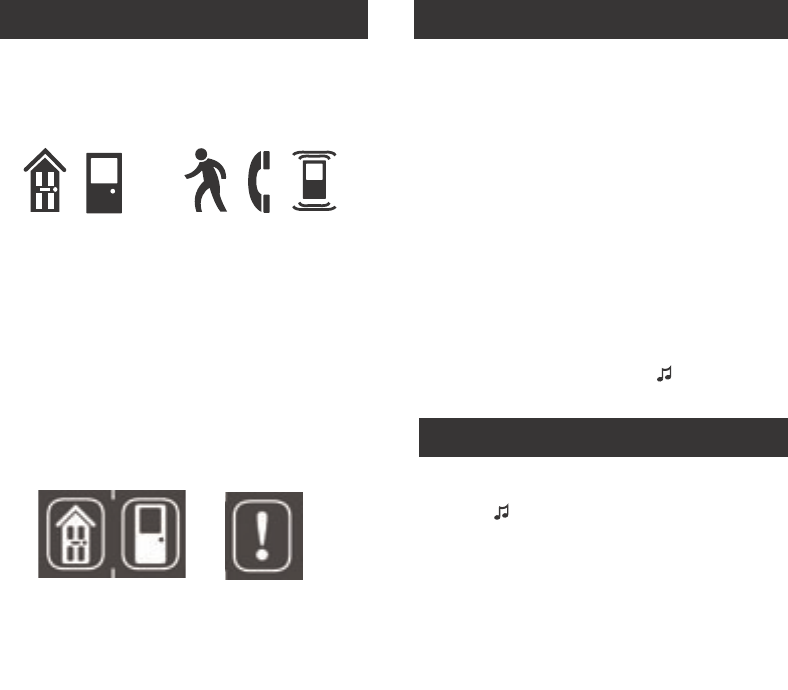
device. The chime supports six icons:
The ‘Main door and ‘Backdoor’ icons are usually
used for bell pushes. The other icons are intended for
use with other compatible devices, such as PIR
movement detectors and Telephone ring detector.
Icons numbered 1 to 6 are also included. The Icons
are self-adhesive, supplied in strips of 3. They can
be changed, if required, by opening the sliding
window of the chime and gently peeling off the
strips.
If desired, the strips can be cut into individual
icons and fixed to the chime in a different order.
Use the Programming procedure to change the
icon associated with a push.
Use of icons
!
Main
door
Back
door
Alert
symbol
Intruder
Telephone
Pager/
Key fob
Programming procedure
Learn mode
To enable your chime to learn the identity of your
bell push:
¬ Press the button and keep it pressed. Each
Icon will light in turn. When the Icon you want is
lit, release the button.
¬ While the Icon you have selected is lit, operate
your push. The chime will sound. The Icon will flash.
Unlearn procedure
If you want to remove a push from the chime’s
memory:
¬ Press the button and keep it pressed.
Each Icon will light in turn. When the Icon
associated with the push to be un-learnt is
lit, release the button.
¬ Press and hold down both & buttons,
until a ‘beep’ sound is heard.
Changing the tune
Operate the push. While the icon is flashing,
press the button. Press the button again
and the tune will change. Repeat until the
tune you want plays.
Changing the tune
5


Need help? Post your question in this forum.

Forumrules


Report abuse

Libble takes abuse of its services very seriously. We're committed to dealing with such abuse according to the laws in your country of residence. When you submit a report, we'll investigate it and take the appropriate action. We'll get back to you only if we require additional details or have more information to share.

Product:

For example, Anti-Semitic content, racist content, or material that could result in a violent physical act.

For example, a credit card number, a personal identification number, or an unlisted home address. Note that email addresses and full names are not considered private information.

Forumrules

To achieve meaningful questions, we apply the following rules:

Register

Register getting emails for Friedland D917S Libra plus at:


You will receive an email to register for one or both of the options.


Get your user manual by e-mail

Enter your email address to receive the manual of Friedland D917S Libra plus in the language / languages: English, German, Dutch, French, Italian, Portuguese, Spanish as an attachment in your email.

The manual is 1,08 mb in size.


You will receive the manual in your email within minutes. If you have not received an email, then probably have entered the wrong email address or your mailbox is too full. In addition, it may be that your ISP may have a maximum size for emails to receive.

The manual is sent by email. Check your email

If you have not received an email with the manual within fifteen minutes, it may be that you have a entered a wrong email address or that your ISP has set a maximum size to receive email that is smaller than the size of the manual.

The email address you have provided is not correct.

Please check the email address and correct it.

Your question is posted on this page

Would you like to receive an email when new answers and questions are posted? Please enter your email address.


Info