4. By pressing the UP key, the text will move to the left in the display. Press
repeatedly until the point from wich you want to start editing (in this case
↵ )
appears in the left position.
5. Press the Print bar (A4) to edit everything to the right of this position, it will blink.
Press the Print bar (A4) to delete, or the UP or DOWN key to cancel.
6. Now you can continue adding characters from this point in the normal way
(see number 4 on page 10)
7. Insert the symbol to end the stamp.
8. A four-character display will now appear. keep the old name by pressing
ENTER (A3) to confirm each of the letters of the existing name or give your
label a new name, and press ENTER (A3) to confirm.
9. Press the PRINT bar (A4) to go back into Print mode.
Changing the format
The StampManager can print the date, time, serial number - or combinations of these
- and your programmed stamps in a number of formats. The table below shows the
eight combinations of formatting which you can choose:
StampManager FORMAT TABLE
large normal
small normal large bold lar
ge bold underlined
small bold large underlined
large boxed large bold boxed
Besides these, you can also choose from nine different possible alignments of the text.
Choosing the text size
The StampManager can print two sizes of text - normal and large (2x) - for the date,
time and serial number. Depending on the length of your personal stamps, these can
also be printed in a larger format.
1. Press the DOWN and ENTER keys simultaneously.You are now in Set Up mode.
2. Use the UP or DOWN key until the 2x character appears on the screen, and
press ENTER to select. The 2x symbol on the panel will be highlighted by an
arrowhead. When this is highlighted, the stamp will be printed in large size.
3. Press the PRINT bar (A4) to go back into Print mode.
This format will remain until you change it back again (press UP or DOWN (A2) to get
to the 2x character, and press ENTER (A3) to deselect it).
Choosing the print style
1. Press the DOWN and ENTER keys simultaneously.You are now in Set Up mode.
2. Use the UP or DOWN key (A2) until you the character you require appears on
the LCD:
A bold
A boxed
A
underlined
3. If you press ENTER (A3) when one of these characters appears, an arrowhead
will be highlighted, showing that you have selected this option. All the stamps
you print from now on will be printed in this format. You can of course choose
combinations of these to produce any of the formats listed in the Stamp
Manager format table above (e.g. large-bold-underlined).
You will note from the format table that stamps can only be boxed or underlined
if they are in large (2x) size.
This format will remain until you change it back again (press UP or DOWN (A2)
to get to the formatting character, and press ENTER (A3) to deselect it).
4. Finally, press the PRINT bar (A4) to go back into Print mode.
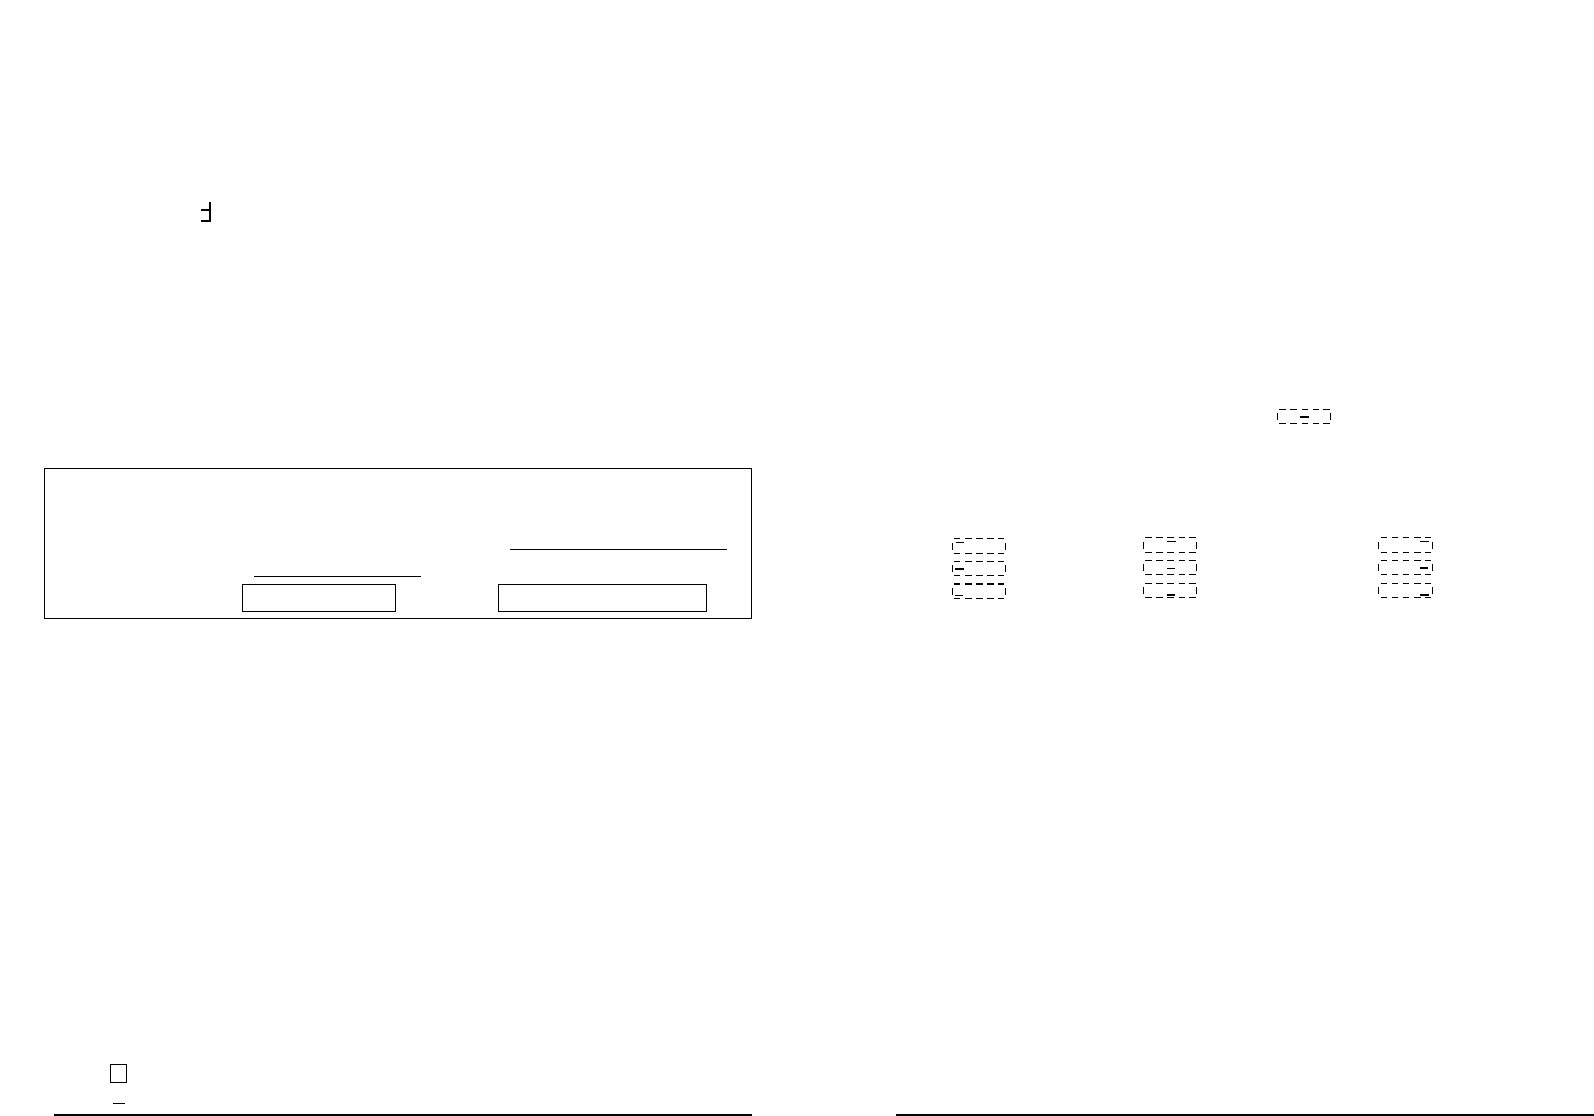
Choosing the print position
The StampManager can print your stamps in up to 9 different print positions. The stan-
dard print position is centred in the middle of the printing area.You may choose from
nine possible options. To change to a different print position from the standard:
1. Press the DOWN and ENTER keys simultaneously.You are now in Set Up mode.
2. Use the UP or DOWN key (A2) until the character appears on the LCD
and press ENTER (A3). The character will flash.
3. Pressing the UP or DOWN key (A2) will change the character through the
series of nine different settings:
(left top) (centre top) (right top)
(left middle) (centre middle) (right middle)
(left bottom) (centre bottom) (right bottom)
(centre middle is the default option).
4. Once you have made your selection, press ENTER (A3) to confirm.
5. The print position symbol (C8) on the panel will be highlighted by an arrowhead
if you have selected an option which is not the standard one. Centre middle is
the default option.
This alignment will remain for all your stamps until you change it back again.
(Repeat step 2-5.)
6. Finally, press the PRINT bar (A4) to go back into Print mode.
Enhanced printing
You can choose between two levels of resolution for your stamps. Fast printing will
give you a good, clearly legible result, and Enhanced printing will give you an even
higher quality print.
1. Press the DOWN and ENTER keys simultaneously.You are now in Set Up mode.
2. Scroll through the options until you see the Fast Print icon (
=
=
A) in the display.
3. If you now press ENTER (A3) to set an arrowhead in the display, StampManager
will print in Fast mode. If the arrowhead does not appear, it will print in
Enhanced Print mode.
4. Press the PRINT bar (A4) to go back into Print mode.
13
12
T
T