85
Advanced Setup – Part 2 Advanced Setup – Part 2
ENGLISH
ENGLISH
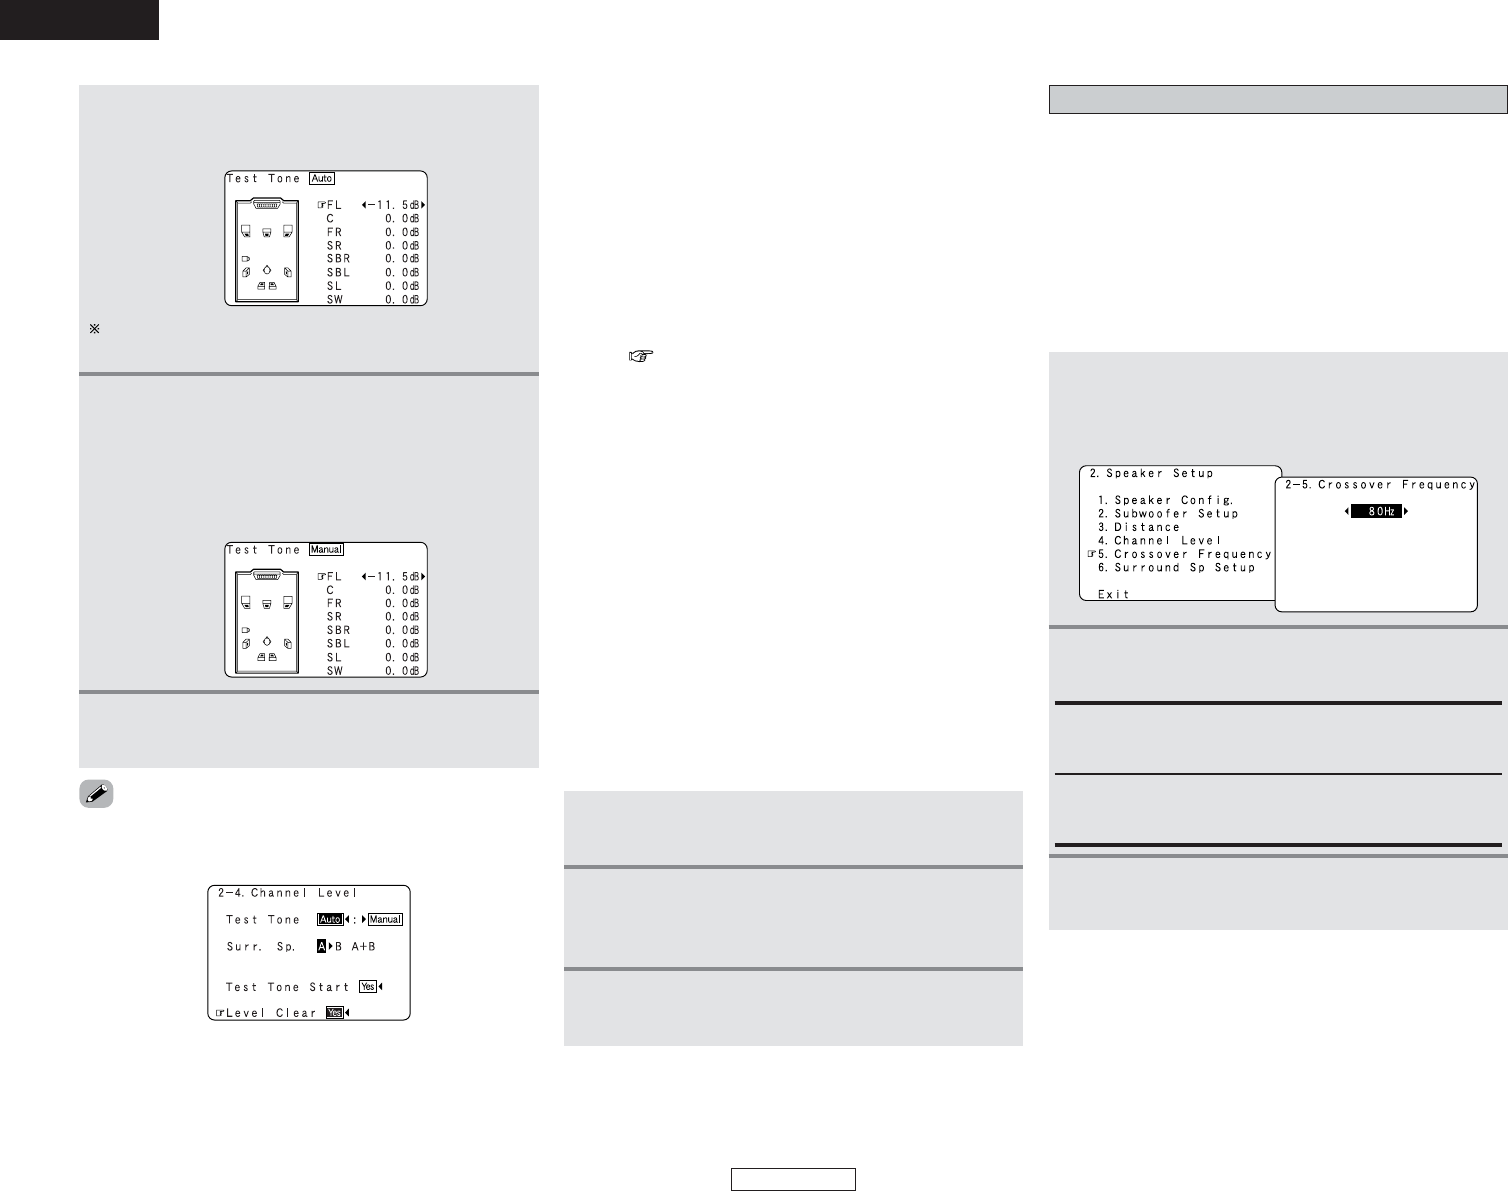
Example: When the volume is set to –11.5 dB while the
test tone is being produced from the Front Lch
speaker
The volume can be adjusted between –12 dB and +12 dB in
units of 0.5 dB.
5
-2
When “Manual” mode is selected:
Press the CURSOR
DD
or
HH
button to select the
speaker, then press the CURSOR
FF
or
GG
button
to adjust all the speakers to the same volume.
Example: “Manual” mode is selected.
6
Press the ENTER button to enter the setting.
• The “Channel Level” screen reappears.
•To cancel the settings, press the CURSOR
FF
button to select
“Level Clear” and “Yes” on the “Channel Level” screen, then
make the settings again.
• When adjusting the level of an active subwoofer system, you
may also need to adjust the subwoofer’s own volume control.
• When you adjust the channel levels while in the system setup
channel level mode, the channel level adjustments mode will
affect all surround modes. Consider this mode a master
channel level adjustment mode.
• After you have completed the system setup channel level
adjustments, you can then activate the individual surround
modes and adjust channel levels that will be remembered for
each of those modes. Then, whenever you activate a particular
surround sound mode, your preferred channel level
adjustments for just that mode will be recalled. Check the
instructions for adjusting channel levels within each surround
mode ( page 39).
•You can adjust the channel levels for each of the following
surround modes: PURE DIRECT/DIRECT, STEREO,
DOLBY/DTS SURROUND, 7CH STEREO, WIDE SCREEN,
SUPER STADIUM, ROCK ARENA, JAZZ CLUB, CLASSIC
CONCERT, MONO MOVIE, VIDEO GAME, MATRIX and
VIRTUAL.
• When using either surround speakers A or B, or when using
surround speakers A and B at the same time, be sure to adjust
the balance of playback levels between each channel for the
various selections of “A”, “B” and “A + B”.
2 Adjusting the test tone using the remote
control unit
• As described below, this adjustment can be accomplished via
the with remote control unit.
• Adjusting with the remote control unit using the test tones is
only possible in the “Auto” mode and only effective in the
STANDARD (DOLBY/DTS SURROUND) mode. The adjusted
levels for the different modes are automatically stored in the
memory.
1
Press the TEST TONE button.
•Test tones are output from the different speakers.
3
After completing the adjustment, press the TEST
TONE
button again.
2
Press the CURSOR
FF
or
GG
button to adjust the
channel level so that the volume of the test tones
is the same for all the speakers.
Setting the Crossover Frequency
• Set the crossover frequency according to the low frequency
response characteristics of the various (front, center, surround
and surround back) speaker systems.
• If a connected main or surround loudspeaker has a specified –3
dB low frequency response rolloff, adjust the crossover
frequency for that speaker to match the specified low
frequency response limit – e.g. 80 Hz.
• When a speaker is set to “SMALL”, low frequencies in that
channel that are below the crossover frequency are directed to
the system’s subwoofer(s), or to speakers that are set to
“LARGE”, for systems with no connected subwoofer(s).
1
Press the CURSOR
DD
or
HH
button to select
“Crossover Frequency” at the “Speaker Setup”
menu, then press the ENTER button.
• The “Crossover Frequency” screen appears.
2
Press the CURSOR
FF
or
GG
button to select the
frequency.
40, 60, 80, 90, 100, 110, 120, 150, 200, 250 Hz:
Set as desired according to your speakers’ bass playback
ability.
Advanced:
The crossover frequency can be set individually for the
different speakers.
3
Press the ENTER button to enter the setting.
• The “Speaker Setup” menu reappears.