25
GB
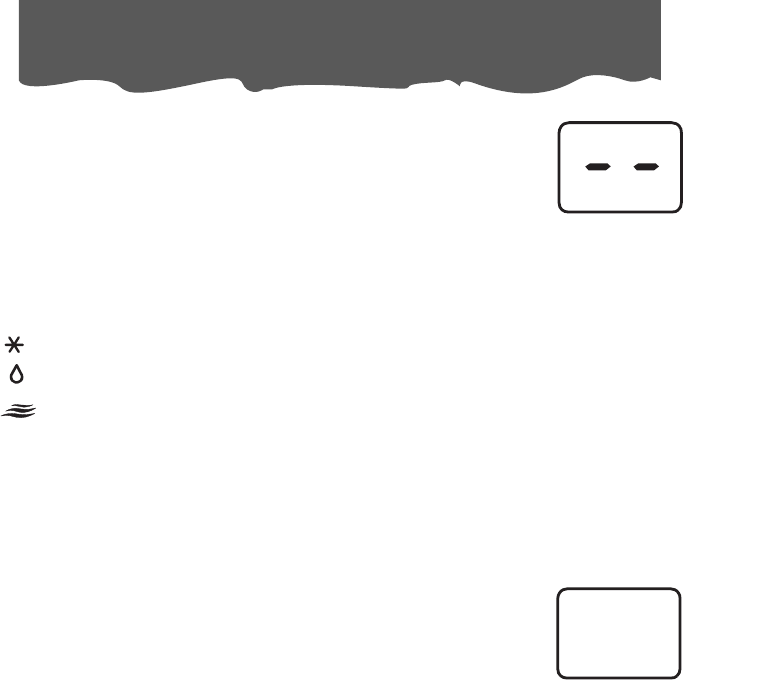
DEHUMIDIFYING MODE
Ideal for reducing humidity in spring and autumn, during rainy spells or in
damp rooms, etc.
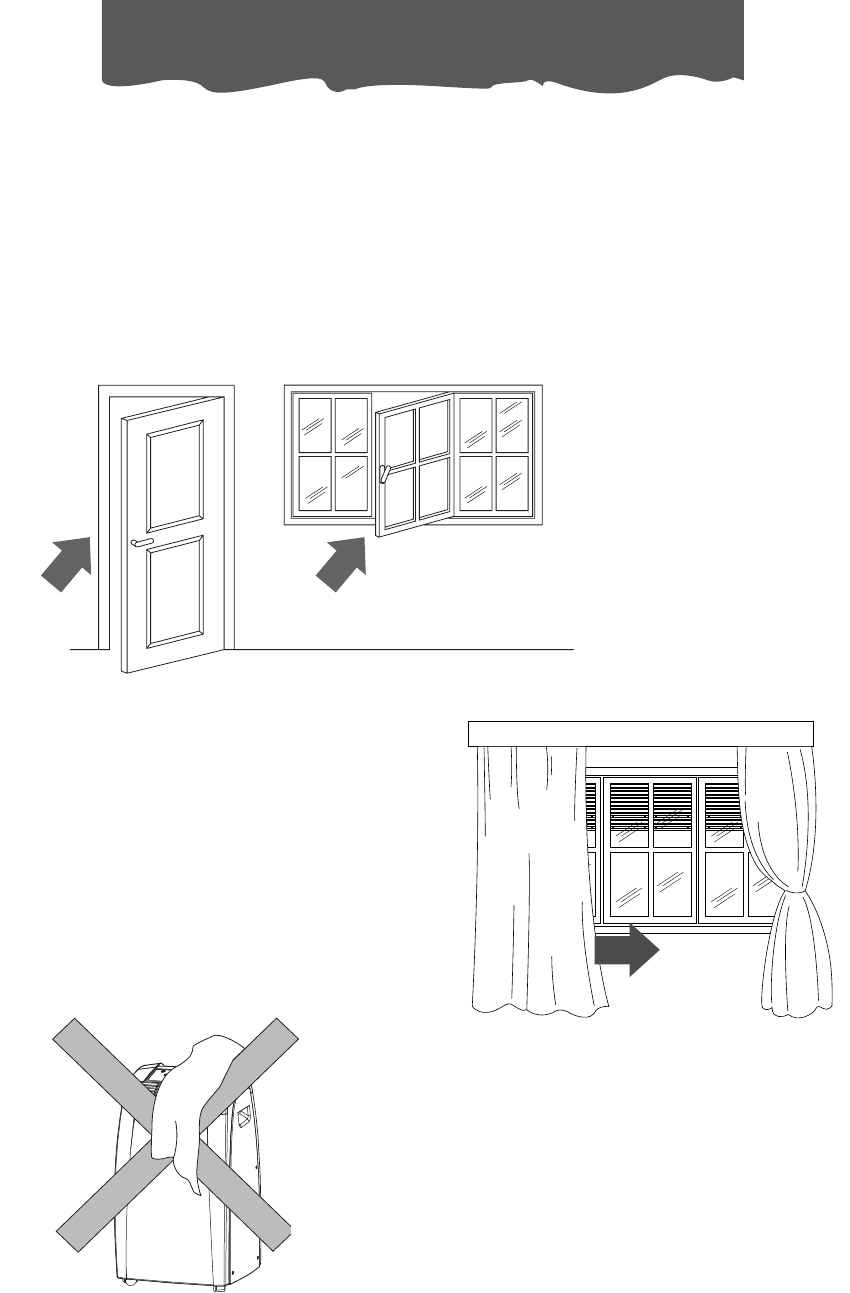
In dehumidifying mode, the appliance must have the same configuration
as for the air conditioning mode, with the air exhaust hose fitted to the
appliance to allow air to be discharged externally.
For instructions on preparing for use, see the section "Air conditioning
without installation" (page 21). When the dehumidifying mode is selected,
the light (P) comes on and “ ” appears on the display.
At the same time, the AUTO fan light (N) comes on. In this mode, other
speeds cannot be selected.
FAN MODE
Adjust fan speed by pressing the FAN button (C) as described for the air-
conditioning mode.
In this mode, AUTO cannot be selected.
The fan speed selected will be displayed.
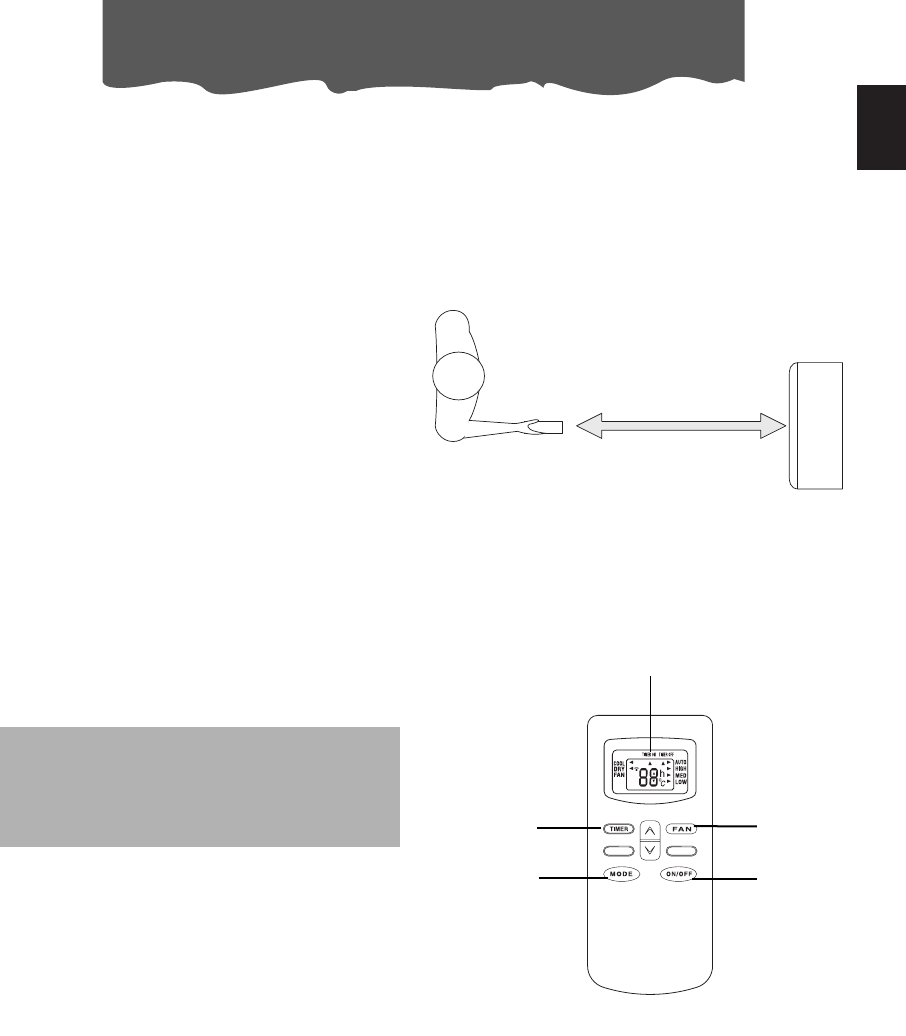
Operating from the control panel
SETTING THE TIMER
The timer can be used to delay appliance start up or shutdown. This avoids wasting electricity by
optimising operating periods.
How to programme delayed start up
• Plug the appliance into a mains socket and press the ON/STAND-BY button (A), then select the
required operating mode and other settings (temperature, fan speed, etc).
•Press the ON/STAND-BY button (A) again: The appliance switches to stand-by mode (the two
central segments are displayed).
•Press the TIMER button (D). The last timer setting or the preset value 6.0 flashes on the display.
• Use the + (E) or - (F) buttons to set the number of hours delay before the appliance comes on.
During the first ten hours, you can select half hour intervals. For times greater than ten hours,
one hour intervals can be selected. If the + (E) or - (F) buttons are pressed for more than 2
seconds, the time runs rapidly up to a maximum of 24 hours. Press the timer button again within
a few seconds to confirm the setting. If the setting is not confirmed within a few seconds, the
display resets to stand-by. With the timer activated, the countdown before the programmed
start up time is displayed and the light (H) flashes.
To cancel the timer programme, press the timer button (D) again.
How to programme delayed shutdown
• Delayed shutdown can be programmed in any operating mode (air conditioning/dehumi-
difying/fan).
•Press the TIMER button (D). The last timer setting or the preset value 6.0 flashes on the display.
• Use the + (E) or - (F) button to set the number of hours delay before the appliance goes off.
During the first ten hours, you can select half hour intervals. For times greater than ten hours,
one hour intervals can be selected.
If the + (E) or - (F) buttons are pressed for more than 2 seconds, the time runs rapidly up to a
maximum of 24 hours.
Press the timer button again within a few seconds to confirm the setting.
When the timer is set, the light (H) flashes.
At the set time, the air conditioner shuts down and remains in stand-by.
To cancel the timer programme, press the timer button (D) again.