561913
9
Zoom out
Zoom in
Previous page
1/28
Next page
CONFIGURACIÓN DEL RELOJ
Cuando se conecta por primera vez el horno, en la pantalla aparece “ :0” parpadeando y se oye un pitido.
Al restablecerse la alimentación eléctrica después de una desconexión, la pantalla muestra “ :0”.
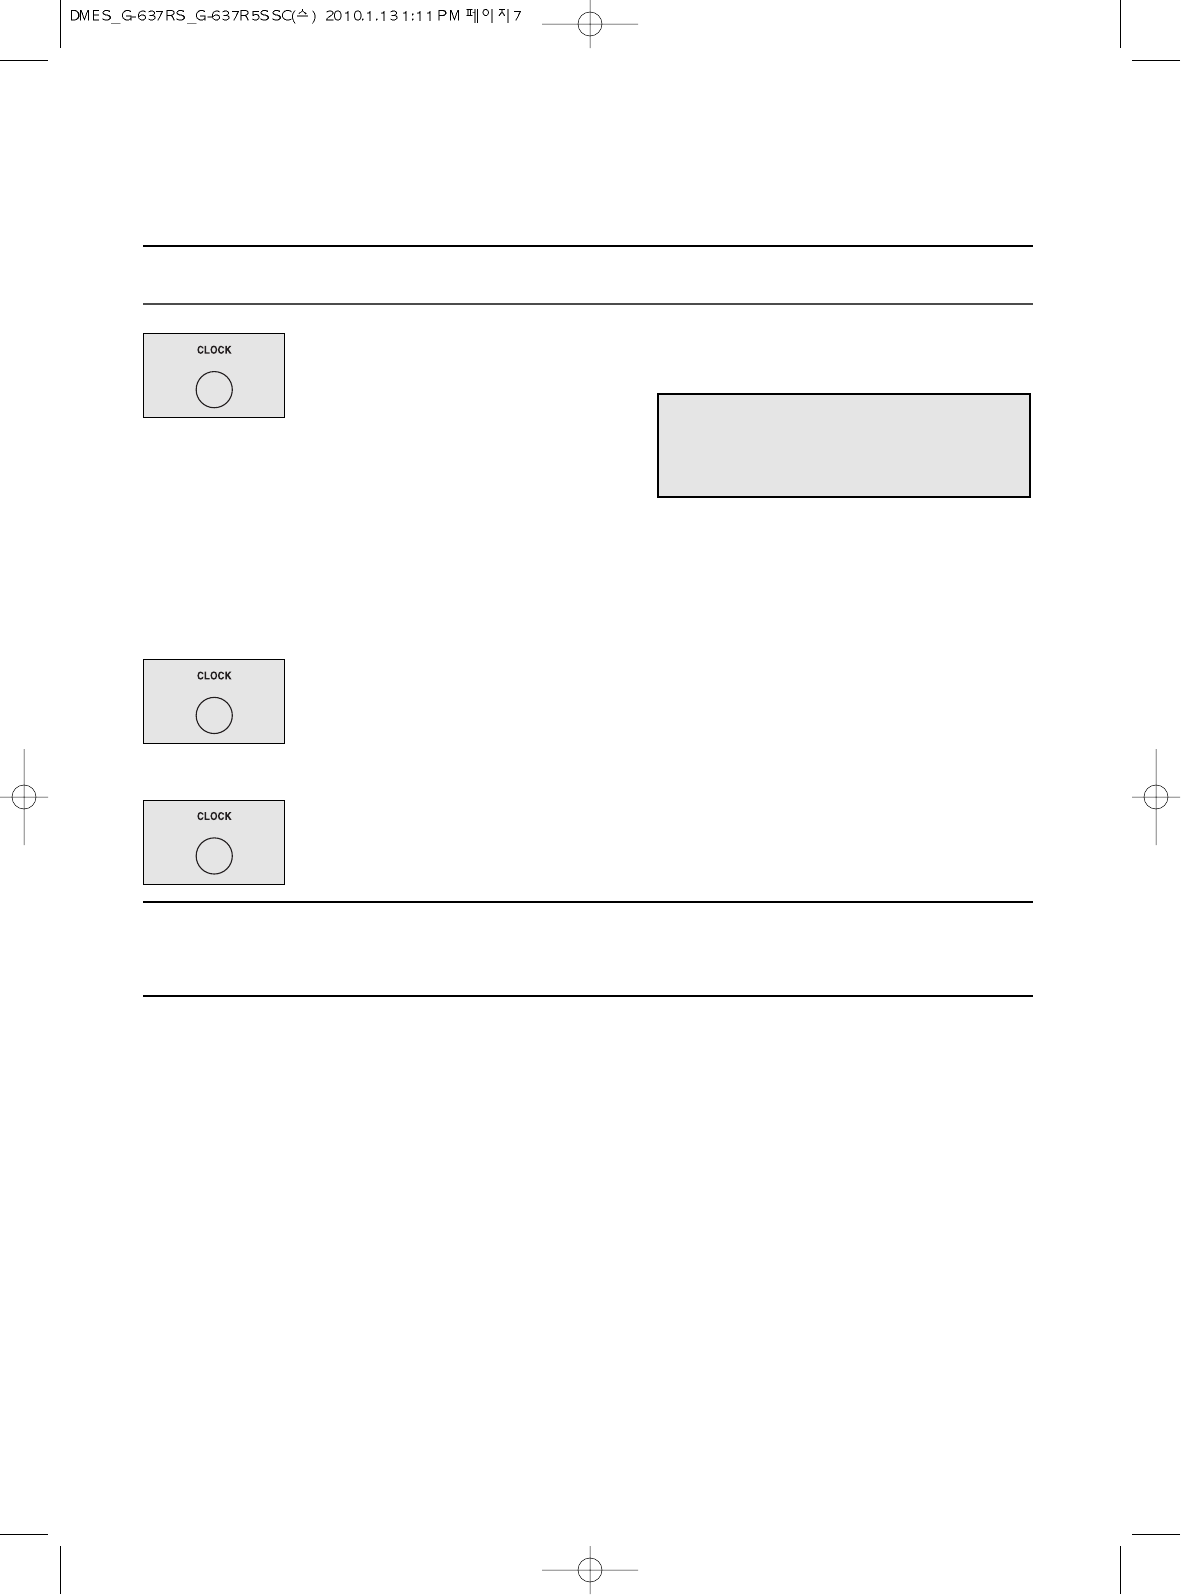
1. Pulse el botón RELOJ.El reloj
se ajustará al modo de 12 h.
2. Pulse el botón RELOJ una vez
más para activar el modo de
24 h.
4. Pulse el botón RELOJ.
5. Gire el mando giratorio para ajustar los minutos.
6. Pulse el botón RELOJ.
3. Gire el mando giratorio para ajustar la hora.
Si ha seleccionado el modo de 12 h, la pantalla
mostrará las horas de “1” a “12”.
Si ha seleccionado el modo de 24 h, la pantalla
mostrará las horas de “0” a “23”.
La hora ajustada empieza a parpadear.
Los minutos dejan de parpadear y “00”
empieza a parpadear.
La pantalla mostrará el valor de los minutos, de
“0” a “59”. Los minutos ajustados empiezan a
parpadear.
NOTA : Este horno dispone de varios
modos de reloj. Si prefiere el
modo de reloj de 12 h, omita
este paso.
Cuando pulsa otra vez el botón RELOJ, los minutos dejan de parpadear y los dos puntos empiezan a
parpadear. Si ha seleccionado el modo de 12 horas, este reloj digital el permite fijar una hora entre 1:00 y
12:59. Si ha seleccionado el modo de 24 horas, el reloj le permite fijar una hora entre 0:00 y 23:59.
7
CONTROLES
9


Need help? Post your question in this forum.

Forumrules


Report abuse

Libble takes abuse of its services very seriously. We're committed to dealing with such abuse according to the laws in your country of residence. When you submit a report, we'll investigate it and take the appropriate action. We'll get back to you only if we require additional details or have more information to share.

Product:

For example, Anti-Semitic content, racist content, or material that could result in a violent physical act.

For example, a credit card number, a personal identification number, or an unlisted home address. Note that email addresses and full names are not considered private information.

Forumrules

To achieve meaningful questions, we apply the following rules:

Register

Register getting emails for Daewoo KOG-637RS at:


You will receive an email to register for one or both of the options.


Get your user manual by e-mail

Enter your email address to receive the manual of Daewoo KOG-637RS in the language / languages: Spanish as an attachment in your email.

The manual is 0,26 mb in size.


You will receive the manual in your email within minutes. If you have not received an email, then probably have entered the wrong email address or your mailbox is too full. In addition, it may be that your ISP may have a maximum size for emails to receive.

The manual is sent by email. Check your email

If you have not received an email with the manual within fifteen minutes, it may be that you have a entered a wrong email address or that your ISP has set a maximum size to receive email that is smaller than the size of the manual.

The email address you have provided is not correct.

Please check the email address and correct it.

Your question is posted on this page

Would you like to receive an email when new answers and questions are posted? Please enter your email address.


Info