19
INSTELLINGEN
19
4
Druk op [ENTER]. Het submenu 'Handmatig
instellen' wordt weergegeven.
5
Selecteer 'Systeem' met […/†] Druk op
[ENTER] om naar het volgende niveau te gaan.
6
Selecteer het gewenste systeem met […/†]
(PAL-BG, PAL-II, PAL-DK of SECAM-L) en druk
op [ENTER].
7
Selecteer 'Ontvangst' met […/†] Druk op
[ENTER] om naar het volgende niveau te gaan.
8
Kies het gewenste ontvangstsysteem
(antenneof kabel) met [
…/†] en druk op
[ENTER].
Antenne:
Als u een gewone antenne gebruikt
voor ontvangst.
Kabel:
Als u een kabelaansluiting heeft.
Installeren
Handmatig instellen
Auto Reeks
Klok instellen
Kanalen aanpassen
Instructies
Enter-Confirm Setup-Exit
Move
…†
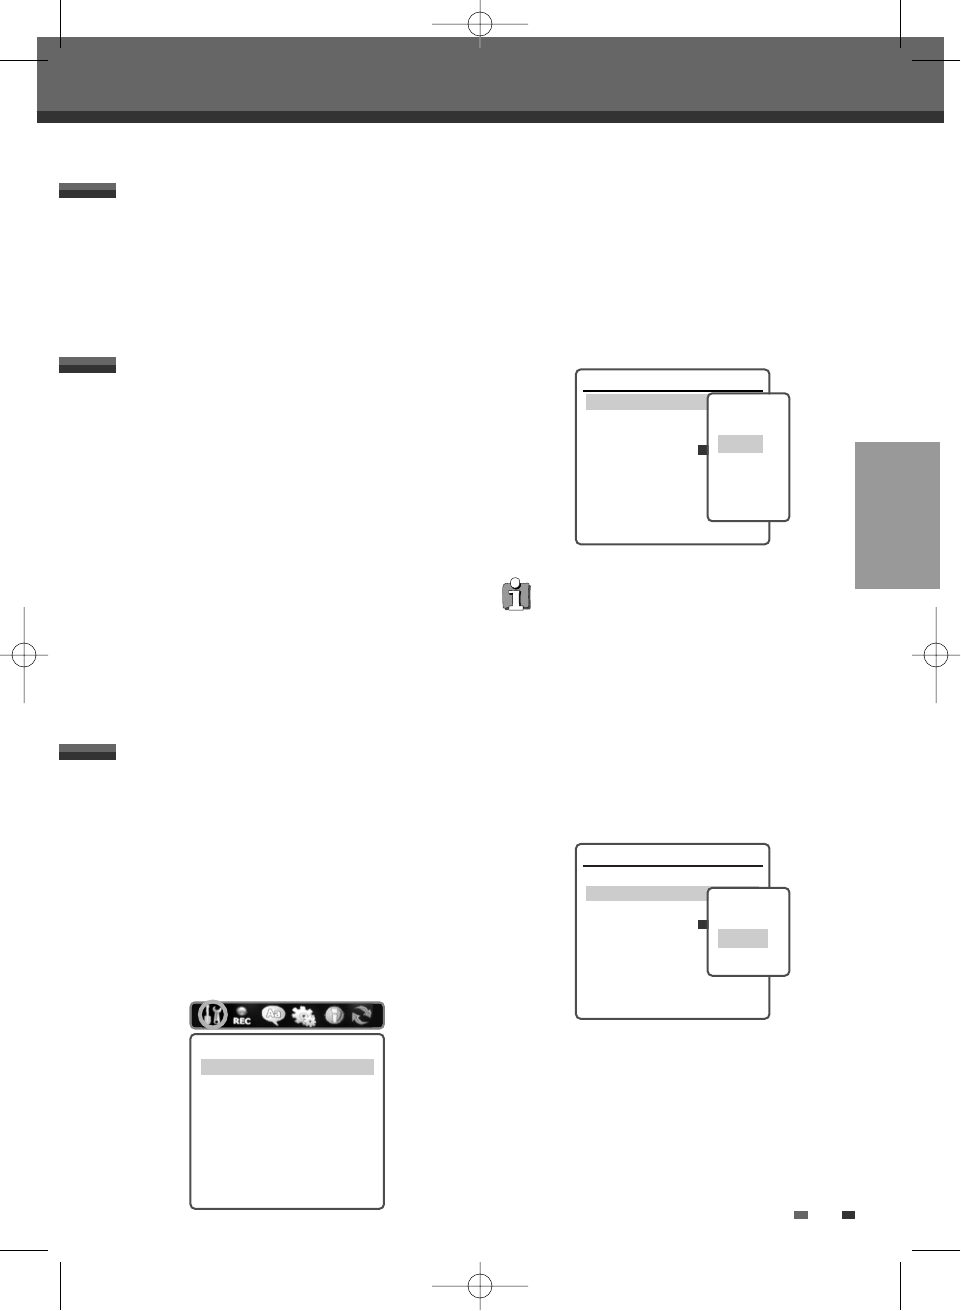
Hand Opstelling
Standaard PAL-BG
Ontvangst Antenne
Auto. zoeken CH-02
Fijnafstemming
Decoder Uit
Kanaal opslaan PR01
Zendernaam P-01
Instructies
Enter-Confirm Setup-Exit Move …†
Selecteer de
Norm.
PAL-BG
PAL-II
PAL-DK
SECAM-L
Hand Opstelling
Standaard PAL-BG
Ontvangst Antenne
Auto. zoeken CH-02
Fijnafstemming
Decoder Uit
Kanaal opslaan PR01
Zendernaam P-01
Instructies
Enter-Confirm Setup-Exit Move …†
Selecteer de
Ontvangst.
Antenne
Kabel
Dit apparaat is uitgerust met een multi-tuner.
Daarmee kunt u naar zenders in andere landen
zoeken. Voer de installatie opnieuw uit als dat niet
lukt. (zie pagina 18.)
Het instelmenu van de HDD/DVD-recorder bevat de
volgende zes onderdelen: Installatie, opnameopties,
talen, voorkeuren, systeeminfo, en
fabrieksinstellingen herstellen.Druk op [SETUP] en
op [
œ/√] op de afstandsbediening voor het eerste
en tweede niveau van het instelmenu.
Overzicht instelmenu
1
Druk op [SETUP]. Het instelmenu wordt
weergegeven.
2
Ga met [œ/√] naar het gewenste submenu.
3
Als u het gewenste submenu heeft
geselecteerd, drukt u op [
…/†] om een keuze
uit het submenu te maken.
4
Druk op [ENTER] om naar het volgende niveau
te gaan.
5
Ga met […/†] naar de gewenste instelling en
druk op [ENTER] om uw keuze te bevestigen.Bij
sommige instellingen zijn verdere stappen
nodig. Als u op enig moment op [SETUP] drukt,
gaat u weer terug naar het hogere niveau.
6
Druk op [SETUP] om het instelmenu te verlaten.
De weg vinden in het menu
Handmatig instellen
Als de HDD/DVD-recorder niet alle zenders in het
geheugen heeft opgeslagen of als u een nieuwe
zender wilt toevoegen, kunt u dat handmatig doen.
1
Druk op [SETUP]. Het instelmenu wordt
weergegeven.
2
Selecteer 'Installatie' met [œ/√] .
3
Selecteer 'Handmatig instellen' uit het
installatiemenu met [
†] .
Installatiemenu
Instelmenu
Instelmenu
DG-M22-12D1D-HA-I(NL) 2006.1.4 3:35 PM ˘ ` 19 mac001 1200DPI 100LPI