CZ PL
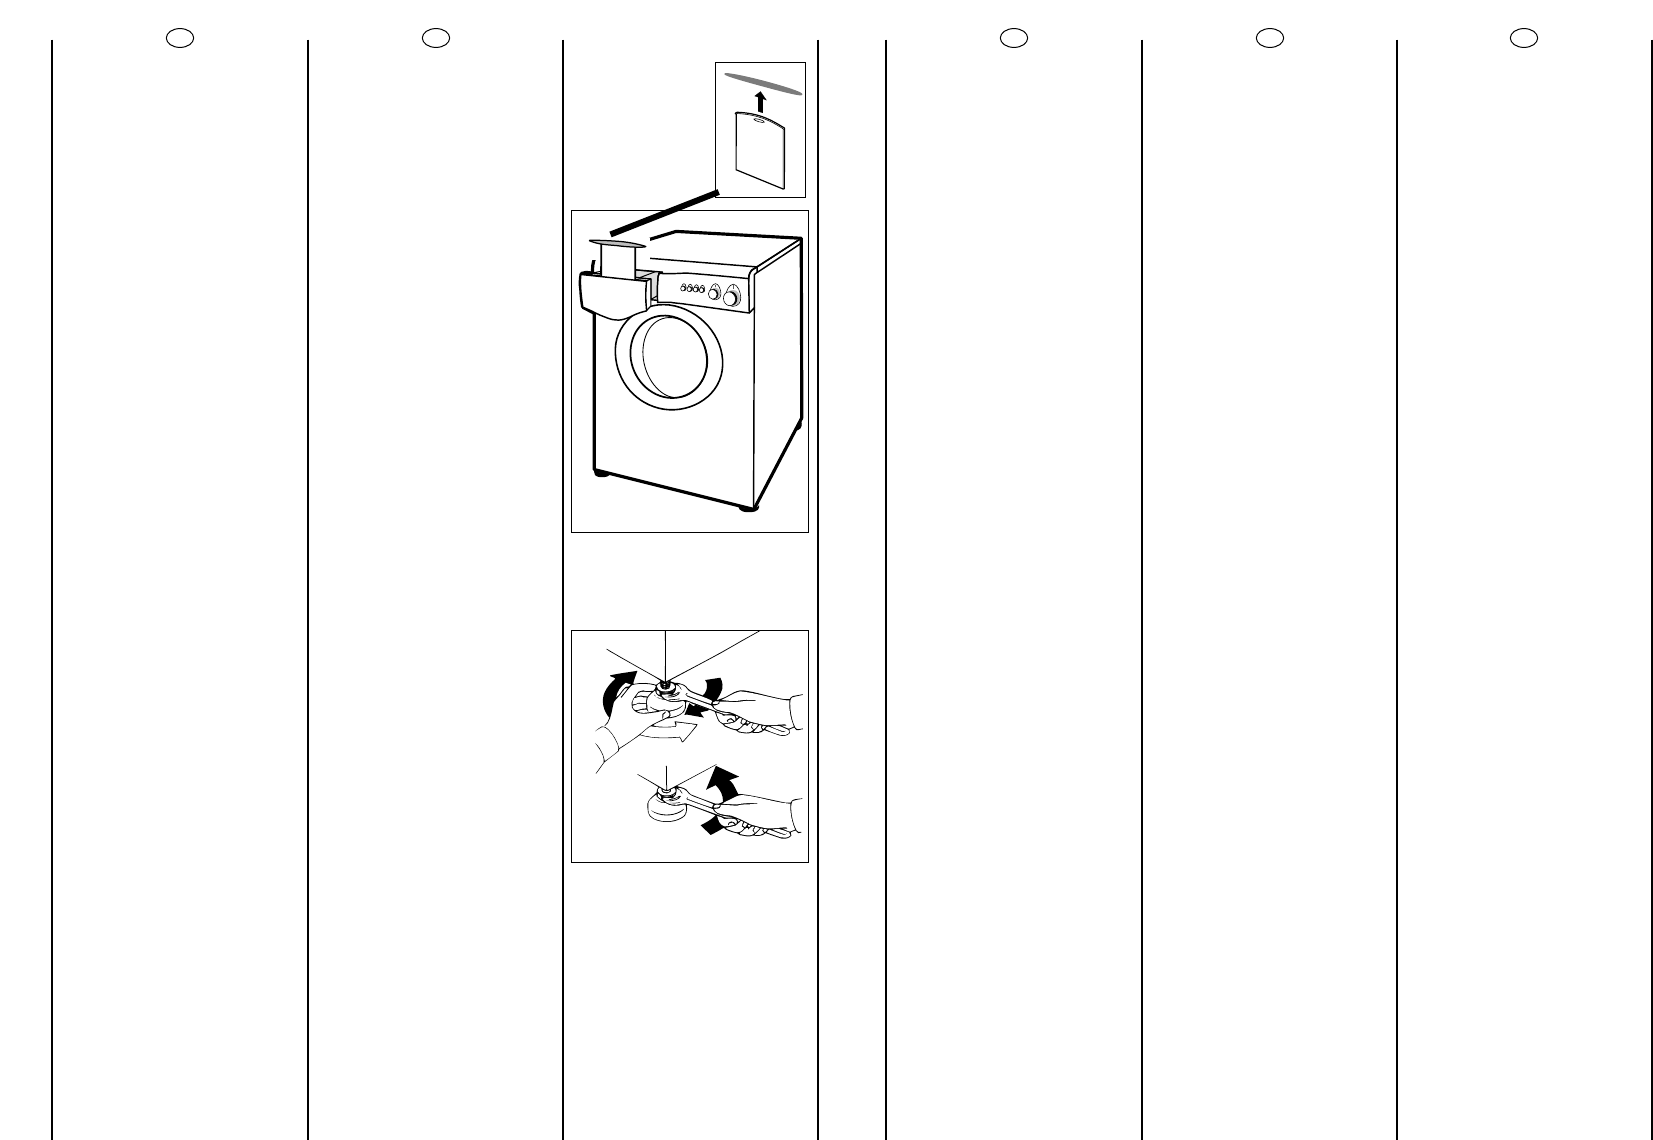
Zkontrolujte, zda ätítek s
tabulkou programå, kterÿ se
nachází v püihrádce vedle
zásobníku pracího pra’äku, je
ve správném jazyce. Pokud
ne, vymëñte jej za ätítek,
kterÿ se nachází v návodu k
obsluze.
Pomocí püedních noïek
praöky nastavte vodorovnou
polohu.
aa))
Otoöte matkou ve smëru
hodinovÿch ruöiöek.
bb))
Otáöením noïky nastavte
vodorovnou a pevnou
polohu praöky (zkontrolujte
pomocí vodováhy).
cc))
Matku opët utáhnëte
(proti smëru hodinovÿch
ruöiöek).
Po instalaci spotfiebiãe se
ujistûte, Ïe spotfiebiã je
umístûn tak, aby byla
snadno pfiístupná zásuvka.
Sprawdziç, czy tabela
program
ó
w jest we
wäaéciwym jëzyku; jeéli nie,
naleãy zaståpiç jå na
wäaéciwå tabelë
dostarczanå razem z pralkå.
N
ó
ãkami przednimi moãna
wypoziomowaç pralkë do
podäogi.
aa))
przekrëciç nakrëtkë na
n
ó
ãce w kierunku zgodnym z
ruchem wskaz
ó
wek zegara
w celu odblokowania éruby
regulujåcej,
bb))
obracaç n
ó
ãkami, aã
pralka bëdzie staäa we
wäaéciwej pozycji,
cc))
zablokowaç n
ó
ãki w tej
pozycji obracajåc nakrëtkë
w kierunku przeciwnym do
ruchu wskaz
ó
wek zegara, aã
bëdzie przylegaç do dna
pralki.
Po zainstalowaniu,
urzådzenie naleãy ustawiç w
pozycji zapewniajåcej
swobodny dostëp do
kontaktu (wtyczki).
20
▲
NL
DE
FR
Controleer of het
programmaoverzicht bij het
bedieningspaneel in de
goede taal is. Is dit niet het
geval dan kunt u het
vervangen met het
bijgeleverde overzicht in uw
taal.
Zet de machine waterpas
door middel van de
voorvoetjes.
a) Kontra moer losdraaien
b) Apparaatwaterpas zetten
m.b.v. verstelbare voeten
(maak eventueel gebruik
van een waterpas)
c) Kontra moer weer
vastdraaien.
Na installatie, plaatst u het
apparaat zo, het
stopcontact makkelijk
toegangbaar is.
Versichern Sie sich, daß die
Programmtabelle wie
vorgesehen und in der
gewünschten Sprache
eingeklebt ist. Ist dies nicht
der Fall, wählen Sie aus den
mitgelieferten Tabellen die
gewünschte aus und kleben
Sie sie an die dafür
vorgesehene Stelle.
Ausrichten der Maschine
über die vorderen
Verstellfüße
a) Kontermuttern in
Uhrzeigersinn lösen.
b) Standfuß einregulieren, bis
das Gerät genau
ausgerichtet ist (möglichst
mit der Wasserwaage
justieren!).
c) Kontermutter (gegen den
Uhrzeigersinn) festziehen.
Nach der Installation muß der
Anschluß zugänglich sein.
Contrôler que la légende
des programmes introduite
dans son siège soit rédigée
dans la langue voulue,
autrement la remplacer par
celle qui est fournie avec la
machine.
Niveler la machine avec le
pied avant.
a) Tourner dans le sens des
aiguilles d’une montre
l’écrou de façon à
dévérouiller la vis du pied.
b) Tourner le pied et le faire
monter ou descendre
jusqu’à obtenir une parfaite
adhérence au sol.
c) Enfin bloquer le pied en
revissant l’ecrou dans le sens
inverse des aiguilles d’une
montre et le faire adhérer
au fond de la machine.
Une fois l'appareil installé,la
prise électrique doit rester
accessible .
21