1312
installation island hood
The most important dimensions are shown on
the previous page. You can set the height of
the telescopic pipe. Take the allowable
tolerances into account.
Position the discharge and the electrical
connection in such a way that it will be easy
to hook up the hood.
hanging telescopic pipes
- Determine the length of the telescopic
pipe. Remember the minimum height
above the hob.
- Slide the two parts together. Adjust the
length of the telescopic pipe.
- Drill a fixing hole (3,7 mm) 4x.
- Put the parts together by using the self
tappers.
- Mark the holes to be drilled on the ceiling
by means of the stencil.
- Fit the plugs, bolts and threaded bushes to
the ceiling.
- Cut the threaded rods to length.
L = length of telescopic pipe + 20 mm.
- Screw the threaded rods into the bushes
in the ceiling.
- Fix the connecting cable and the exhaust
duct.
- Slide the telescopic pipe over the
threaded rods and fix the telescopic pipe
securely with the nuts supplied.
fitting motor*
*Only for appliances with an integrated motor.
- Screw themotor with 3 screws and the
spring washer in the lower telescopic
pipe.
- When there is an external motor rotate
the 3 screws and spring washers in the
mounting holes.
assembling the hood
- Fasten the hood to the telescopic pipe,
using the nuts, wahsers, long socket head
screws and spring washers.
plug connections
- Make the necessary plug and socket
connections.
- Place the filters.
installation wall hood
The most important dimensions are shown on
the previous page. You can set the height of
the telescopic pipe. Take the allowable
tolerances into account.
Position the discharge and the electrical
connection in such a way that it will be easy
to hook up the hood.
marking
- Mark out the centre line on the wall.
- Mark the holes to be drilled for the upper
telescopic pipe using the stencil.
- Mark the holes to be drilled for the lower
telescopic pipe using the stencil.
- Drill the holes ø 10.
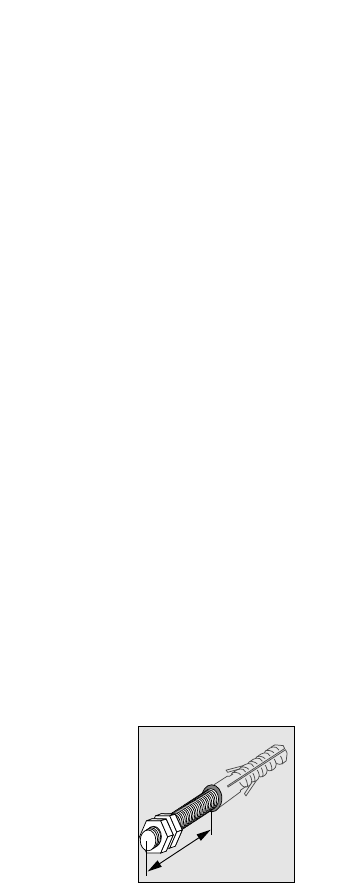
- Fix the plugs and studs. Screw the studs
20 mm into the plugs.
hanging telescopic pipes
- Fix the upper telescopic pipe. Fasten the
lower nut only half.
- Fix the connecting cable and the exhaust
duct.
- Slide the lower telescopic pipe behind the
upper telescopic pipe.
- Secure the telescopic pipes.
fitting motor*
*Only for appliances with an integrated motor.
- Screw the motor with 3 screws and the
spring washer in the lower telescopic
pipe.
- When there is an external motor rotate
the 3 screws and spring washers in the
mounting holes.
assembling the hood
- Hang the hood over the studs.
- Secure the hood by means of the nuts and
washers.
- Fasten the hood to the telescopic pipes
using the long socket head screws and
the spring washers.
- Loosen the nuts somewhat. Push the hood
on the wallside upwards as far as
possible and screw the nuts tightly.
plug connections
- Make the necessary plug and socket
connections.