66
ENGLISH
11.5 Change Sound Settings
Your TV set comes with 4 preset and one manually adjustable sound settings (Standard, Music, Movie, Sports and User).
Press the SOUND button to cycle through the options. Select User to access your user-dened sound settings.
Set Audio Mode
1. Press the TV MENU button to display the OSD main menu.
2. Press the arrow button
until the menu SOUND is activated.
3. Press
to highlight the item Sound Mode. Press OK to display the
menu.
4. Press / to select User. The following items are activated and can
be changed:
Treble / Bass
5. Press
to access the desired item and set the value with the arrow
buttons / .
6. Press EXIT to exit the menu and save the changes.
11.6 Further Sound Settings
• Use Balance to set the sound balance between left and right speaker.
• Select Auto Volume to adjust dierent volume, e.g. when changing the channel.
1. Press the TV MENU button to display the OSD main menu.
2. Press the arrow button
until the menu SOUND is activated.
3. Press the arrow button to highlight Balance or Auto Volume.
4.
Balance:
Press OK to display the menu. Press / to set the desired value.
Auto Volume:
Press OK to activate/deactivate the function.
5. Press EXIT to exit the menu and save the changes.
12. Current Time and Timer
12.1 Current Time
In DVB-T mode the TV set automatically detects the current time. In ATV mode the current time can be set manually.
1. Press the TV MENU button to display the OSD main menu.
2. Press the arrow button until the menu TIME is activated.
3. Press the arrow button to highlight Clock.
4. Press OK to access the function.
5. Enter the values such as date with the arrow buttons / .
6. Press EXIT to exit the menu and save the settings.
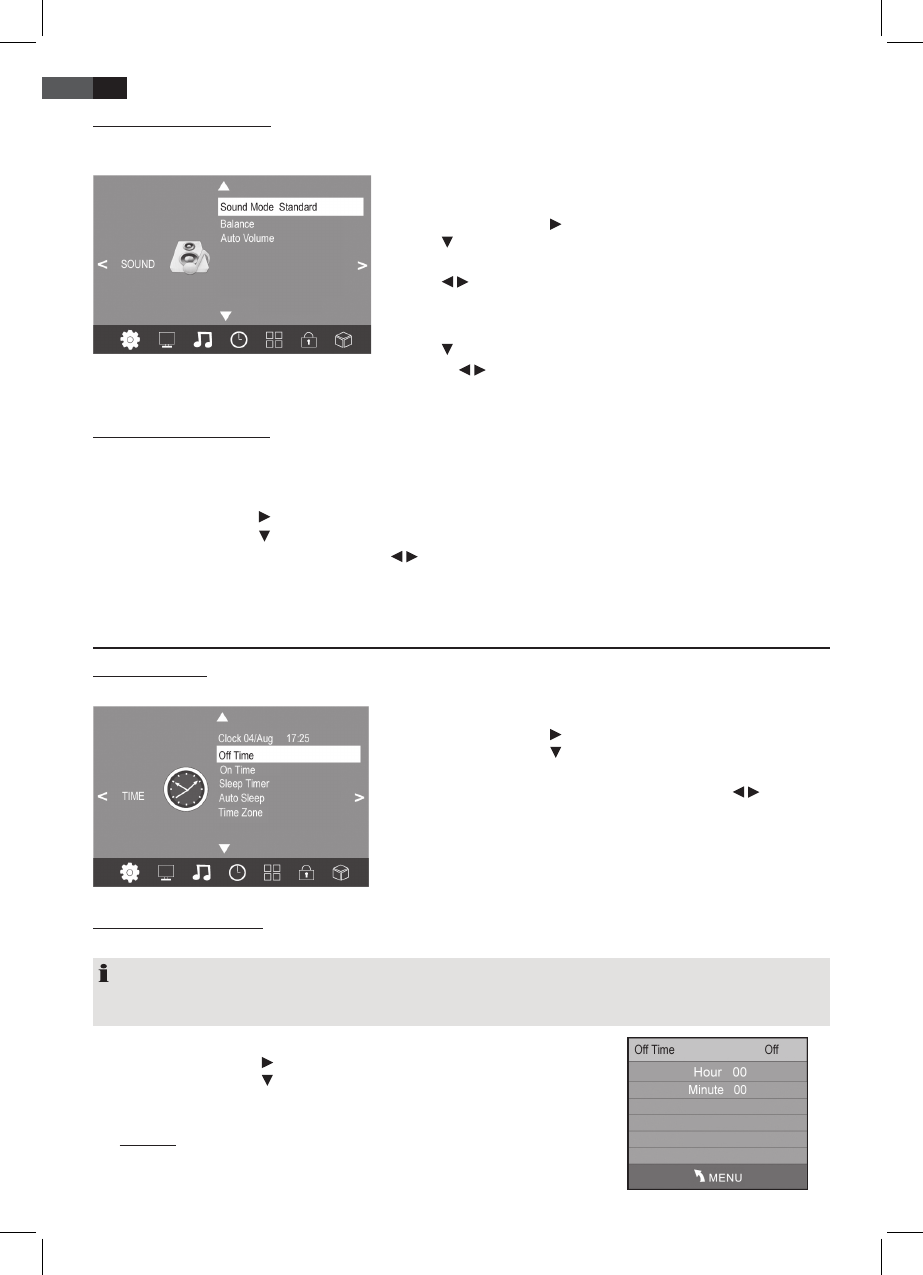
12.2 On Time and O Time
On Time and O Time dene the time when the TV set turns on and o. You can dene dierent periods.
NOTE:
These functions turn your TV set on from standby mode or into standby mode. If your TV set is turned o with the main
switch this functions is invalid.
1. Press the TV MENU button to display the OSD main menu.
2. Press the arrow button until the menu TIME is activated.
3. Press the arrow button to highlight O Time or On Time.
4. Press OK to access the function.
5. Press the arrow buttons to highlight and change the displayed functions.
O Time:
- O Time: Dene if the setting is to be performed once or regularly. Select
between: (O, Once, Daily, Mon-Fri, Mon-Sat, Sat-Sun or Sun).
- Hour / Minute: Set the o time.