4
Reinigung der Innenteile
Bevor Sie das Gerät in Betrieb nehmen, beseitigen
Sie den typischen «Neugeruch» am besten durch
Auswaschen der Innenteile mit lauwarmem Wasser
und einem neutralen Reinigungsmittel Sorgfältig
nachtrocknen.
Bitte keine Reinigungs- bzw.
Scheuermittel verwenden, die das Gerät
beschädigen könnten.
Temperaturregelung
Die Temperatur wird automatisch geregelt und kann
erhöht werden (wärmer) durch Drehen des Thermo-
statknopfes auf kleinere ● oder verringert (kälter)
durch das Drehen auf grössere ●.
Die richtige Einstellung erhält man, unter
Berücksichtigung folgender, die Innentemperatur
beeinflussender Faktoren:
• Raumtemperatur,
• Häufigkeit des Türöffnens,
• Menge der eingelagerten Lebensmittel,
• Aufstellung des Gerätes.
Gebrauch
Inhalt
Warnungen und wichtige Hinweise 2
Hinweise zur Verpackungsentsorgung 3
Gebrauch 4
Reinigung der Innenteile 4
Inbetriebnahme 4
Temperaturregelung 4
Hinweise zum richtigen Kühlen 5
Höhenverstellbare Abstellregale 5
Höhenverstellung der Türablage 5
Tips 6
Tips für das Kühlen 6
Wartung 6
Stillstandzeiten 6
Regelmäßige Reinigung 6
Innenbeleuchtung 6
Abtauen 7
Störungen 7
Installation 8
Aufstellung 8
Transportsicherungen 8
Elektrischer Anschluß 8
Hintere Abstandsstücke 9
Türanschlagwechsel 9
Garantiebedingungen 10
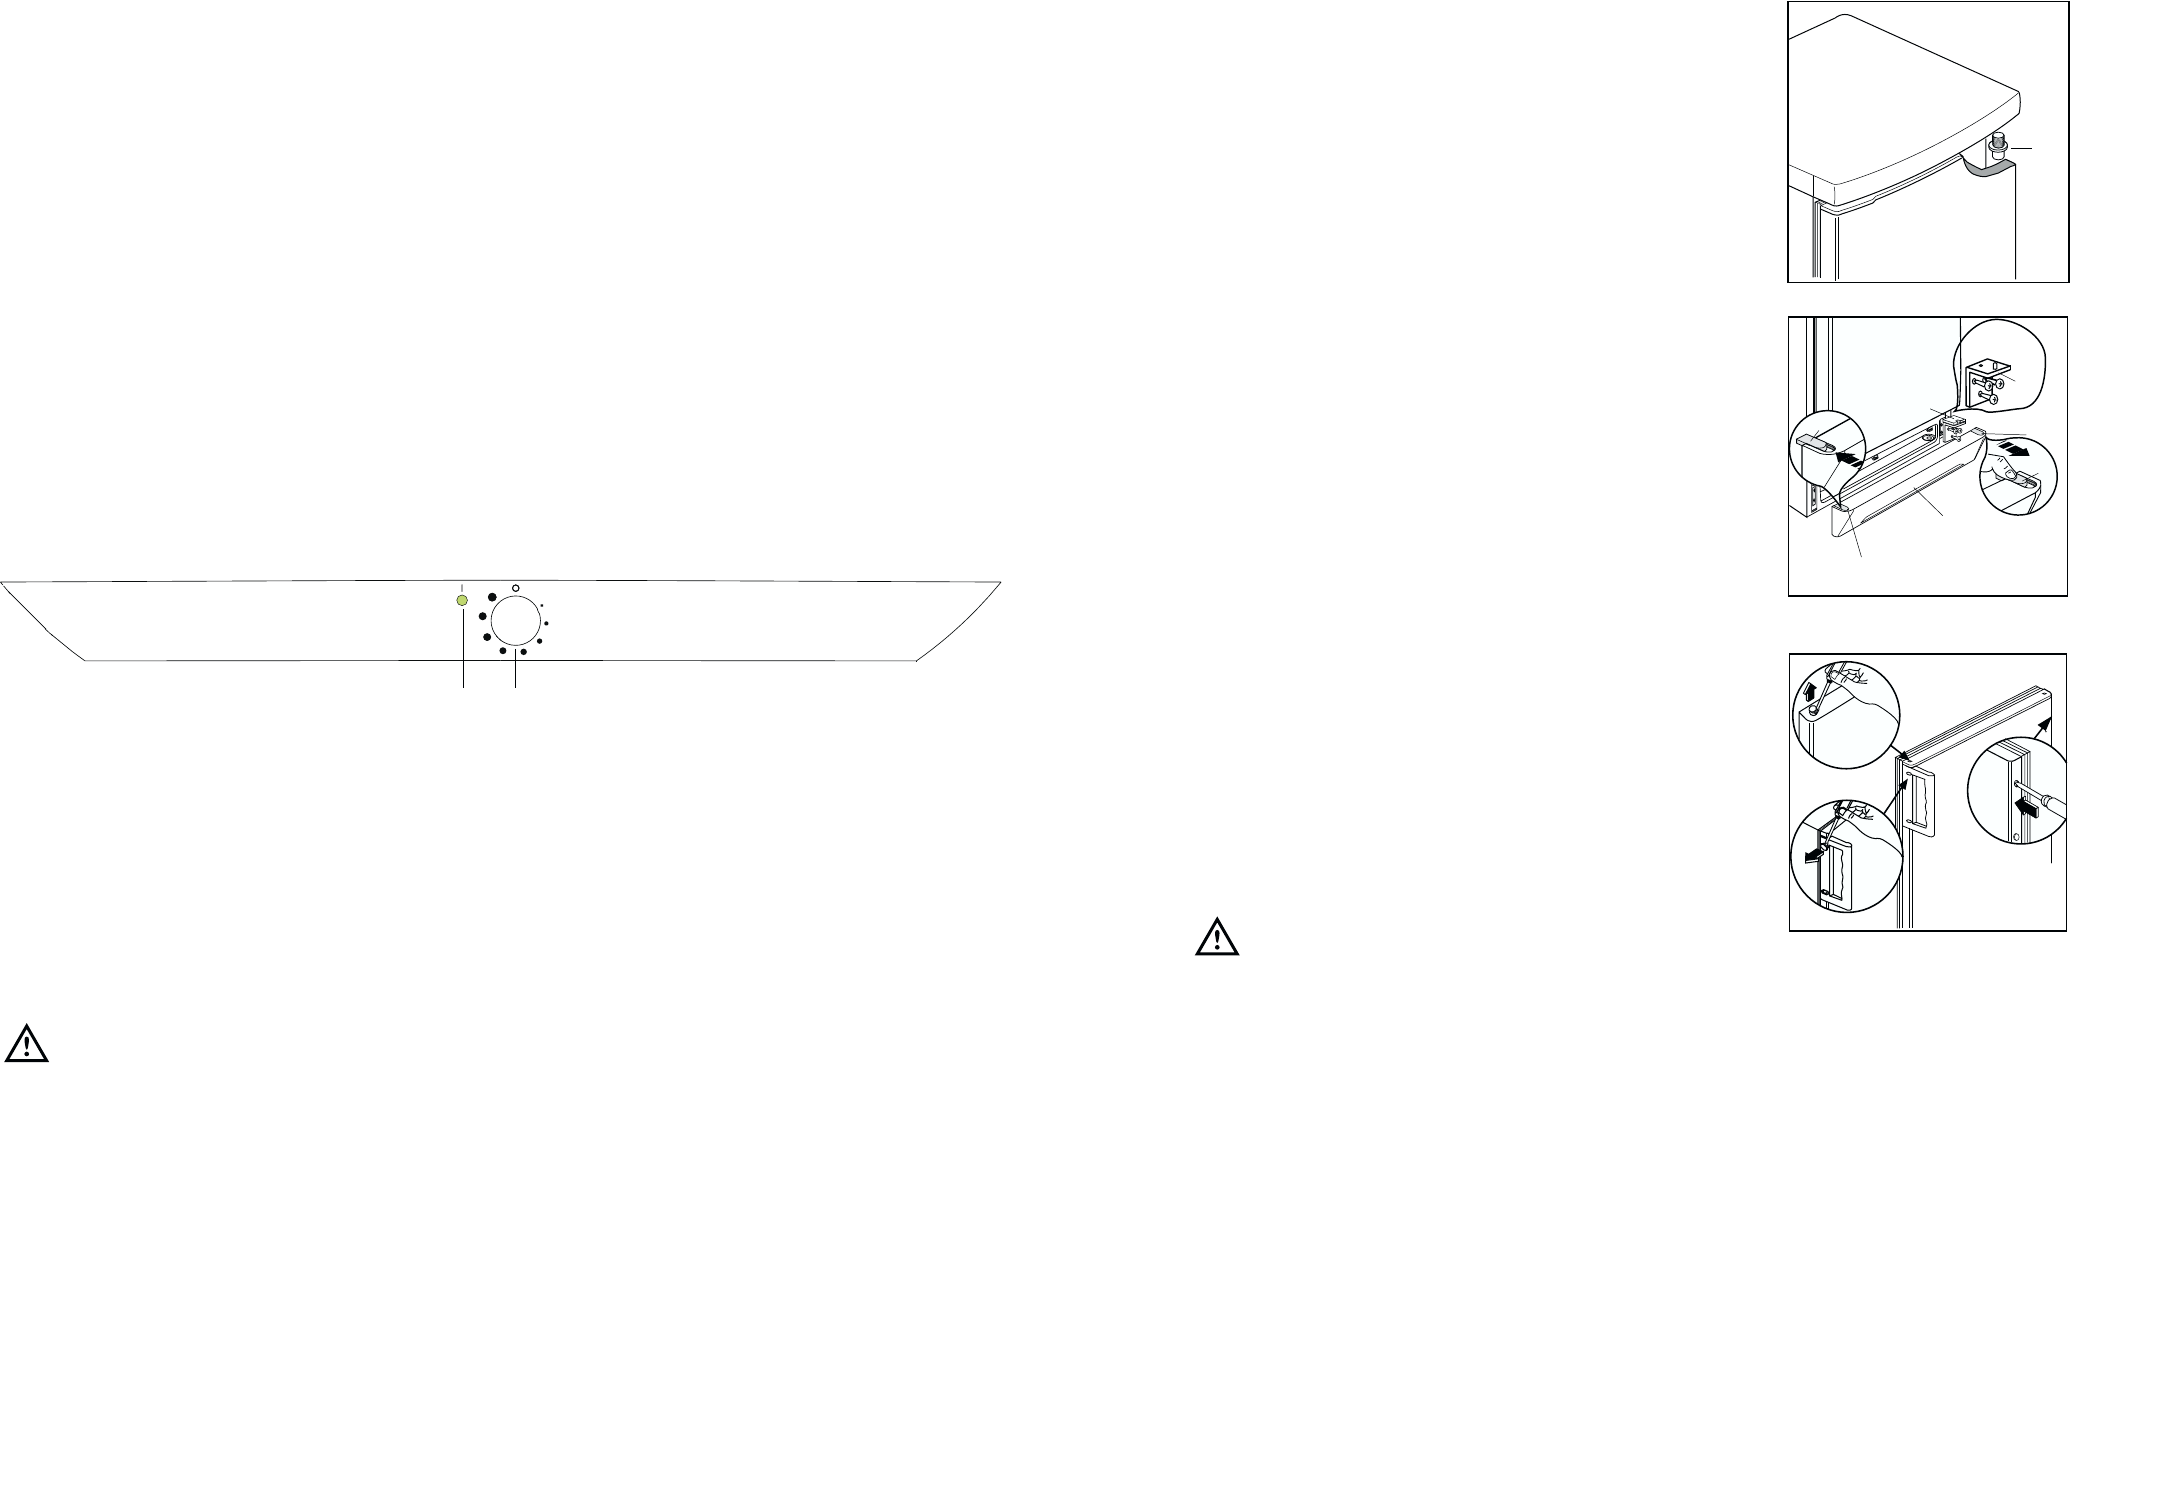
A. Betreibskontollampe
B.Temperaturregler(Thermostat)
Bedienungsblende
Inbetriebnahme
Netzstecker in die Steckdose einstecken.
Den Schalter (B) über die Stellung «O» drehen. Die
Kontrollampe (A) leuchtet auf.
Den Stillstand erhält man durch Drehen des
Schalters (B) auf Stellung «O».
41
Changing the opening direction of
the doors
Before carrying out any operations, remove the plug
from the power socket.
To change the opening direction of the door,
proceed as follows:
1. pull off the ventilation grille (D) which is clipped
into place;
2. remove the bottom hinge (E) by unscrewing its
three fixing screws;
3. remove the door, releasing it from the upper pin
(G);
4. unscrew the upper pin (G) and refit it on the
opposite side;
5. remove the two plugs of the door (where
available), discovering the holes for the hinge
pins, assemble them on the opposite side;
6. using a 10 mm spanner, unscrew the hinge pin
(E) and reassemble it on the opposite side of the
hinge;
7. reassemble the lower hinge (E) on the opposite
side, using the screws previously removed; insert
the hole cover (G) on the lower hinge. Slide the
hole cover (F) out of the ventilation grille (D) by
pushing it in the direction of the arrow and
reassemble it on the opposite side;
8. reassemble the door;
9. refit the ventilation grille (D), clipping it into
place.
10.Dismantle the handles and reassemble them on
the opposite side. Cover the holes left open with
the plugs contained in the documentation pack.
Warning:
After having reversed the opening direction of
the doors check that all the screws are properly
tightened and that the magnetic seal adheres to
the cabinet. If the ambient temperature is cold
(i.e. in Winter), the gasket may not fit perfectly to
the cabinet. In that case, wait for the natural
fitting of the gasket or accelerate this process by
heating up the part involved with a normal
hairdrier.