5
Reiniging van de binnenkant
Voor u de kast in gebruik neemt, dient u de
binnenkant met lauw water en een neutraal
schoonmaakmiddel te reinigen om de typische geur
van een nieuw apparaat weg te nemen. Droog
vervolgens de wanden goed af.
Gebruik geen schurende schoonmaak-
middelen, waarmee u de afwerkingen van
het apparaat zou kunnen beschadigen.
Ingebruikname
Steek de steker in de wandkontaktdoos.
Open de deur en draai de thermostaatknop,
rechtsom uit de stand «O» (STOP-stand).
De koelkast is nu in werking.
HET GEBRUIK
Temperatuurinstelling
De temperatuur wordt automatisch geregeld en kan
verhoogd worden (minder koud) door de knop naar
een lager cijfer te draaien of verlaagd worden
(kouder) door de knop naar een hoger cijfer te
draaien. Bij het instellen van de juiste stand dient u
er rekening mee te houden dat de temperatuur in
het apparaat afhankelijk is van:
• de kamertemperatuur;
• de frequentie waarmee de deuren geopend
worden;
• de hoeveelheid levensmiddelen in de kast;
• de plaats van het apparaat.
Attentie
Het kan voorkomen dat, indien de
thermostaatknop in de koudste stand gedraaid
is, bijvoorbeeld ten gevolge van zeer warme
omgevingstemperatuur of het snel willen koelen
van grote hoeveelheden dranken, de compressor
continu loopt, waardoor automatische
ontdooiing van de koelverdamper niet
plaatsvindt en zich daarop ijs afzet. Draai, in dat
geval, de thermostaatknop naar een wat minder
koude stand, zodat automatische ontdooiing kan
plaatsvinden; hierdoor spaart u tevens energie.
Invriezen van verse
levensmiddelen
In het diepvriesvak kunt u verse
levensmiddelen invriezen en diepvriesproducten
bewaren.
Voor het invriezen kunt u de thermostaatknop op de
gebruikelijke stand laten staan. Wilt u sneller
invriezen, dan dient u de thermostaatknop op de
koudste stand te draaien. In deze stand kan de
temperatuur in het koelvak echter beneden 0°C
dalen.
In dat geval dient u de knop op een minder koude
stand te draaien.
Plaats de in te vriezen levensmiddelen in het
bovenste vak; daar is de temperatuur het laagst.
Bewaren van diepvriesproducten
Indien u de koelkast voor het eerst in gebruik neemt
of haar weer gebruikt na een periode van stilstand,
dient u de thermostaatknop op de koudste stand te
draaien. Plaats vervolgens de diepvriesproducten na
twee uur in de kast en draai de thermostaat terug
naar de gebruikelijke stand.
Neem de volgende regels in acht:
als u grote hoeveelheden voedsel moet invriezen,
kunt u alle laden en manden uit het apparaat
verwijderen en het voedsel direct op de koelplaten
leggen. Let erop dat u de maximum belading
niet overschrijdt, deze vindt u op de zijkant van het
bovengedeelte (indien voorzien).
Belangrijk
Open de vriesvakdeur niet tijdens stroomuitval.
Wij adviseren u om na een stroomuitval de
diepvries-producten in korte tijd te consumeren
(een temperatuurstijging verkort de
houdbaarheidsduur van de producten). De
normale houdbaarheid wordt niet aangetast
indien de stroomuitval kort was (minder dan 6-8
uur) en het vriesvak vol is.
Koelen van levensmiddelen
Voor een optimaal gebruik van de koelruimte
adviseren wij u de volgende eenvoudige regels in
acht te nemen:
• Plaats geen warme of dampende spijzen of
dranken in de koelruimte;
• dek vooral sterk geurend voedsel af of verpak
het;
• plaats de levensmiddelen zo, dat de lucht vrij
eromheen kan circuleren.
24
Electrical connection
Before plugging in, ensure that the voltage and
frequency shown on the serial number plate
correspond to your domestic power supply. Voltage
can vary by ±6% of the rated voltage.
For operation with different voltages, a suitably sized
auto-transformer must be used.
The appliance must be earthed.
The power supply cable plug is provided with a
contact for this purpose.
If the domestic power supply socket is not earthed,
connect the appliance to a separate earth in
compliance with current regulations, consulting a
specialist technician.
The Manufacturer declines all responsibility if
the above safety precautions are not observed.
This appliance complies with the following
E.E.C. Directives:
- 87/308 EEC of 2/6/87 relative to radio interference
suppression.
- 73/23 EEC of 19.2.73 (Low Voltage Directive) and
subsequent modifications;
- 89/336 EEC of 3.5.89 (Electromagnetic
Compatibility Directive) and subsequent
modifications.
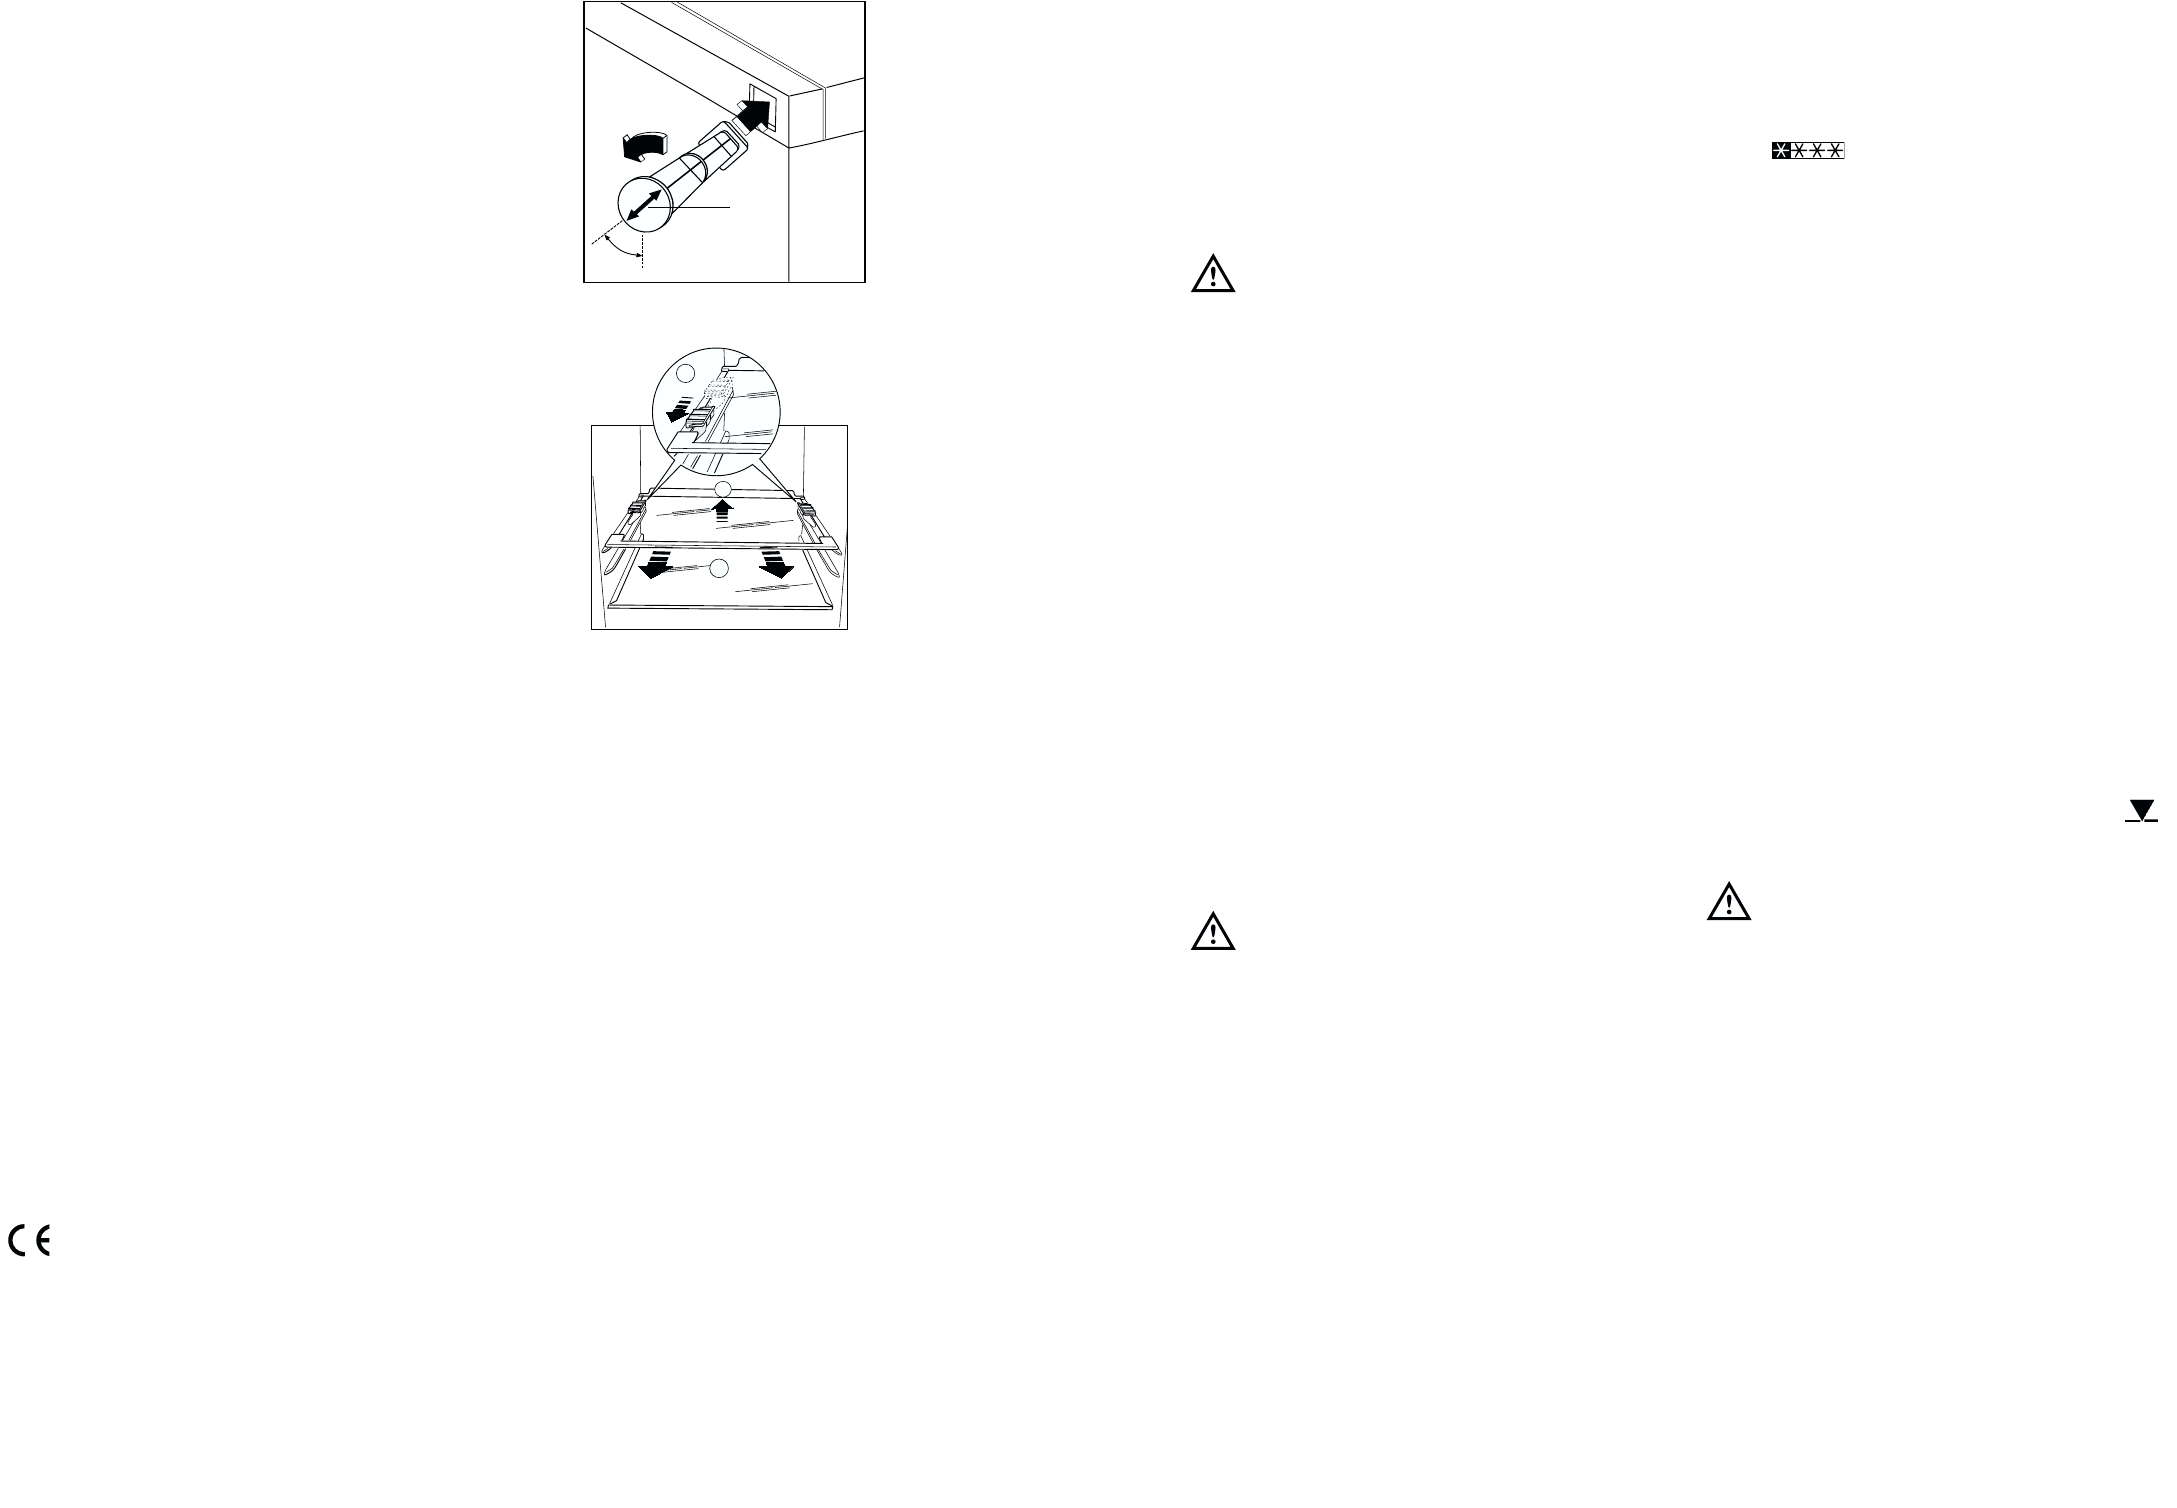
Rear spacers
The plastic bag containing all relevant documen-tation
also contains two spacers to be fitted into special holes in
the back of the appliance. Fit the spacers into the holes,
taking care to ensure that the arrow (A) is positioned as
shown in Figure. Then turn them through 45° (arrow (A)
vertical) until they lock into place.