9
STORING
Indien het apparaat niet of niet goed funkioneert,
kontroleer dan:
• of de steker goed in het stopcontact zit;
• of de elektriciteit soms uitgevallen is;
• of de thermostaatknop op de juiste stand staat;
• en indien er water op de bodem van de koeler
ligt, of het afvoerkanaaltje soms verstopt is (zie
hoofdstuk “Het ontdooien”).
Kunt u de storing niet zelf lokaliseren en
verhelpen,raadpleeg dan de dichtsbijzijnde
servicedienst.
Geef daarbij altijd het model en het typenummer
van de kast op. Deze gegevens vindt u op het
garantiebewijs of op het typeplaatje dat zich
linksonder aan de binnenzijde van het apparaat
bevindt.
Belangrijk:
Gebruik voor het verwijderen van de rijp nooit
metalen voorwerpen; u zou uw koelkast kunnen
beschadigen.
Geen voorwerpen of methodes gebruiken om het
ontdooiproces te versnellen die niet door de
fabrikant zijn aangegeven.
Temperatuurstijging van diepvriesproducten kan
hun houdbaarheidsduur verkorten.
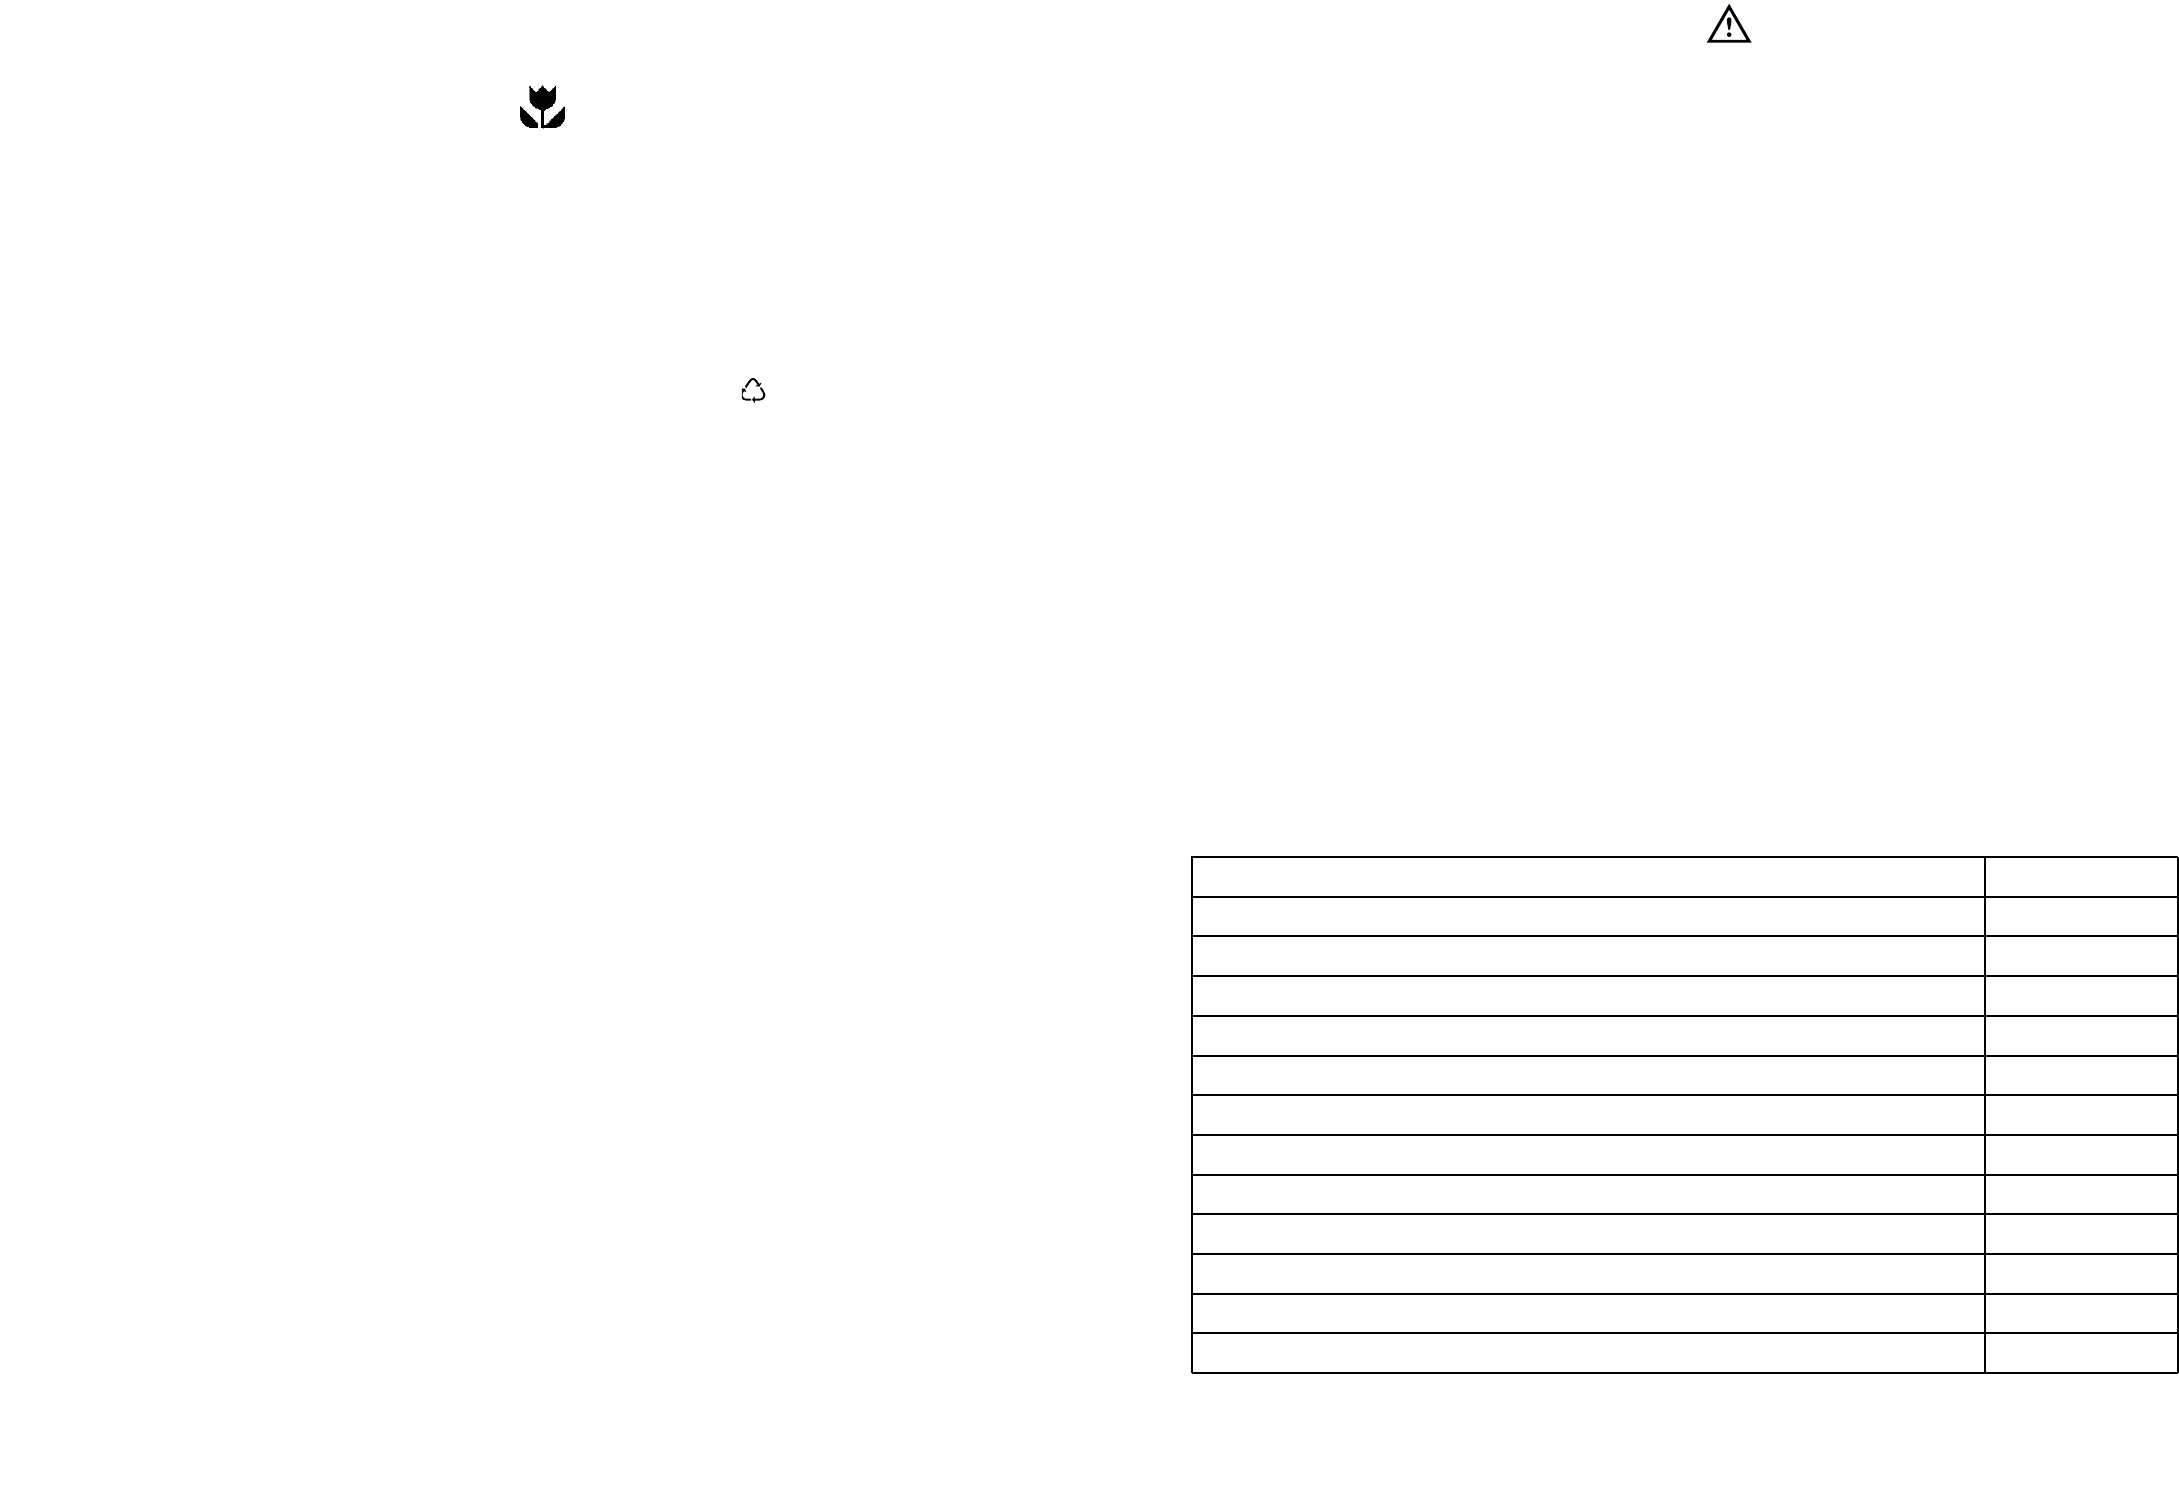
TECHNISCHE GEGEVENS
164
0,66
241
20
31
1400
600
625
Energieverbruik in kWh/24h
Energieverbruik in kWh/jaar
Invriescapaciteit in kg/24h
Tijd om van -18°C naar -9°C te gaan per uur
Netto inhoud in liter van het vriesgedeelte
Afmetingen in mm
hoogte
breedte
diepte
Deze gegevens vindt u op het garantiebewijs of op het typeplaatje van het apparaat.
bestemde opening. Plaats onder het gootje een
schaaltje om het water op te vangen.
4. droog na het ontdooien het vriesvak zorgvuldig
en sluit het gaatje weer af met de dop; bewaar de
schraper zodat u hem opnieuw kunt gebruiken;
5. draai de thermostaatknop in de gewenste stand
of steek de steker weer in het stopcontact.
6. Schuif de snelvriesschakelaar in de invries-stand
en laat de vriezer tenminste 2 uur leeg vriezen.
Na twee of drie uur kunt u de diepvriesproducten
weer terugplaatsen.
16
CONTENTS
Warnings 15
Use 17
Control panel 17
Cleaning the interior 17
Starting 17
Temperature regulation 17
Quick-freezing 17
The temperature alarm light 18
Freezing fresh food 18
Storage of frozen food 18
Thawing 18
Ice-cube production 18
Cold accumulators 18
Hints 19
Hints for freezing 19
Hints for storage of frozen food 19
Maintenance 20
Periodic cleaning 20
Periods of no operation 20
Defrosting 20
Customer service and spare parts 21
Technical Information 21
Installation 22
Location 22
Rear spacers 22
Electrical connection 22
Changing the opening direction of the door 23
• Do not place carbonated or fizzy drinks in the
freezer as it creates pressure on the container,
which may cause it to explode, resulting in
damage to the appliance. Do not use a
mechanical device or any artificial means to
speed up the thawing process other than those
recommended by the manufacturer. Never use
metal objects for cleaning your appliance as it
may get damaged.
Installation
• During normal operation, the condenser and
compressor at the back of the appliance heat up
considerably. For safety reasons, minimum
ventilation must be as shown in the instructions.
Attention: keep ventilation openings clear of
obstruction.
• Care must be taken to ensure that the appliance
does not stand on the electrical supply cable.
Important: if the supply cord is damaged, it must
be replaced by a special cord or assembly availa-
ble from the manufacturer or its service agent.
• If the appliance is transported horizontally, it is
possible that the oil contained in the compressor
flows in the refrigerant circuit. It is advisable to
wait at least two hours before connecting the
appliance to allow the oil to flow back in the
compressor.
• There are working parts in this product which
heat up. Always ensure that there is adequate
ventilation as a failure to do this will result in
component failure and possible food loss. See
installation instructions.
• Parts which heat up should not be exposed.
Wherever possible the back of the product should
be against a wall.
Environment Protection
This appliance does not contain gasses which
could damage the ozone layer, in either its
refrigerant circuit or insulation materials. The
appliance shall not be discarded together with
the urban refuse and rubbish. Avoid damaging
the cooling unit, especially at the rear near the
heat exchanger. Information on your local
disposal sites may be obtained from municipal
authorities. The materials used on this appliance
marked by the symbol are recyclable.