Safety instructions
Do not operate machine before having read the operating instructions, understood all the notes and assembly the machine
as described here. Keep the instructions in a safe place for future use.
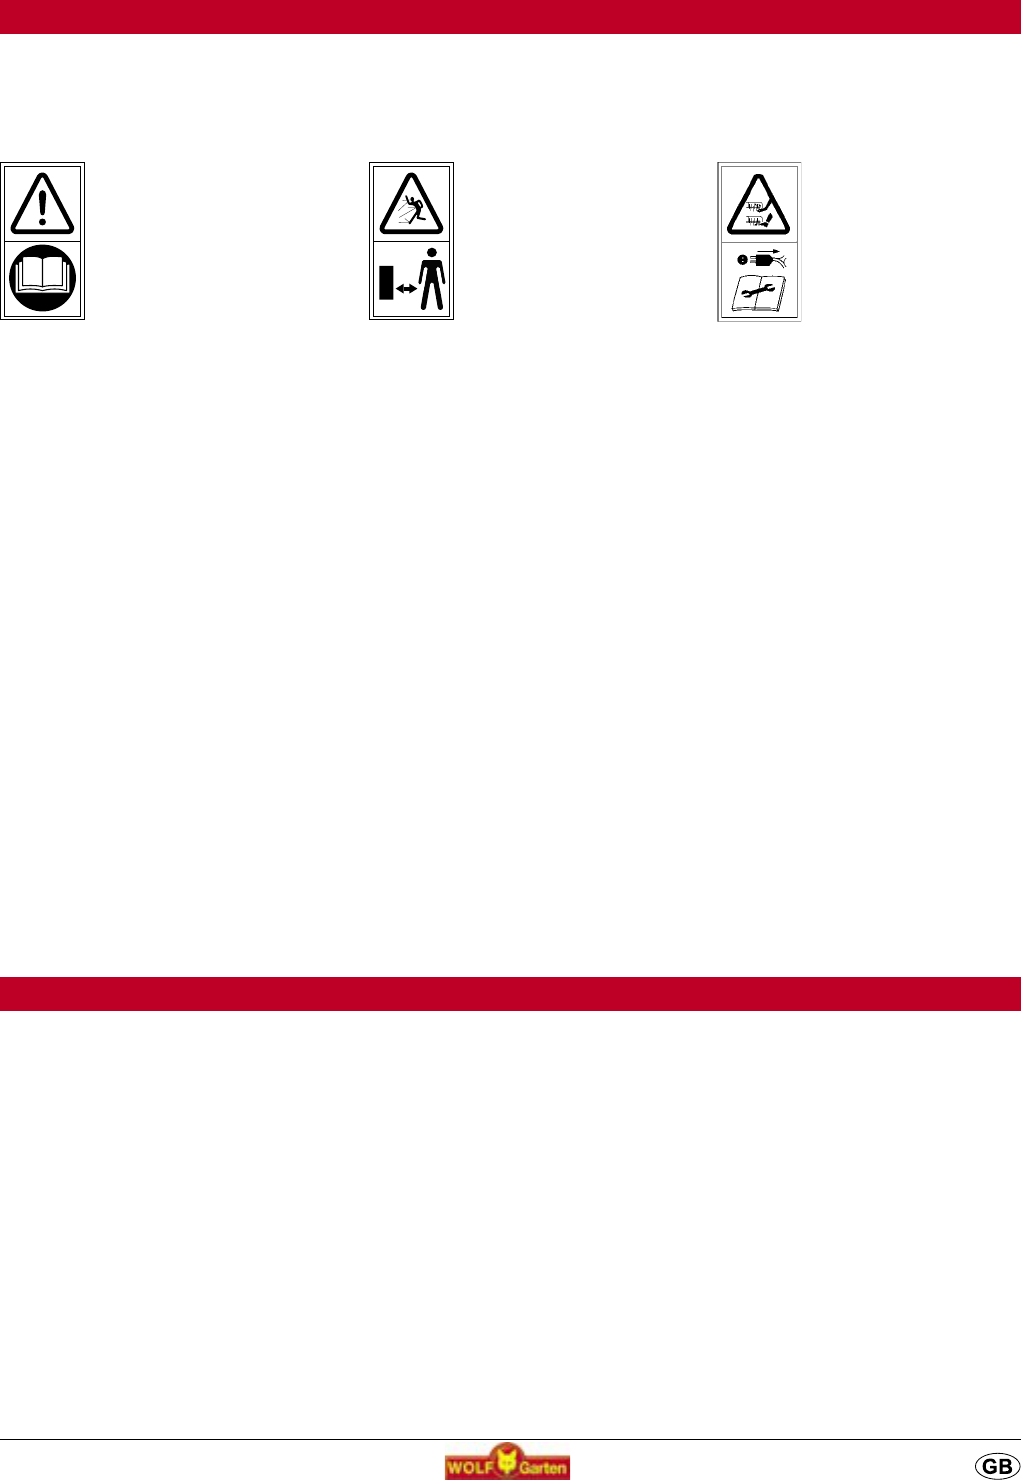
Meaning of the symbols
Keep bystanders away!Attention!
Read Instruction manual
before use!
Attention!
- Sharp knives - before
performing a maintenance
work or if the cable is da-
maged pull out the plug.
Keep the supply flexible
cord away from the cutting
blade!
General Advice
• Young people under 16 years or persons who are unfamiliar with
the operating instructions must not use this machine.
• Never use the machine while persons, especially children or
animals, are in the operating area.
Preparation for use
• Always wear sturdy footwear and long trousers when using the
machine. Never operate the machine when you are barefoot or
wearing open sandals.
• First inspect the lawn thoroughly and remove all foreign bodies
that may be thrown out of the machine.
• Check that the machine and its aerator roller are in good
condition.
Cable
• Please work with safety cables. For the connection only lines which
are not lighter than rubber hose lines H0 7 RN-F with a minimum
diameter of 3 x 1,5 mm
2
must be used.
• The attachments of the connection cables must be rubber or
covered with rubber and comply with Standard DIN/VDE 0620.
• Attachments must be splashproof (applicable in Austria only).
• Use a leakage-protective system (RCD) with a leakage current of
no more than 30 mA.
• Attach connection cable to traction relief. Make sure that in does
not rub against edges, pointed or sharp objects. Do not squeeze
cable through door or window gaps.
• Switching devices must not be removed or bridged (e. g. tying of
switching lever to guide spar).
Use/operation
• Only use the machine in daylight or under good artificial lighting.
• The machine must not be used when it is raining. If possible, avoid
using the machine in wet grass. The machine must not be washed
or rinsed with water.
• Make sure that you have a firm and solid foothold on slopes.
Always work across the slope, never up and down the slope, and
never work on very steep inclines.
• Take special care when changing direction or when pulling the
machine towards you.
• Switch off the motor if the machine is to be transported over
surfaces other than grass.
• Never operate the machine with a defective guard or with missing
safety devices.
• Switch off the motor, wait for the aerator roller to come to a halt, and
pull the plug out of the mains socket before leaving the machine
unattended, or inspecting, cleaning or performing other operations
on the machine (e. g. setting the working height).
• Keep your hands and feet away from the rotating aerator roller.
• Switch off the motor and pull out the plug from the mains socket if
the aerator roller becomes blocked.
• Remove any obstructions, and check for damage to the machine.
Any damage must be repaired before
• the machine is taken back into service.
•
Inspect the extension lead for damage and ageing before use. Replace
the lead if necessary. Do not use the machine if the lead is damaged.
• The extension lead must lie free. Position the extension lead so that
the machine cannot run over it. The extension lead must not come
close to the aerator roller.
Assembling bottom handle part (fig. M1)
Insert securing screw (A) from inside through the left side
element, so that both projections catch in the recesses (1).
Position insulation element (B) from outside; the two nubs
must catch in the holes of the side element (2). Position
handle element (M) in the insulating element (B). Place
insulating element (C) so that the large opening points to
the outside. Then press washer (D) into the opening of the
insulating element (C) and tighten wing nut (G).
Assemble the right handle element in the same order.
Assembling top of handle (fig. M2)
Assembly
Attaching switch, strain relief and clips (fig. M3)
Fold up switch bracket (1) and position switch (H) on the
upper handle element so that the two nubs catch in the holes
(2). Close switch bracket (1) and insert cable strain relief (I).
Then fasten switch (H) and cable strain relief (I) with the two
screws (K). Fasten switch cable (3) with the clips (L) on the
handle rod.
Attaching protective flap (fig. M4)
Place protective flap (O) on the cover (1). Then press retainer
slots (2) into the fastening flaps (3) on the cover (1).