Installation – Installatie 4
VEN 5/5 classic; VEN 5/5 exclusiv 27
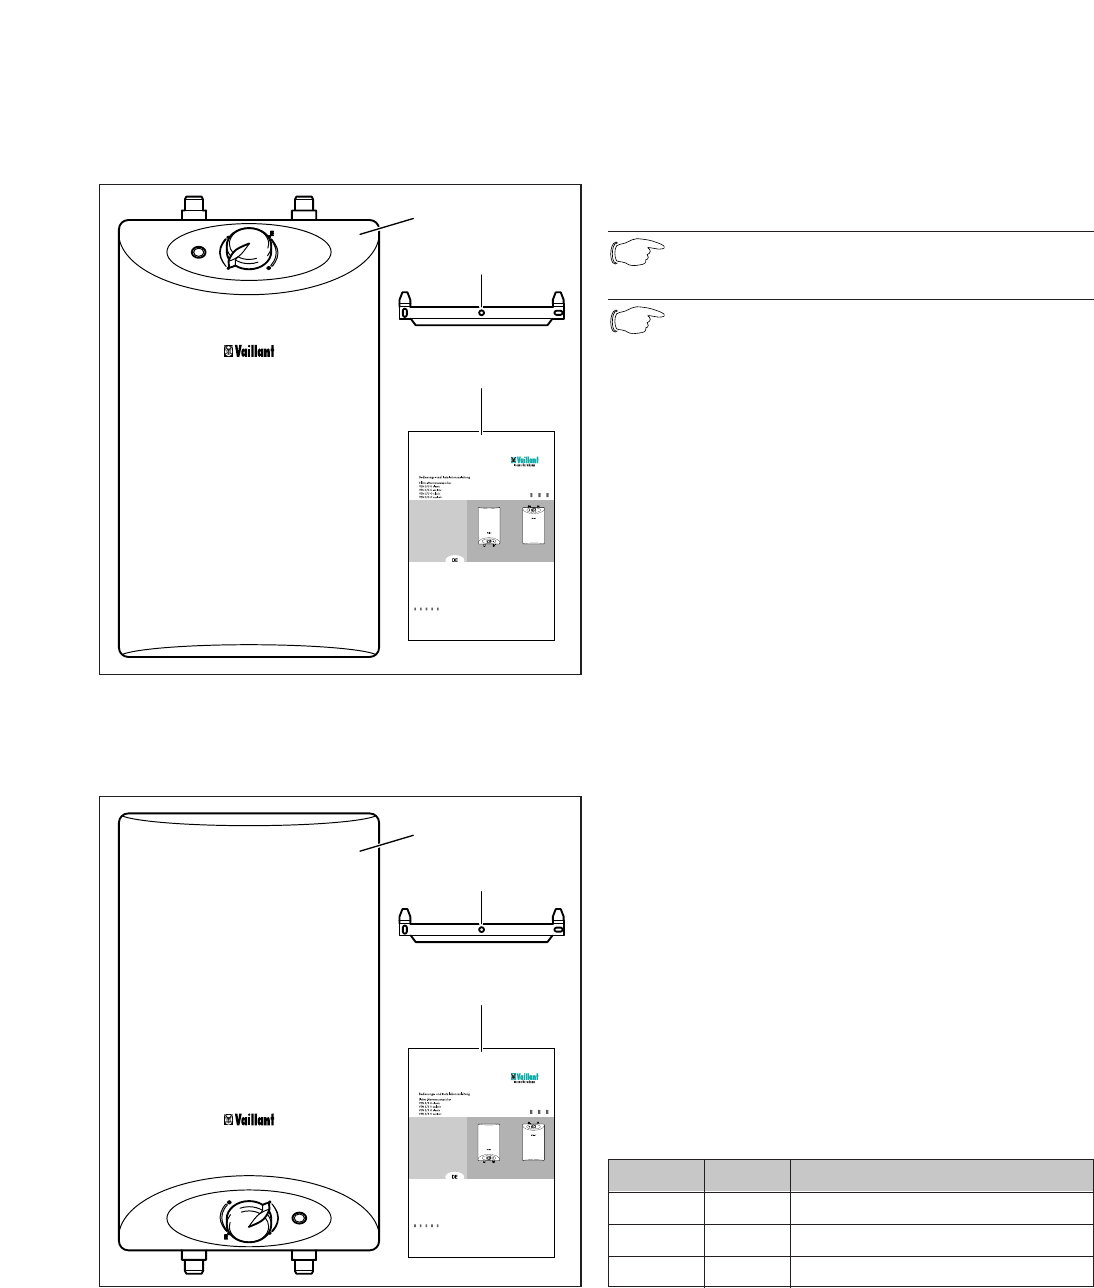
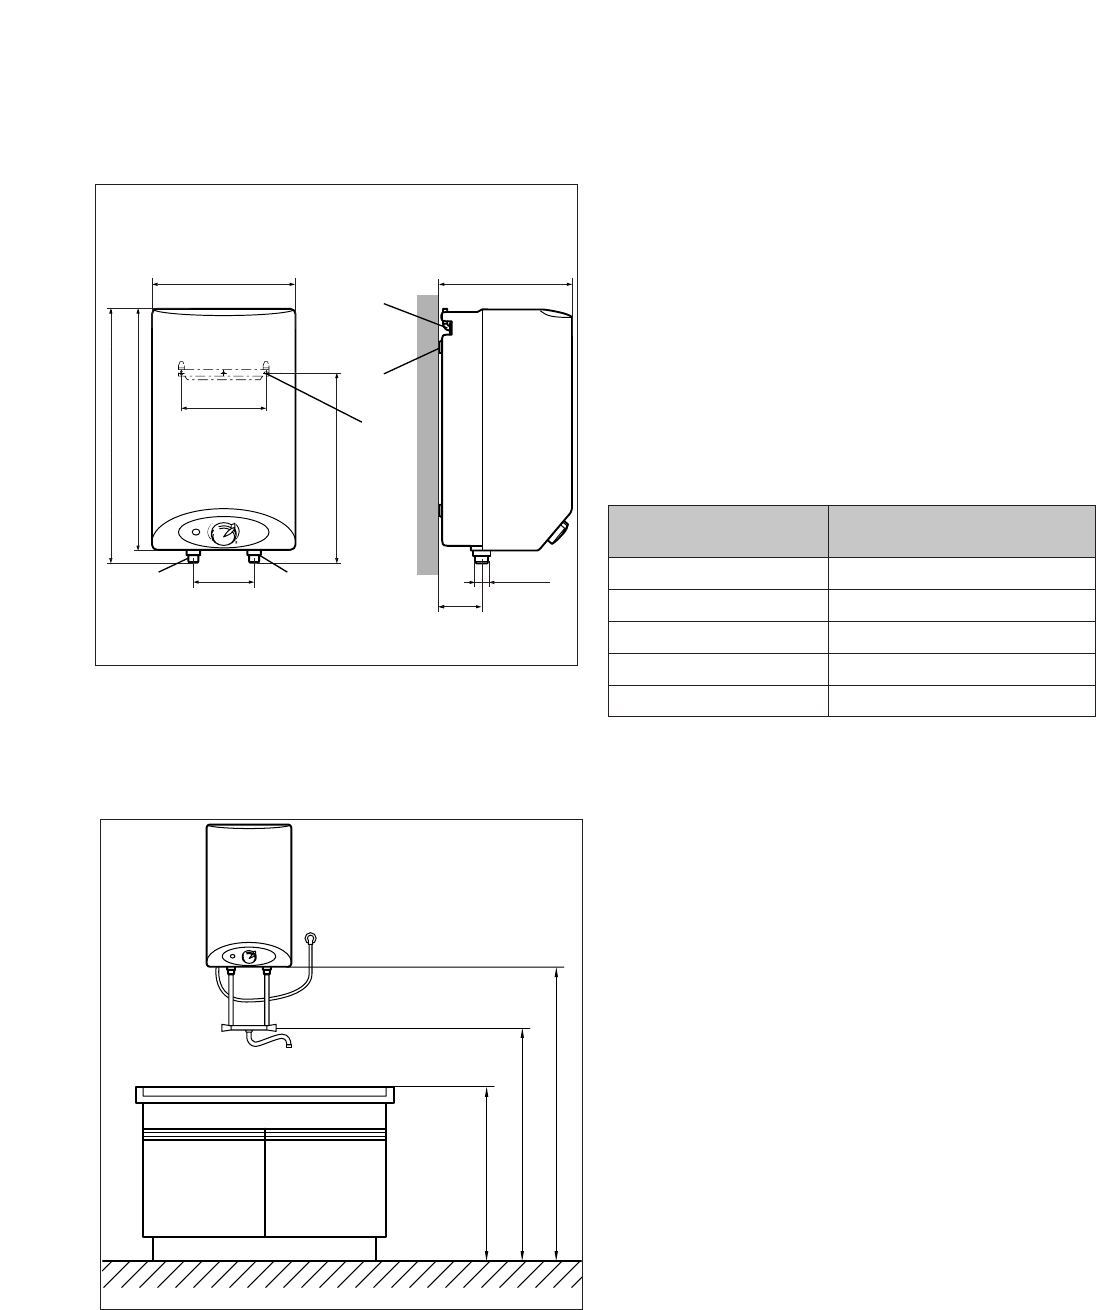
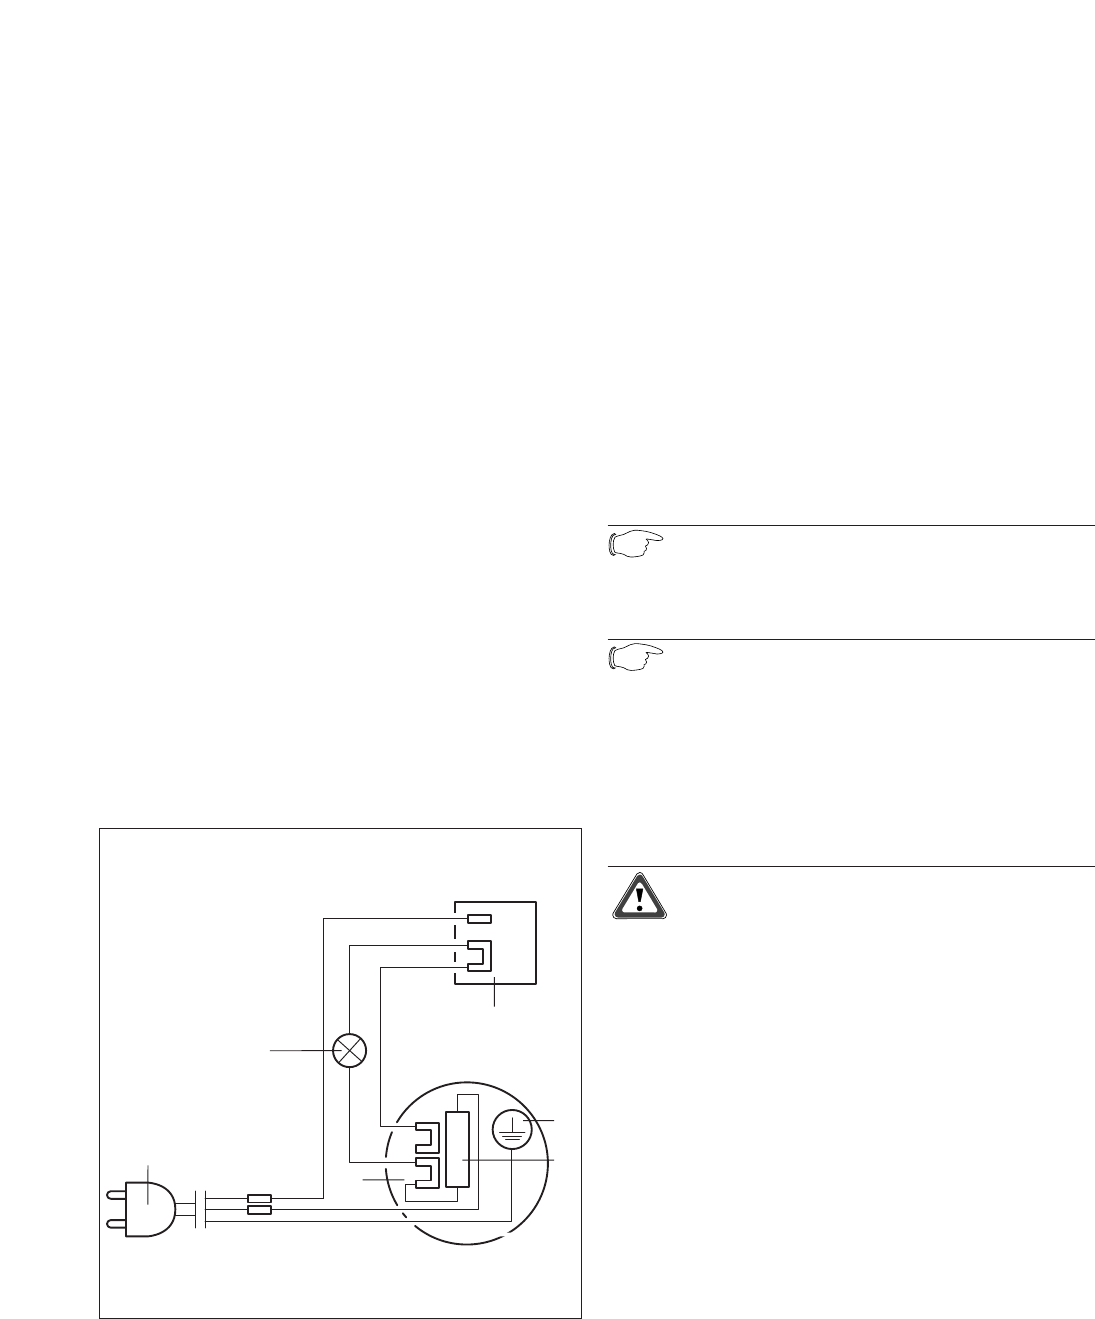
4.3 Accrochage de l’appareil
● Les éléments de fixation (vis, tourillons, etc.) utilisés
pour accrocher l’appareil doivent être définis en
fonction du poids de l’appareil (voir caractéristiques
techniques) et des caractéristiques du mur. Le
chauffe-eau électrique à accumulation doit être
accroché à la verticale.
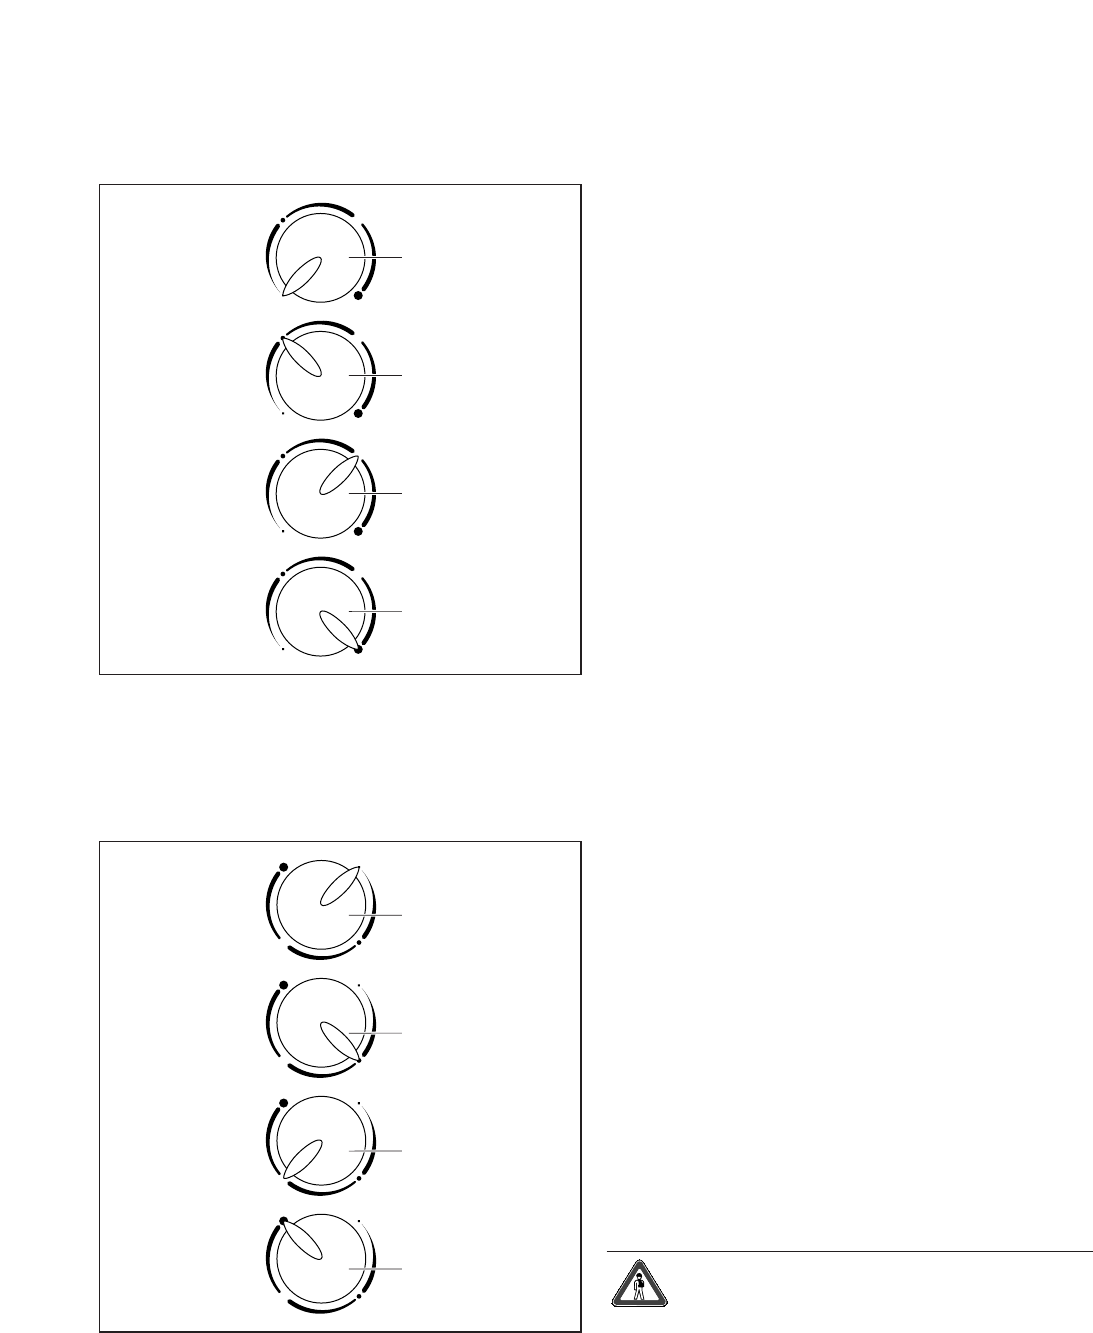
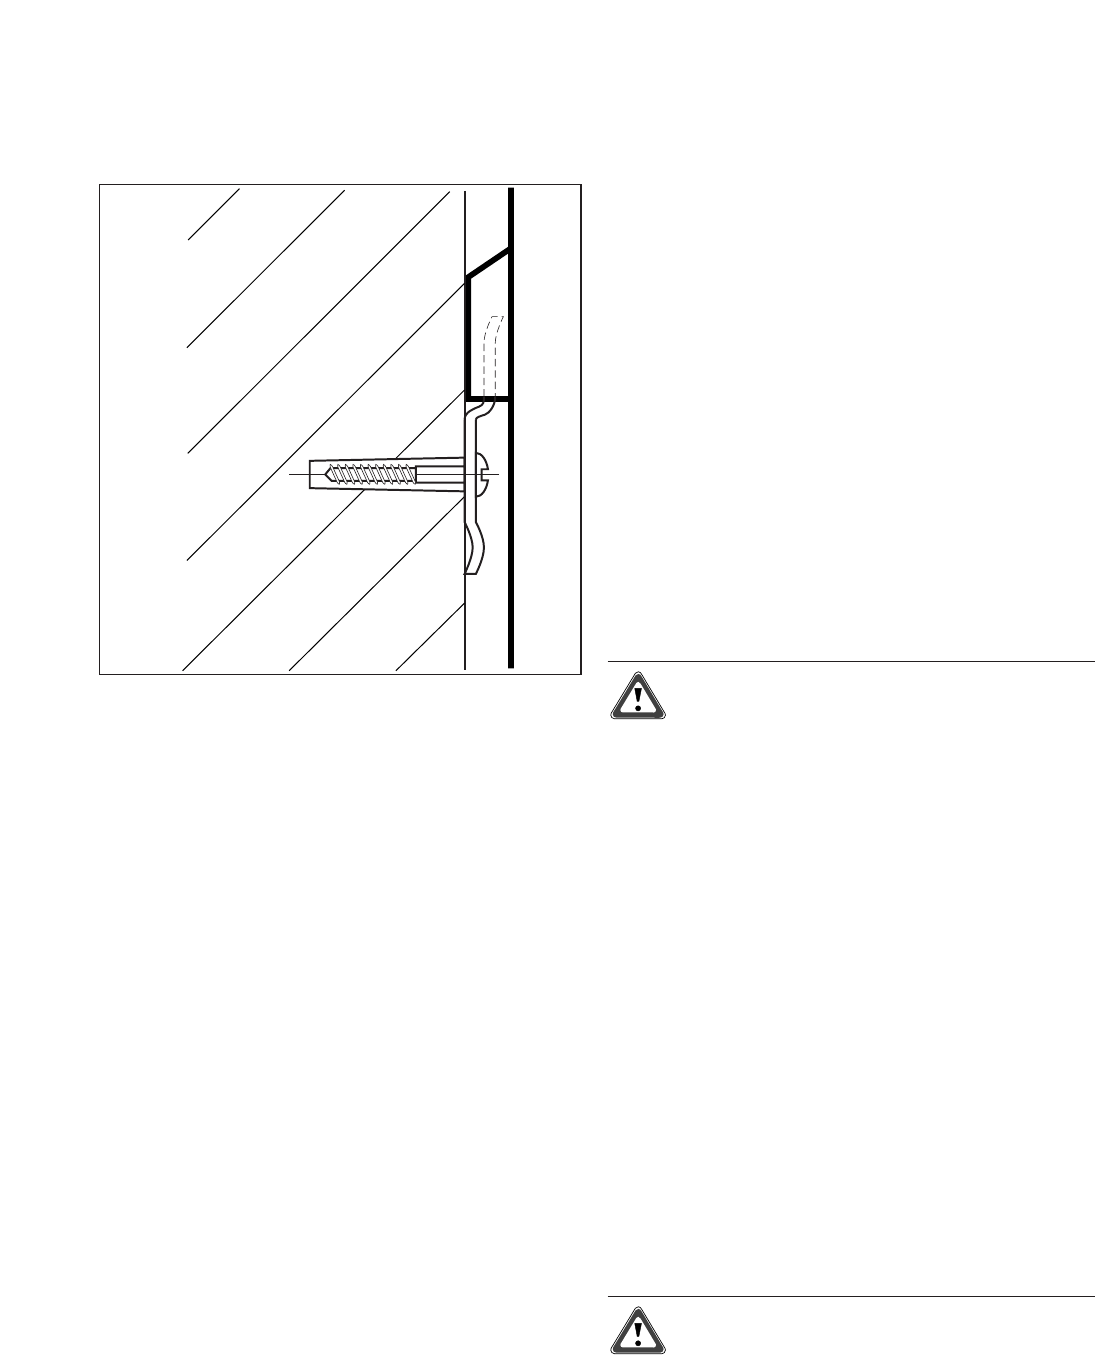
● Fixez le support à l’horizontale sur le mur. Pour cela,
utilisez les deux trous extérieurs. Le trou central sert
au centrage.
● Accrochez le chauffe-eau électrique à accumulation
VEN au support au moyen des ouvertures prévues à
cet effet par le haut de sorte que les manchons de
raccordement soit tournés vers le haut dans le cas
d’un appareil sous évier et vers le bas pour un
appareil sur évier.
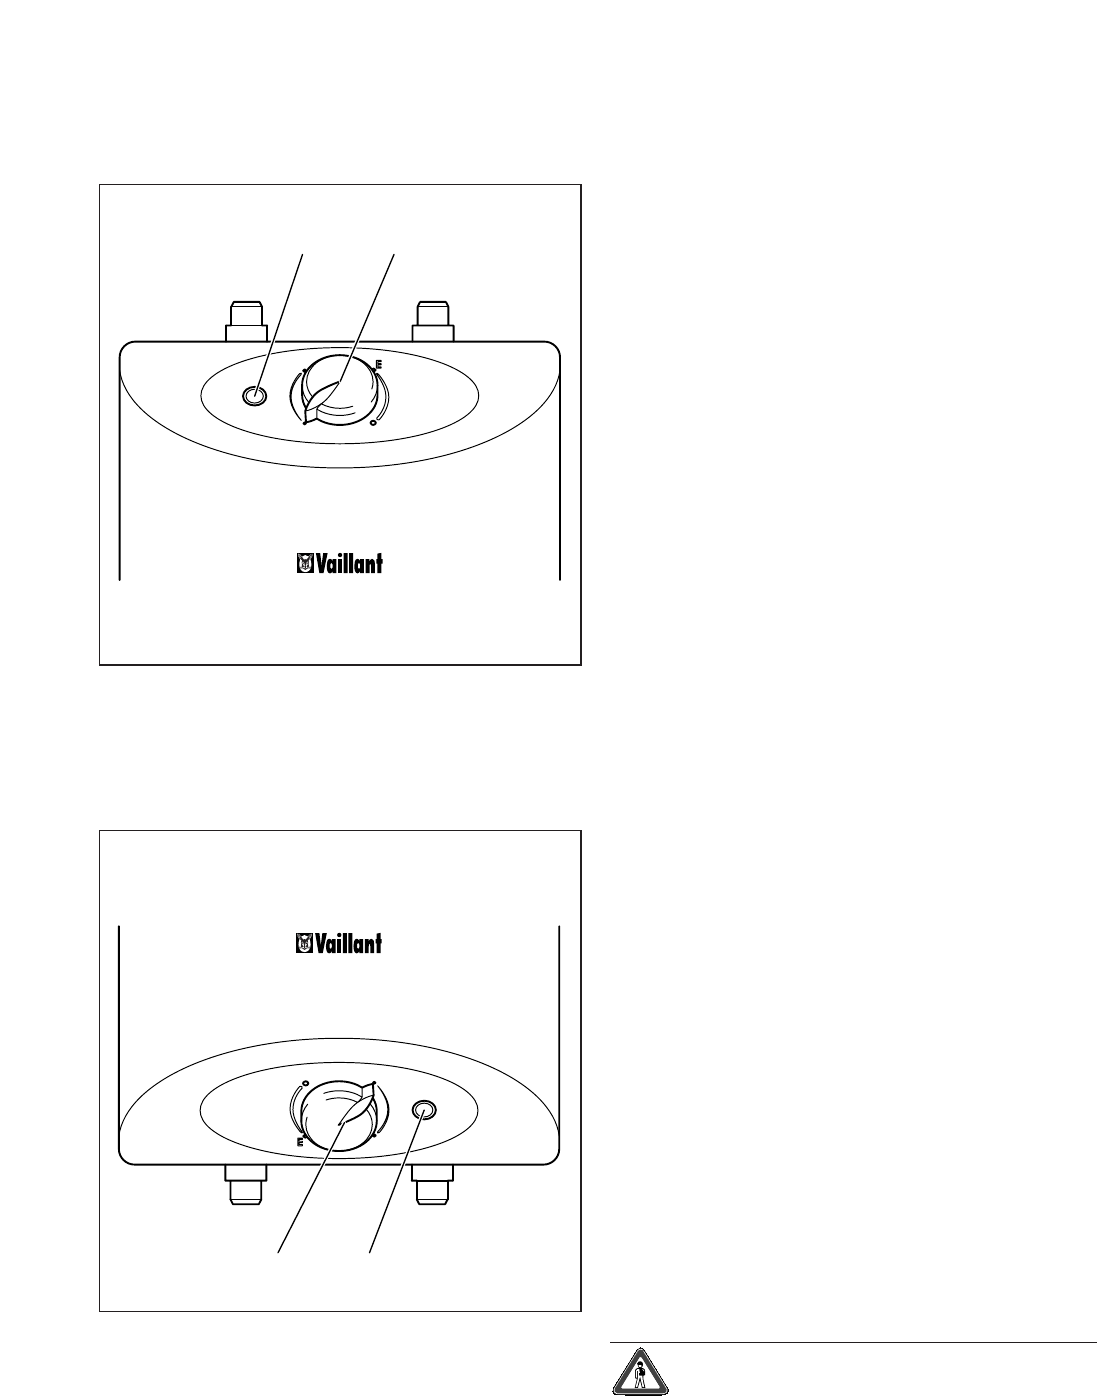
4.4 Robinetterie de raccordement de l´eau
Attention!
Le chauffe-eau électrique à accumulation
Vaillant ne doit être installé qu’avec une
robinetterie basse pression de Vaillant.
Consulter également la liste de prix.
Appareil sous évier
- VNU 1 pour lavabo, réf. N° 302 298
- VNU 1 pour évier, réf. N° 302 299
- VNU 1 pour évier avec raccord d’appareil,
réf. N° 000 414
- VNU 2 standard pour lavabo et évier,
réf. N° 302 595
- VNU 2 robinet thermostatique pour lavabo et évier,
réf. N° 302 596
- VNU 2 Design, Réf. N° 302597
Appareil sur évier
- VNO 2 Robinetterie monocommande, réf. N° 000 420
- VNO 2 Robinetterie deux commandes, réf. N° 000 423
- Sortie inclinée 250 mm, réf. N° 000 468
En cas de pression de raccordement supérieure à 5 bars,
vous obliger d’installer un réducteur de pression.. Aucun
flexible, filtre à microbulles, régulateur de jet ou autre
ne doit être installé sur la sortie du robinet.
Attention!
Avant de procéder au montage de la
robinetterie basse pression, lisez les
instructions correspondantes.
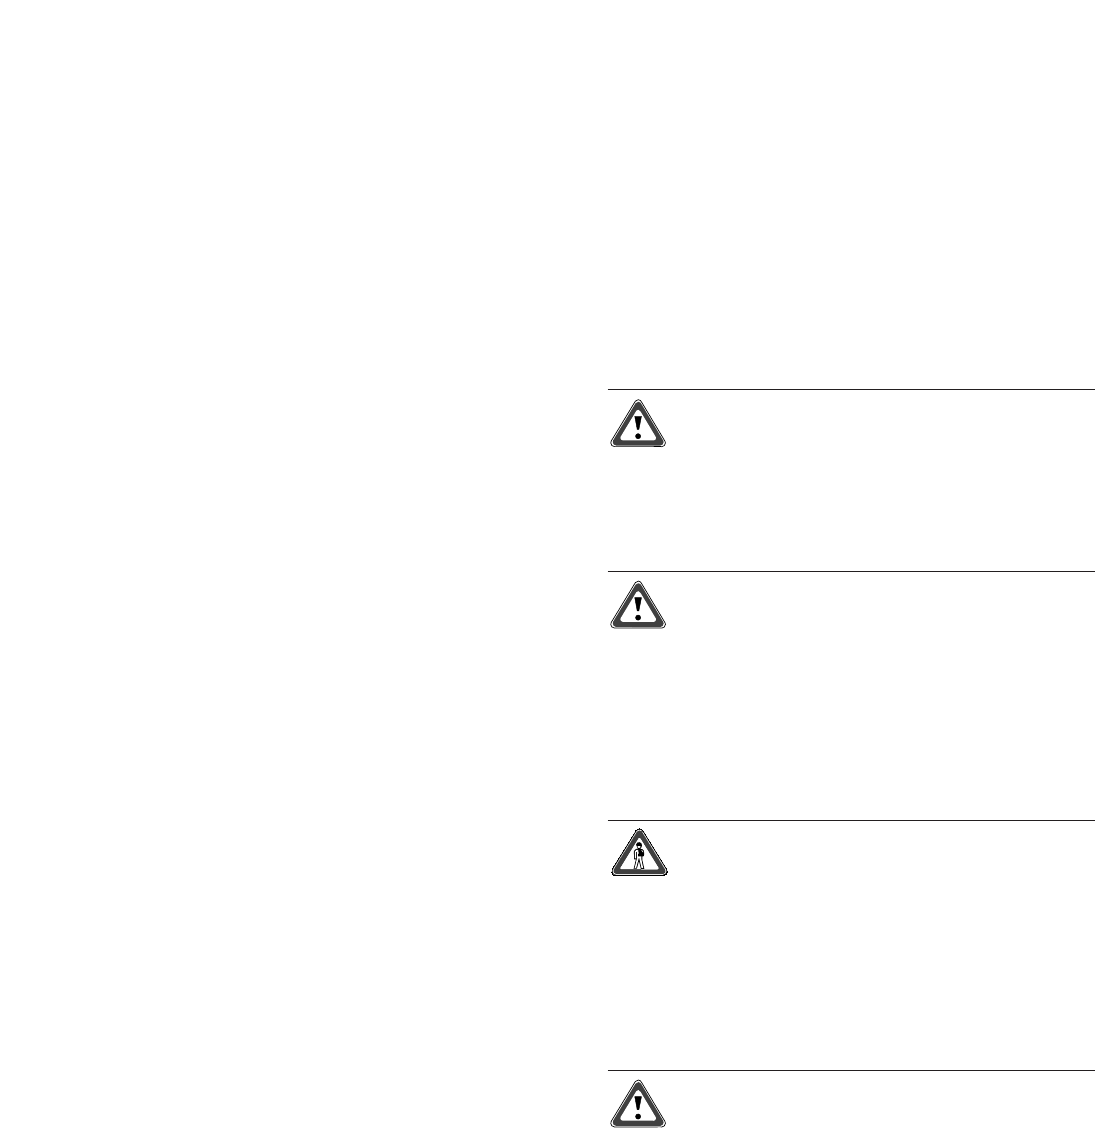
4.3 Apparaat ophangen
● De bevestigingselementen (schroeven, pluggen enz.)
voor de ophanging van het apparaat moeten rekening
houdend met het gewicht van het apparaat (zie Tech-
nische gegevens) en de staat van de muur gekozen
worden. Het elektrisch warmwaterreservoir moet
verticaal worden opgehangen.
● Bevestig de houder horizontaal aan de muur. Hiertoe
dienen de beide buitenste boringen, terwijl de middel-
ste bedoeld is als hulp om centrisch uit te richten.
● Hang het elektrisch warmwaterreservoir VEN met de
ophangopeningen van boven aan de houder, zodat de
aansluitopeningen bij het apparaat onder tafel naar
boven en bij het apparaat boven tafel naar beneden
wijzen.
4.4 Kraanwerk
Opgelet!
Het Vaillant elektrisch warmwaterreservoir
mag alleen met een lagedrukwaterkraan
geïnstalleerd worden van Vaillant.
Raadpleeg de prijslijst.
Apparaat onder de lavabo
- VNU 1 voor wastafel, bestel-nr. 302 298
- VNU 1 voor aanrecht, bestel-nr. 302 299
- VNU 1 voor aanrecht met apparaataansluiting,
bestel-nr. 000 414
- VNU 2 standaard voor wastafel en aanrecht,
bestel-nr. 302 595
- VNU 2 thermostatische kraan voor wastafel en
aanrecht, bestel-nr. 302 596
- VNU 2 design, bestel-nr. 302 597
Apparaat boven de lavabo
- VNO 2 eengreepskraan, bestel-nr. 000 420
- VNO 2 tweegreepskraan, bestel-nr. 000 423
- Zwenkuitloop 250 mm, bestel-nr. 000 468
Bij een wateraansluitdruk van meer dan 5 bar is het
verplicht een drukreductor te voorzien.
Aan de uitloop van de waterkraan mogen geen slangen,
perlators, straalregelaars en dergelijke worden
aangebracht.
Opgelet!
Voor de montage van de lagedrukwaterkraan
moet de montagehandleiding in acht worden
genomen.