Page 66
Français Deutsch NEDERLANDS Italiano
5. SÉLECTION DE
POINTS
On sélectionne le point
souhaité en tournant le cad-
ran de sélection du point.
En tournant ce cadran
assurez-vous que l’aiguille se
trouve dans sa position la
plus haute.
COUTURE EN POINT DROIT
Réglez la machine comme
indiqué ci-contre. Il est possi-
ble de sélectionner trois
sortes de points droits comme
montré ci-dessous.
COUTURE AU POINT ZIGZAG
Réglez la machine comme
indiqué ci-contre.
Pour éviter que les extrémités
de couture soient inégales,
réglez la machine sur “cout-
ure au point droit” et piquez
en marche arrière aux deux
extrémités de la couture.
Il est possible de sélectionner
3 types de zigzag comme
montrés.
5. PROGRAMMWAHL
Den gewünschten Stich erhal-
ten Sie durch Drehen des
Programm-Selektors. Achten
Sie unbedingt darauf, daß
sich beim Drehen des Selek-
tors die Nadel immer in der
höchsten Stellung befindet.
DER GERADSTICH
Stellen Sie die Maschine
entsprechend der Abbildung ein.
Es stehen 3 Geradstiche in ver-
schiedenen Längen zur Verfügung,
wie die nachfolgende Tabelle zeigt.
DER ZICKZACK-STICH
Stellen Sie die Maschine lt.
Abbildung ein.
Um zu vermeiden, daß die Naht
aufgeht, nähen Sie zuerst einige
Rückwärtsstiche im Geradstich
an Nahtanfang und -ende.
Sie können zwischen 3
Zickzackstichen in ver-
schiedenen Breiten wählen,
wie die Tabelle zeigt.
5.
KIEZEN VAN DE STEEK
Het kiezen van de steek.
De gewenste steek zal
verkregen worden door aan
de steekkeuzeknop te
draaien.
* Zorg er voor dat alvorens u
hieraan gaat draaien de
draadaantrekhefboom zich
in de hoogste stand bevindt.
RECHT NAAIEN
De machine instellen zoals op
de afbeelding.
U kunt kiezen uit 3 rechte
steeklengtes.
ZIGZAG NAAIEN
De machine instellen zoals op
de afbeelding.
Om te vermijden dat de uiten-
den van de naad uitrafelen,
de machine instellen voor
“recht naaien” en achteruit-
naaien aan de beide uitein-
den van de naad.
U kunt kiezen uit 3 soorten
zigzag steken.
5. SELEZIONE DEL
PUNTO
Selezionare il punto desidera-
to avvalendosi della manopo-
la di selezione modello.
* Prima di intervenire sulla
manopola di selezione,
accertarsi che l’ago sia in
posizione completamente
sollevata.
CUCITURA DIRITTA
Impostare la macchina come
illustrato. Come qui oltre
mostrato, si possono
selezionare tre diversi tipi di
punto dritto.
CUCITURA A ZIG-ZAG
Impostare la macchina come
mostrato in figura. Per
evitare che le cuciture si sfi-
laccino, impostare la macchi-
na sul punto dritto e cucire in
senso inverso all’inizio ed alla
fine della cucitura. Si potran-
no selezionare i tre tipi di pun-
to a zig-zag illustrati.
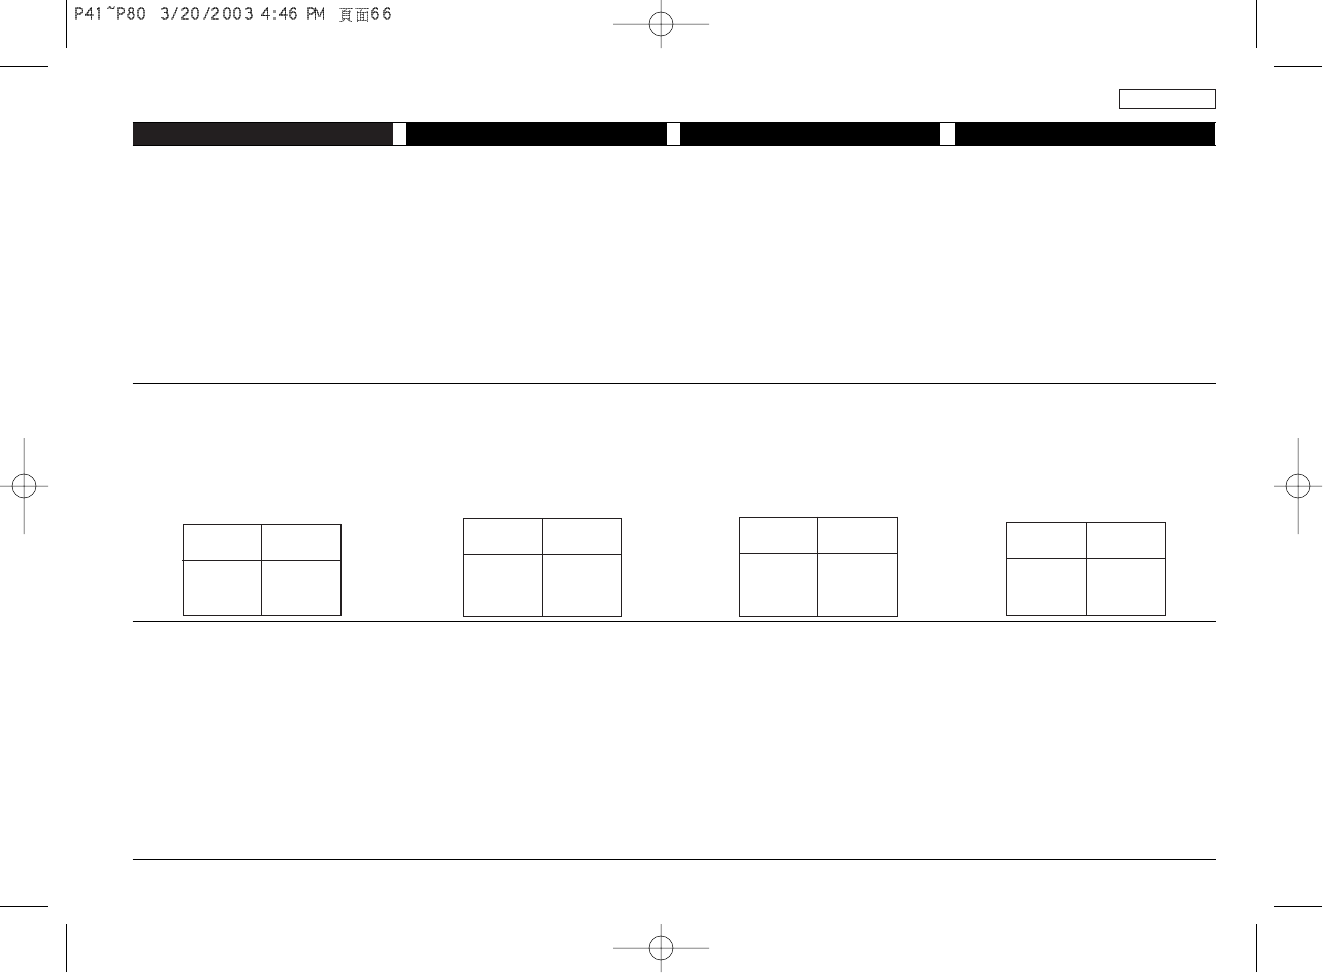
Programm-
Selektor
Stichposition
Nr. 3
Nr. 4
Nr. 5
Mitte
Links
Rechts
Steekkeuze
knop
Naaldstand
Nr. 3
Nr. 4
Nr. 5
Midden
Links
Rechts
Selettore
punto
Posizione
del’ago
No. 3
No. 4
No. 5
Centro
Sinistro
Destra
Sélecteur
Programme
Position de
l’aiguille
n°3
n°4
n°5
Center
Gauche
Droit