3736
Orologio sveglia radiocontrollato con calendario mensile
Orologio sveglia radiocontrollato con calendario mensile
8.5 Impostazione del secondo orologio
• Premere il tasto MODE tre volte nella modalità normale.
• Sul display appare DUAL-T.
• Tenere premuto il tasto MODE.
• L'indicazione dei minuti e dell'ora comincia a lampeggiare.
• È possibile impostare le ore con il tasto +/12/24 o -/°C/°F.
• Confermare con il tasto MODE.
• Premere nuovamente il tasto MODE per tornare alla visualizzazione in modalità normale.
• Sul display viene visualizzata l'ora attuale.
8.6 Impostazione della visualizzazione della temperatura
• Premere il tasto -/°C/°F è possibile scegliere fra la visualizzazione della temperatura in gradi °C (gradi Celsius) o °F (gradi Fahren-
heit).
8.7 Retroilluminazione
• Premere il tasto SNOOZE/LIGHT. L'illuminazione del display si attiva per alcuni secondi.
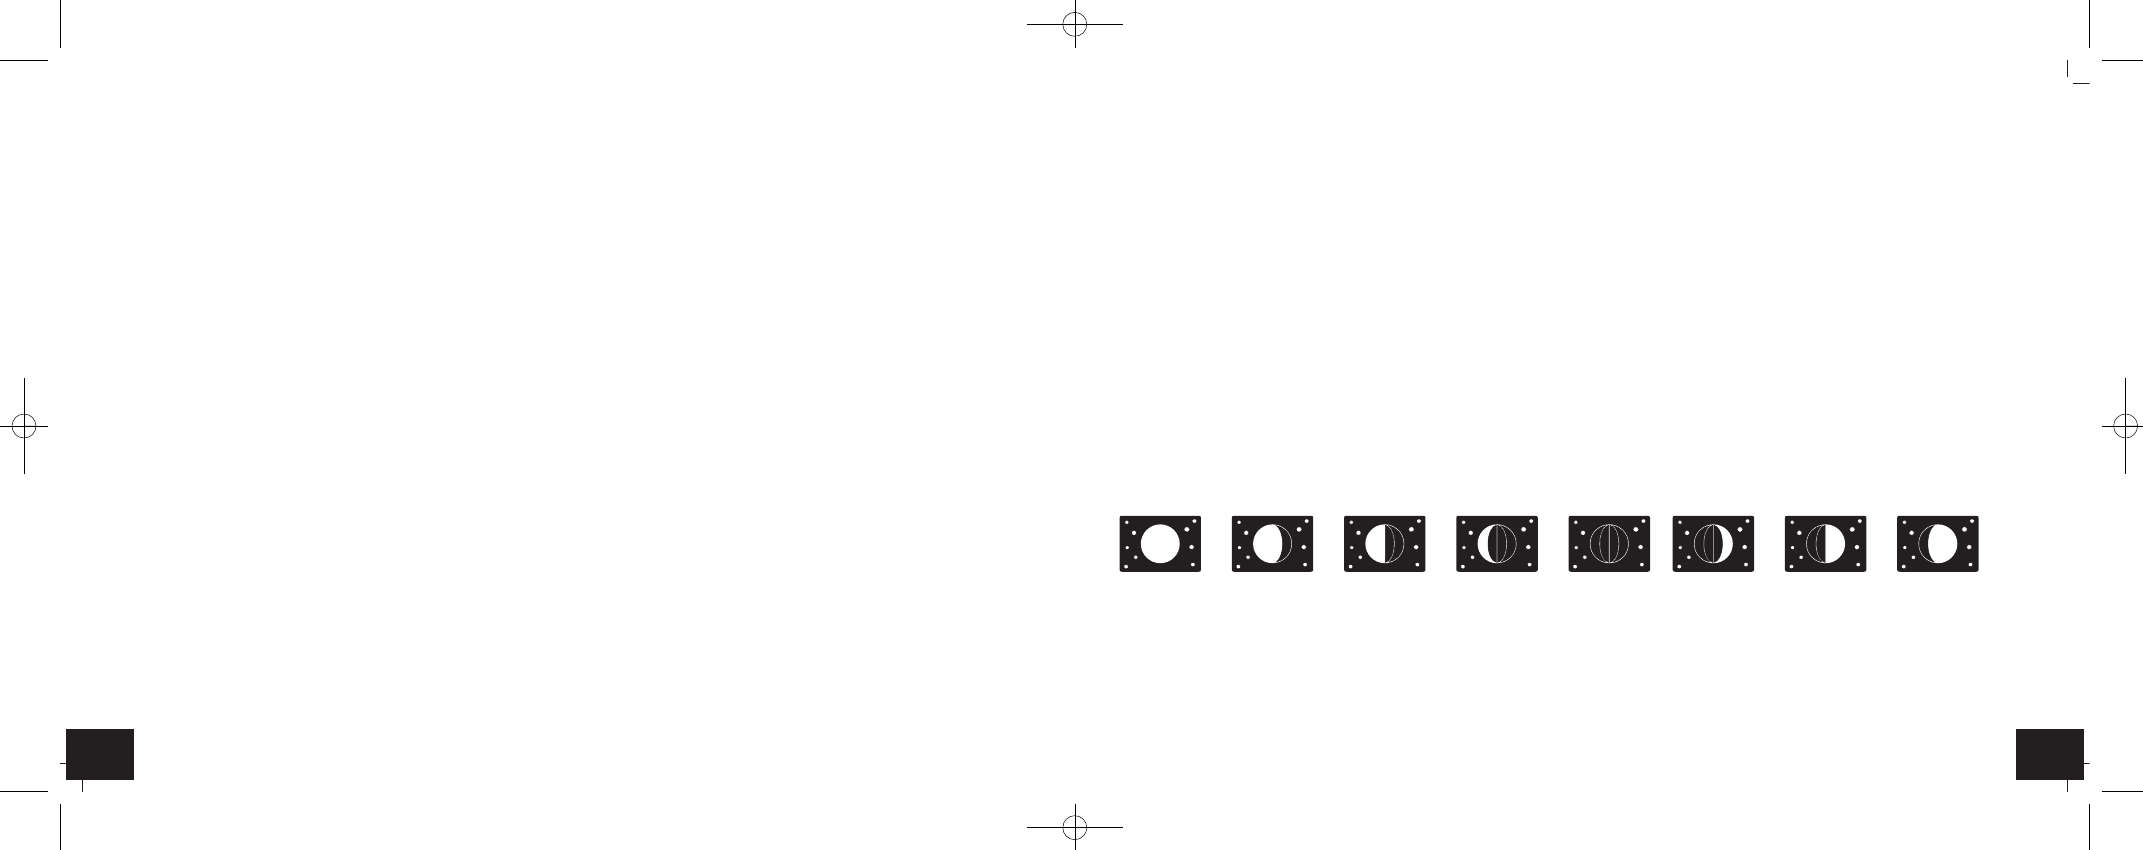
9. Fasi lunari
• Sul display vengono visualizzate la fase lunari attuali:
10. Posizionamento
• Disporre l'apparecchio in posizione verticale con il supporto incorporato situato nella parte posteriore. Evitare l’installazione in
prossimità di altri apparecchi elettrici (televisori, computer, cellulari) e oggetti metallici pesanti.
•
Quando la funzione snooze è attivata, Zz lampeggia.
•
Il suono della sveglia verrà interrotto per cinque minuti.
•
È possibile attivare la funzione snooze fino a sette volte.
8.2.1 Attivare e disattivare la funzione sveglia
• Spingere l'interruttore ALARM ON/OFF verso il basso per disattivare la funzione sveglia.
•
Il simbolo scompare.
•
Spingere l'interruttore ALARM ON/OFF verso l'alto per attivare la funzione sveglia.
•
Sul display appare il simbolo.
8.3 Impostazione della funzione di memoria
• Premere due volte il tasto MODE nella modalità normale.
•
Sul display vengono visualizzati una torta di compleanno, la possibilità di inserire una data, EVENT e il numero 1 (predefinito) in
parentesi.
•
È possibile inserire fino a 8 promemoria.
•
Tenere premuto il tasto MODE.
•
Sul display lampeggia la cifra di numerazione fra parentesi.
•
Inserire con il tasto +/12/24 o -/°C/°F la cifra di numerazione (1-8).
•
Premendo il tasto MODE è adesso possibile modificare uno dopo l'altro le impostazioni per il mese e il giorno e installare con il
tasto +/12/24 o -/°C/°F.
•
Confermare con il tasto MODE.
•
Il giorno dell'appuntamento viene visualizzato in un riquadro (lampeggiante).
•
Premere due volte il tasto MODE per tornare in modalità normale.
•
Sul display viene visualizzata l'ora attuale.
•
Il giorno del promemoria, sul display lampeggia la torta di compleanno ed EVENT.
•
Per inserire nuovi promemoria, ricominciare da capo.
8.4 Calendario
• Con il tasto ▲ e ▼ è possibile modificare il mese.
•
Premere il tasto HOME per ritornare al mese corrente.
A: Luna nuova
B: Luna crescente
C: Primo quarto
D: Gibbosa crescente
E: Luna piena
F: Gibbosa calante
G: Ultimo quarto
H: Luna calante
ABCDEFGH
TFA_No. 60.2529_Anleitung 29.04.2015 10:07 Uhr Seite 19