7
Conexión eléctrica
Antes de enchufar el aparato, asegurarse de que la
tensión y la frecuencia indicadas en la tarjeta
matrícula, correspondan a las de la instalación
doméstica. Se admite una oscilación de 6% sobre la
tensión nominal.
Para el funcionamiento a tensiones distintas, habrá
que utilizar un autotransformador de potencia
adecuada. Asegurarse de que la toma de corriente y
el enchufe sean compatibles entre sí sin tener que
interponer reducciones ladrones o adaptadores
varios. Si fuera necesario, cambiar la toma de la
instalación de la casa con una adapta.
Es indispensable conectar el aparato a una toma
de tierra eficaz.
Para ello el enchufe del cable de alimentación está
dotado de un adecuado contacto. Si la toma de
corriente de la instalación doméstica no estuviera
INSTALACIÓN
Colocación
Situar el aparato lejos de fuentes de calor, como:
radiadores, estufas, exposición directa a los rayos
del sol, etc.
Se debe poder desenchufar el aparato; por lo tanto
una vez efectuada la instalación es necesario que el
enchufe no quede escondido
conectada a tierra, conectar el aparato a una
instalación de tierra, conforme a las leyes en vigor,
consultando para ello con un técnico especializado.
El fabricante declina toda responsabilidad en el
caso que esta norma no sea respetada.
Este aparato es conforme a las siguientes
Directivas Comunitarias:
- 87/308 CEE del 2/6/87 relativa a la supresión de
interferencias radio.
- 73/23 CEE 19/02/73 (Baja tensión) y
modificaciones sucesivas;
- 89/336 CEE 03/05/89 (Compatibilidad
electromagnética) y modificaciones sucesivas.
Reversibilidad de las puertas
Durante el transporte la puerta del aparato està
fijada con pernos. Quitar el perno superior e inferior,
segùn el sentido de apertura de la puerta.
Instrucciones para la instalación
Dimensiones del hueco
Altura 1030 mm
Profundidad 550 mm
Anchura 560 mm
Durante el trasporte la puerta del aprato está
fijada con pernos. Quitar el perno superior e
inferior, según el sentido de apertura de la
puerta.
Para una adecuada ventilación seguir les
indicaciones de la Fig.
Atención: mantener las aperuras para la
ventilación libres de cualquier obstáculo.
Es necesario además que el hueco tenga un
conducto de ventilación con estas medidas:
profundidad 50 mm
ancho 540 mm
50
Het ontdooien
Het ontdooien van de koelkast heeft automatisch
plaats elke keer dat de kompressor stopt. Het
dooiwater wordt via een afvoerkanaaltje opgevangen
in een bakje dat zich aan de achterkant van het
apparaat boven de kompressor bevindt. Hier
verdampt het water.
Wij raden u aan het gaatje in het afvoerkanaal
regelmatig schoon te maken, teneinde te
voorkomen dat het dooiwater de levensmiddelen
nat maakt. Gebruik voor het doorprikken het
staafje dat zich in het gaatje bevindt.
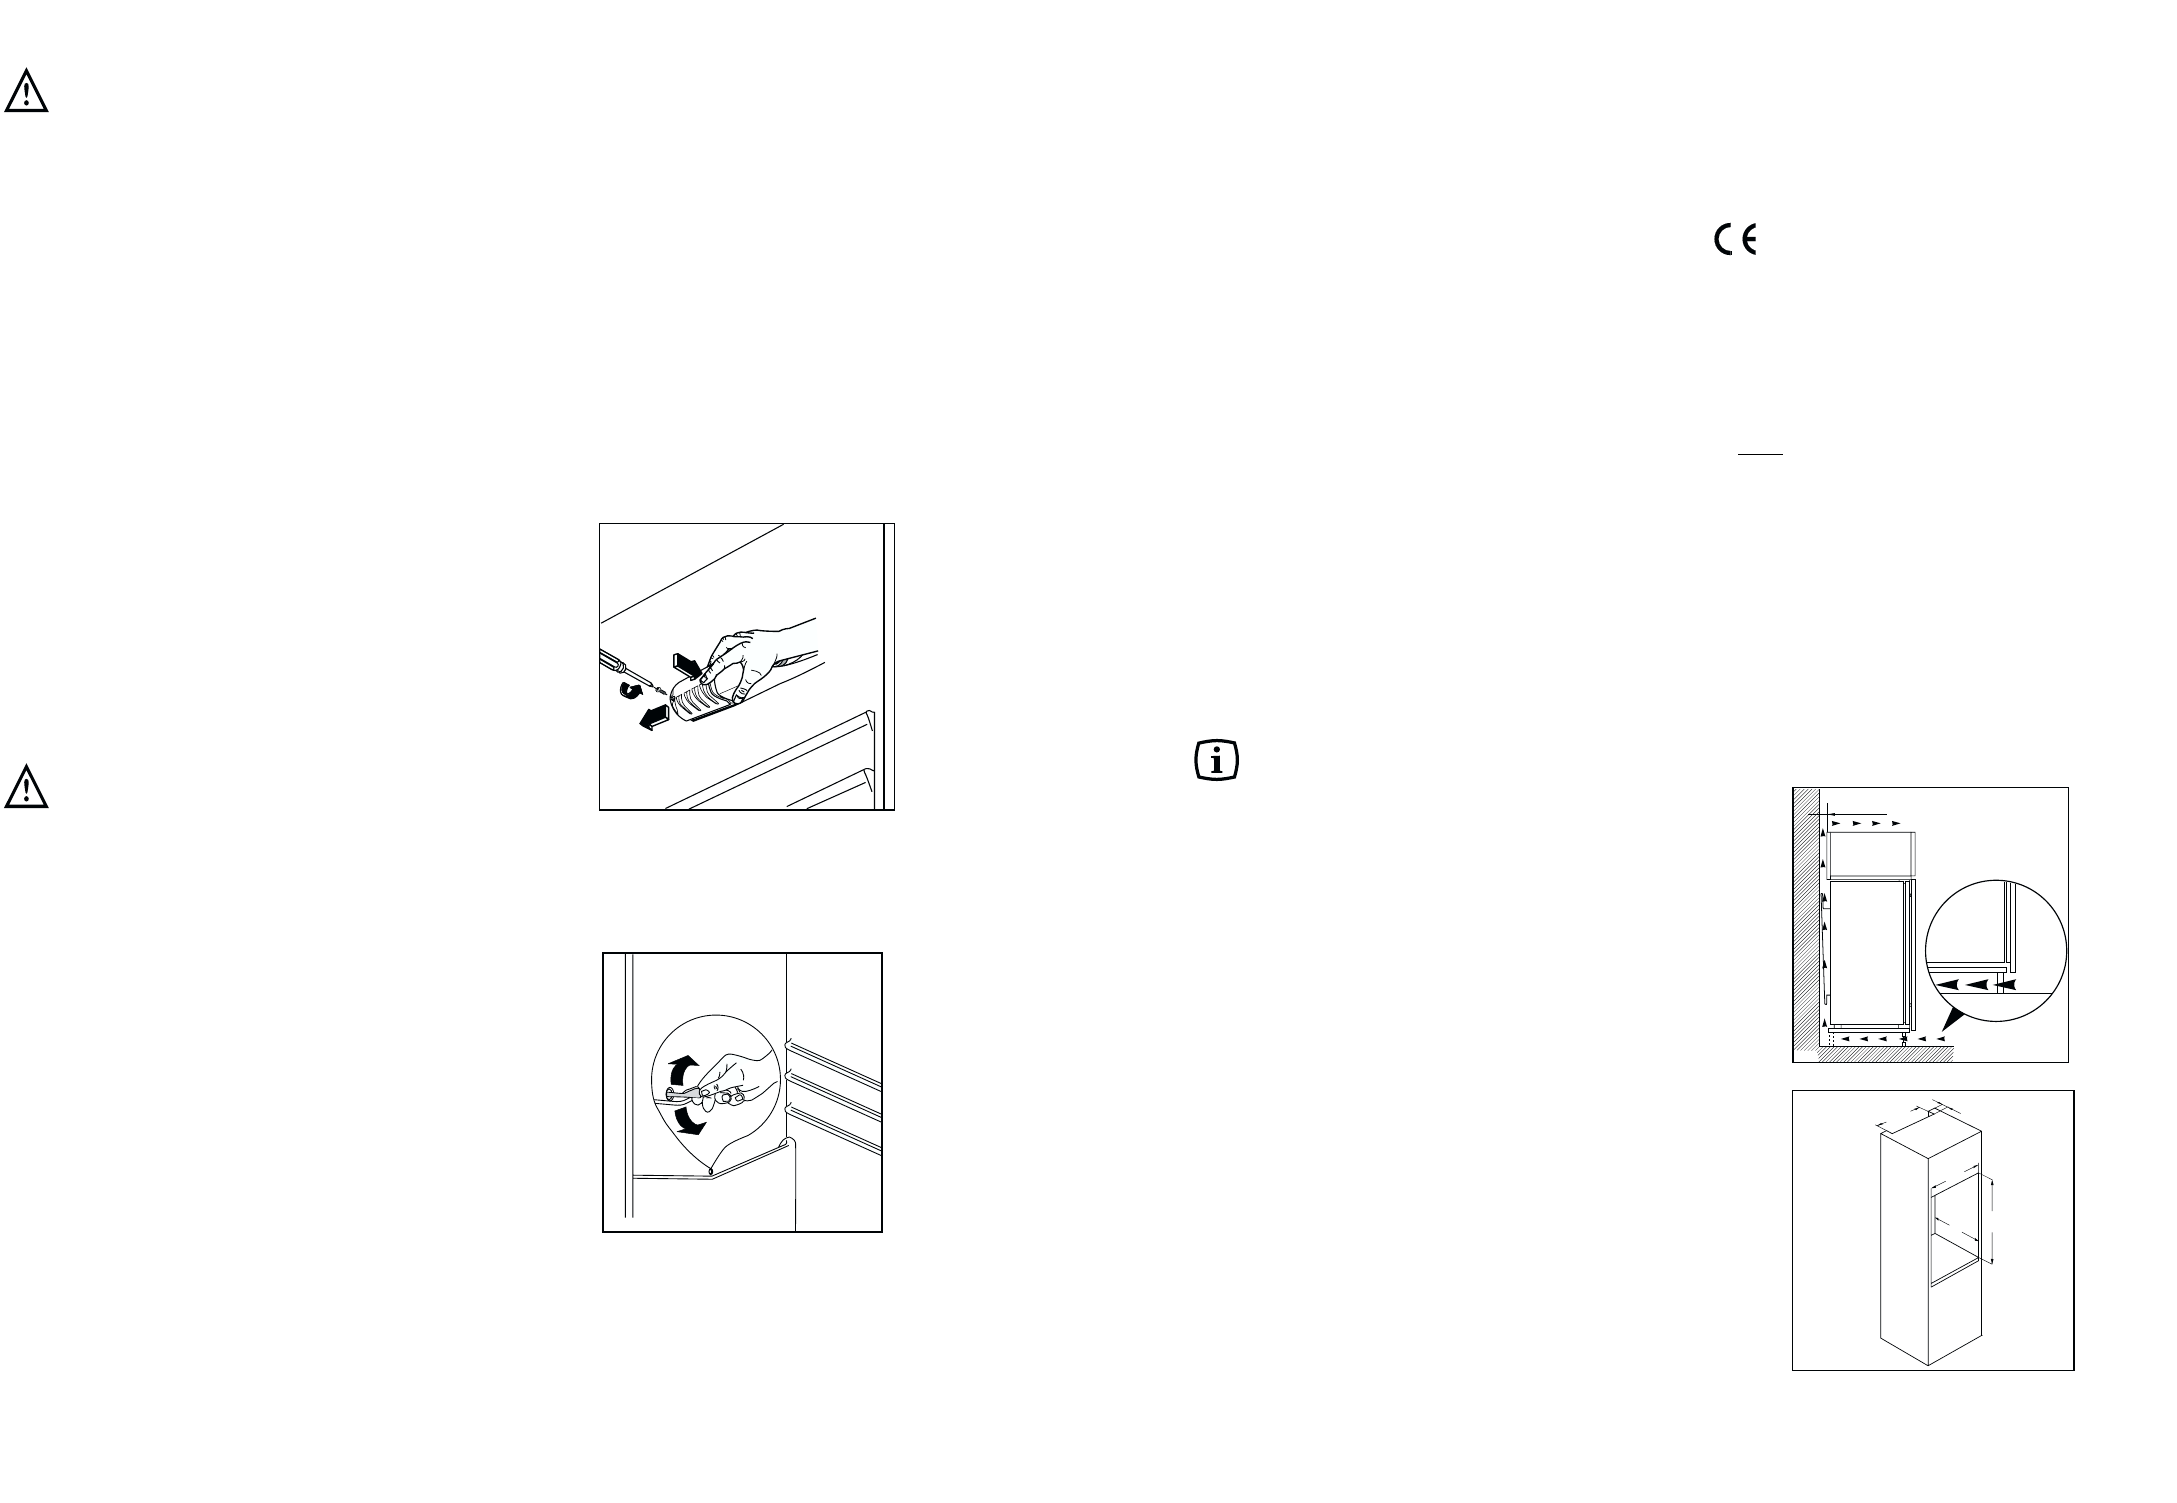
Vervangen van de lamp
Het lampje van de koelkast is op de volgende wijze
bereikbaar:
• Schroef het afschermkapje los;
• Verwijder het losse deel door er lichte druk op uit
te oefenen (zie figuur).
Indien met open deur het lampje niet brandt, kijk dan
eerst of het soms los in de fitting zit.
Als het lampje dan nog niet brandt,
vervang het dan door een lampje met hetzelfde
vermogen. Het maximale vermogen is op het
afschermkapje aangegeven.
ONDERHOUD
Neem vóór iedere handeling altijd eerst de
steker uit de wandkontaktdoos.
Belangrijk: Dit apparaat bevat koolwaterstoffen in de
koudekringloop; het onderhoud en het bijvullen dient
daarom uitsluitend door door het bedrijf aangewezen
deskundig personeel uitgevoerd te worden.
Geprolongeerd stilstand
Wij adviseren u vóór de periode dat de koelkast niet
gebruikt wordt de volgende handelingen uit te
voeren:
• neem de steker uit de wandkontaktdoos;
• verwijder alle spijzen en dranken uit de kast;
• laat de kast geheel ontdooien en maak de
binnenwanden, rekken, korven en dergelijke
goed schoon;
• laat de deuren open staan, teneinde het ontstaan
van onaangename geur te voorkomen.
Schoonmaken
Gebruik nooit metalen voorwerpen voor het
schoonmaken van het apparaat; dit zou
beschadigingen tot gevolg kunnen hebben.
Reinig de binnenkant van de kast regelmatig met
lauw sodawater. Lap de wanden na met schoon
water en droog ze zorgvuldig.
Stop op de condensor verhoogt het energieverbruk.
Daarom eenmaal per jaar de condensor aan de
achterkant van het apparaat met een zachte borstel
of met de stopzuiger voorzichtig schoonmaken.