11
Before using the toaster for
the first time
Before first using your toaster, run the
toaster (empty) once or twice at maximum
level in order to get rid of the new smell.
Ventilate the room.
Toasting bread
To insert the bread
With the control lever (B) in the high
position, place the slices of bread side by
side, without any overlapping - Fig.
Any bread extending beyond the toaster
grids will not be toasted.
To toast the bread
n Set the variable browning control (C) on
the desired setting between position 1 and
7 (see table) - Fig.
Lower the control lever (B). By pressing
on the lever, it locks into the low position
and the bread slices are automatically
centred - Fig.
It is important that you position your
slices of bread well down in the toasting
slot.
To stop toasting and remove the bread
The toaster automatically stops at the end
of the toasting time. The control lever lifts
and the bread is ready for use.
You can also stop the toasting manually by
pressing on the Stop/Eject function on the
variable browning control (C) - Fig.
Do not force the control lever upward.
You could damage the toaster.
To handle small slices of bread easily
Use the extra-high lift bread raising
function by lifting the control lever when
the bread has finished toasting - Fig.
Suggestion
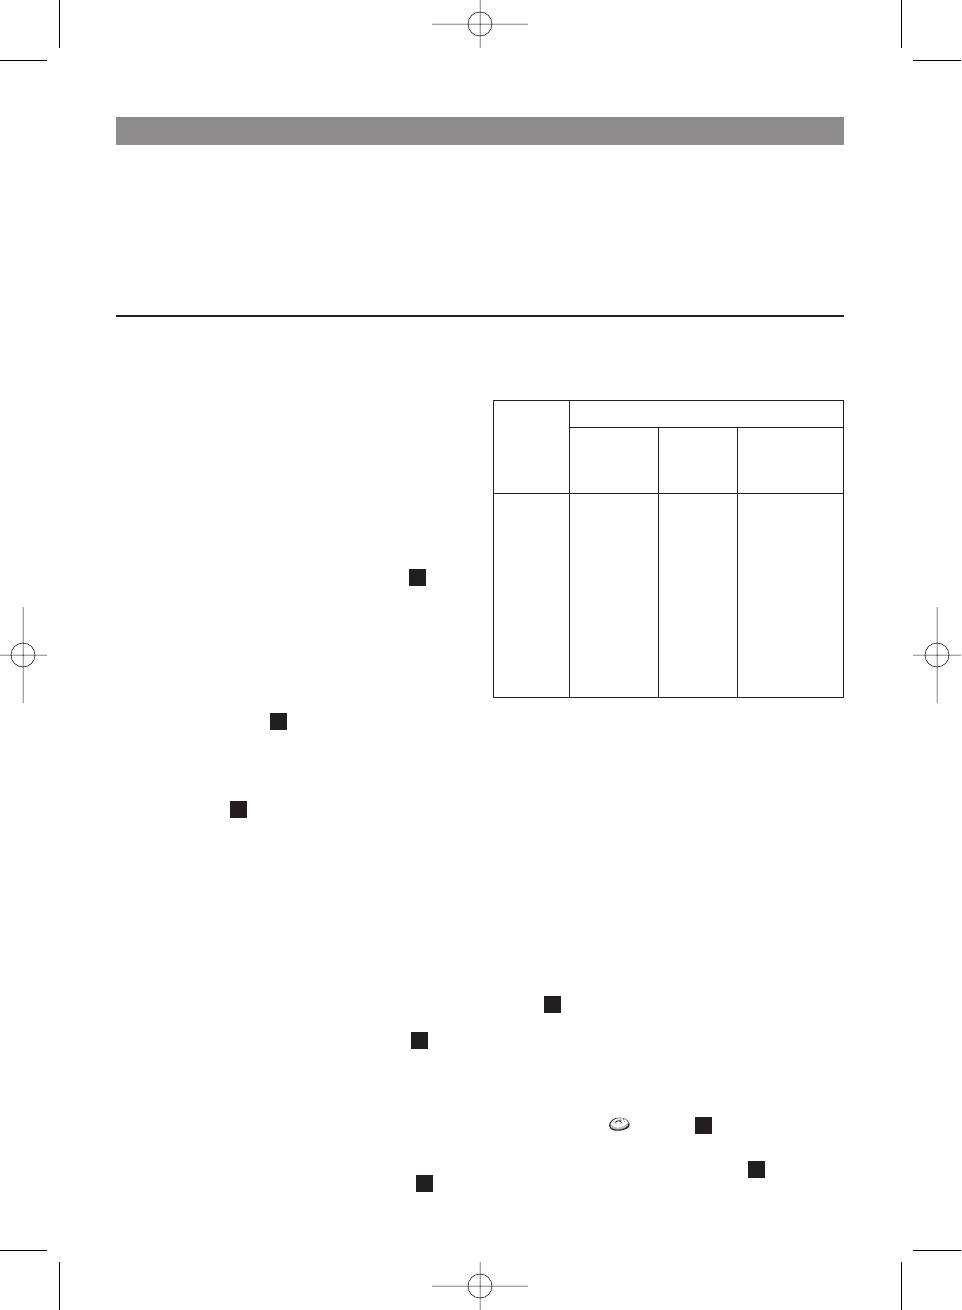
To toast all types of bread (baguettes,
sliced bread...), please see the table below:
The settings indicated are suggestions.
Select your own toasting positions
according to taste.
When you are toasting one slice of bread,
lower the browning setting and place bread
in centre of the slot.
Warming croissants, buns and
other bread products
Use this toaster's exclusive, built-in feature
to re-heat croissants and buns.
Lay the croissants and buns directly on the
metal base designed for this purpose (A)
- Fig.
Never put a plate on this metal base.
Do not re-heat croissants and toast bread
at the same time.
Set the adjustment knob on the desired
setting: rolls ( ) - Fig.
Lower the control knob once until it
locks in the low position - Fig.
7
2
6
5
4
3
2
1
Detailed illustration
A Built in metal base for warming crois-
sants and buns
B Toast raise/lower control lever with
extra-high lift position
C Variable browning control with
Stop/Eject function
D Cool touch housing
E Removable crumb tray
F Cord storage
G Cord and plug
ENGLISH
Setting of
the variable
browning
control
1
2
3
4
5
6
7***
Dry bread
Fresh bread
Frozen bread
Thin slices
Thick slices
Light crumb
Industrielly-
made bread
Dense crumb
Whole-meal
bread
Home-made
type bread
Frozen bread
Type of bread
Condition of
the bread
Thickness
of the
slices
Type of
crumb
3303735 ALISEO 6/09/02 11:24 Page 11