radio stations automatically.
that have been found.
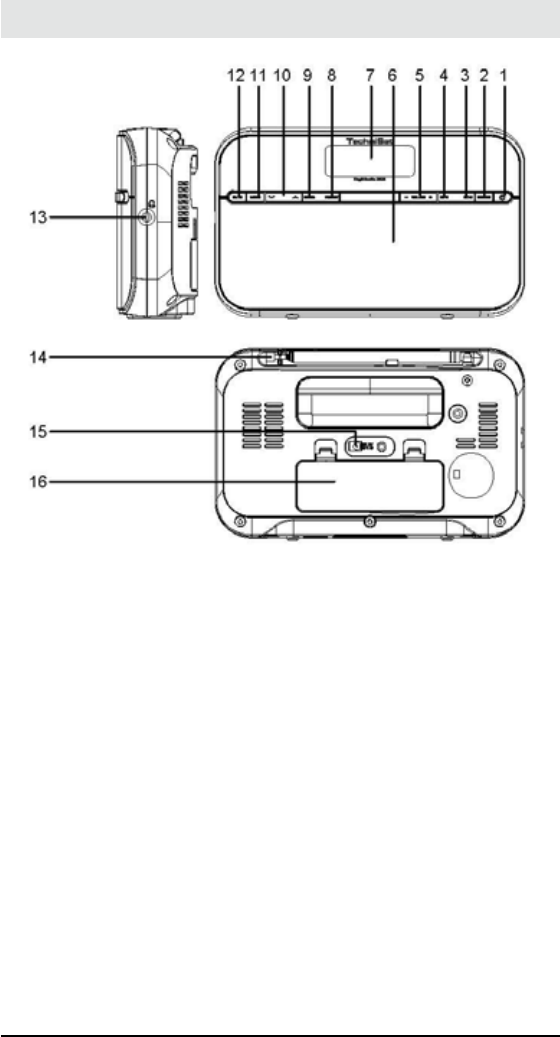
DAB
7 8
1. Tune to a DAB station.
2. Use / to navigate through available stations.
3. Press ENTER to choose a station.
Change DAB station
1. When playing a DAB station, or the current station is not available, press
SCAN.
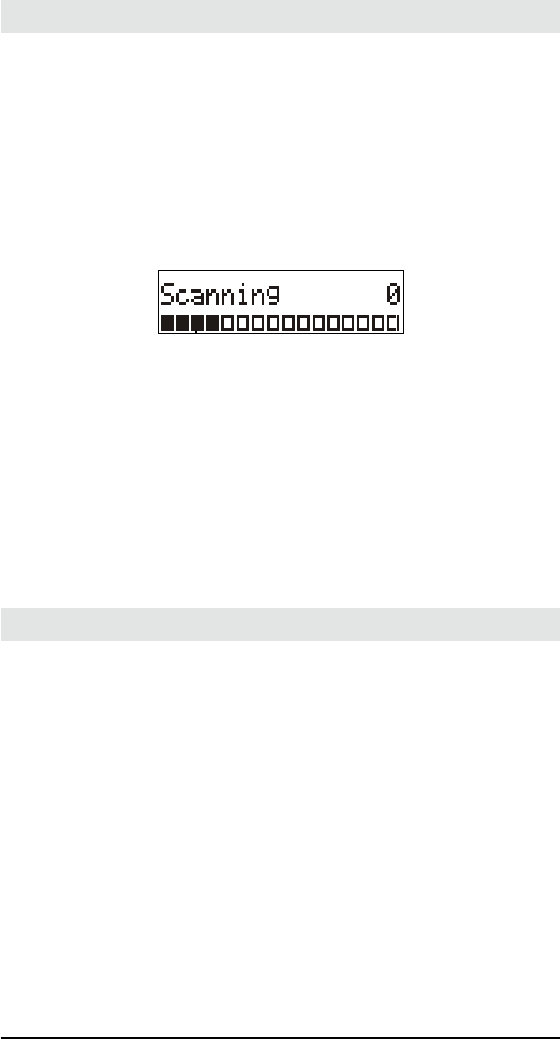
Scan DAB radio stations
LISTEN TO DAB RADIO
1. Press SOURCE repeatedly to select DAB radio.
A bar graph indicates the progress of the search and the number of
stations found increase as the scan progresses.
Tune to DAB radio
When scan is completed, the stations are listed in numerical then alphabetic
order.
When you enter the DAB mode for the first time, the radio player automatically
scans DAB radio stations. Then station list is retained in memory so the next
time the radio player is switched on, the station scan does not take place.
Progress bar
Number of
Stations found
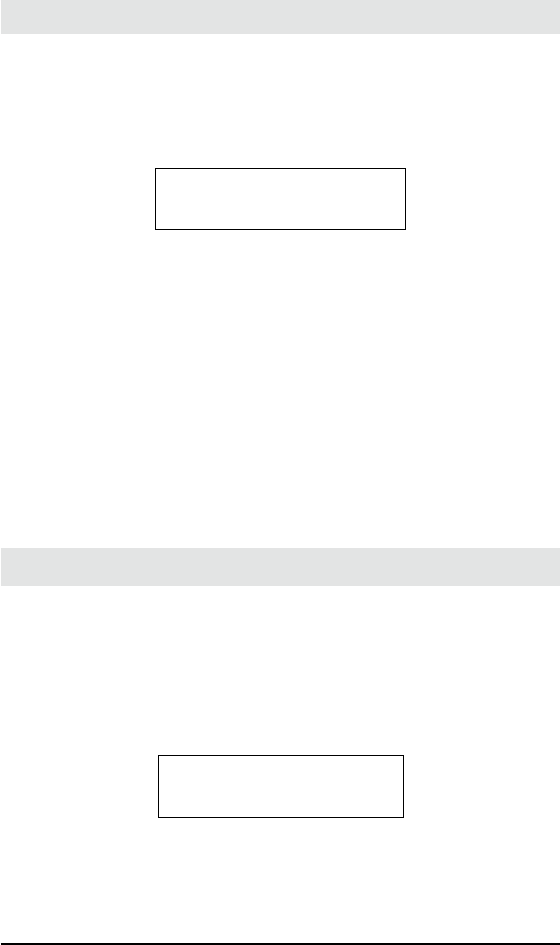
A
If there is no DAB coverage currently available
B
First available station is played.
“Station list” is displayed.
The radio player scans all available DAB radio stations and broadcasts
the current station.
Tip
• New stations and services will be added in the DAB broadcast. To make
new DAB stations and services available on your radio player, do scan on a
regular base.
You can program a maximum of 10 preset DAB radio stations.
Store DAB stations manually
1. Tune to your desired DAB station.
2. Press and hold PRESET for more than two seconds to activate programming.
3. Press / repeatedly to allocate a number from 1 to 10 to this station.
4. Press ENTER to confirm the setting.
5. Repeat the above four steps to store other stations.
1. Press SOURCE repeatedly to select DAB radio.
2. Press PRESET.
3. Press / repeatedly to select a preset FM radio station.
4. Press ENTER to confirm the setting.
Select a preset DAB radio station
The preset number of the stored station appears.
• To overwrite a preset station, store another station in its place.
Note
plays automatically.
detect a signal. Change the location of the radio
the station scan.
speaker volume.