VOLUME 20
C C C C C C C C C C C C C C C C
- HELPFUL HINTS -
1. PLEASE CHECK TO SEE IF THE
ANTENNA/CABLE/SATELLITE IS
PROPERLY CONNECTED.
2. DID YOU PERFORM “AUTO PRESET CH” ?
3. PLEASE REFER TO FRONT PAGE OF THE
OWNER’S MANUAL OR REAR PANEL FOR
SUPPORT LINE INFORMATION.
NOTE
When you turn on the power for the first time,
the SELECT LANGUAGE screen is displayed.
Select the language for screen display and perform
auto programming of the channels.
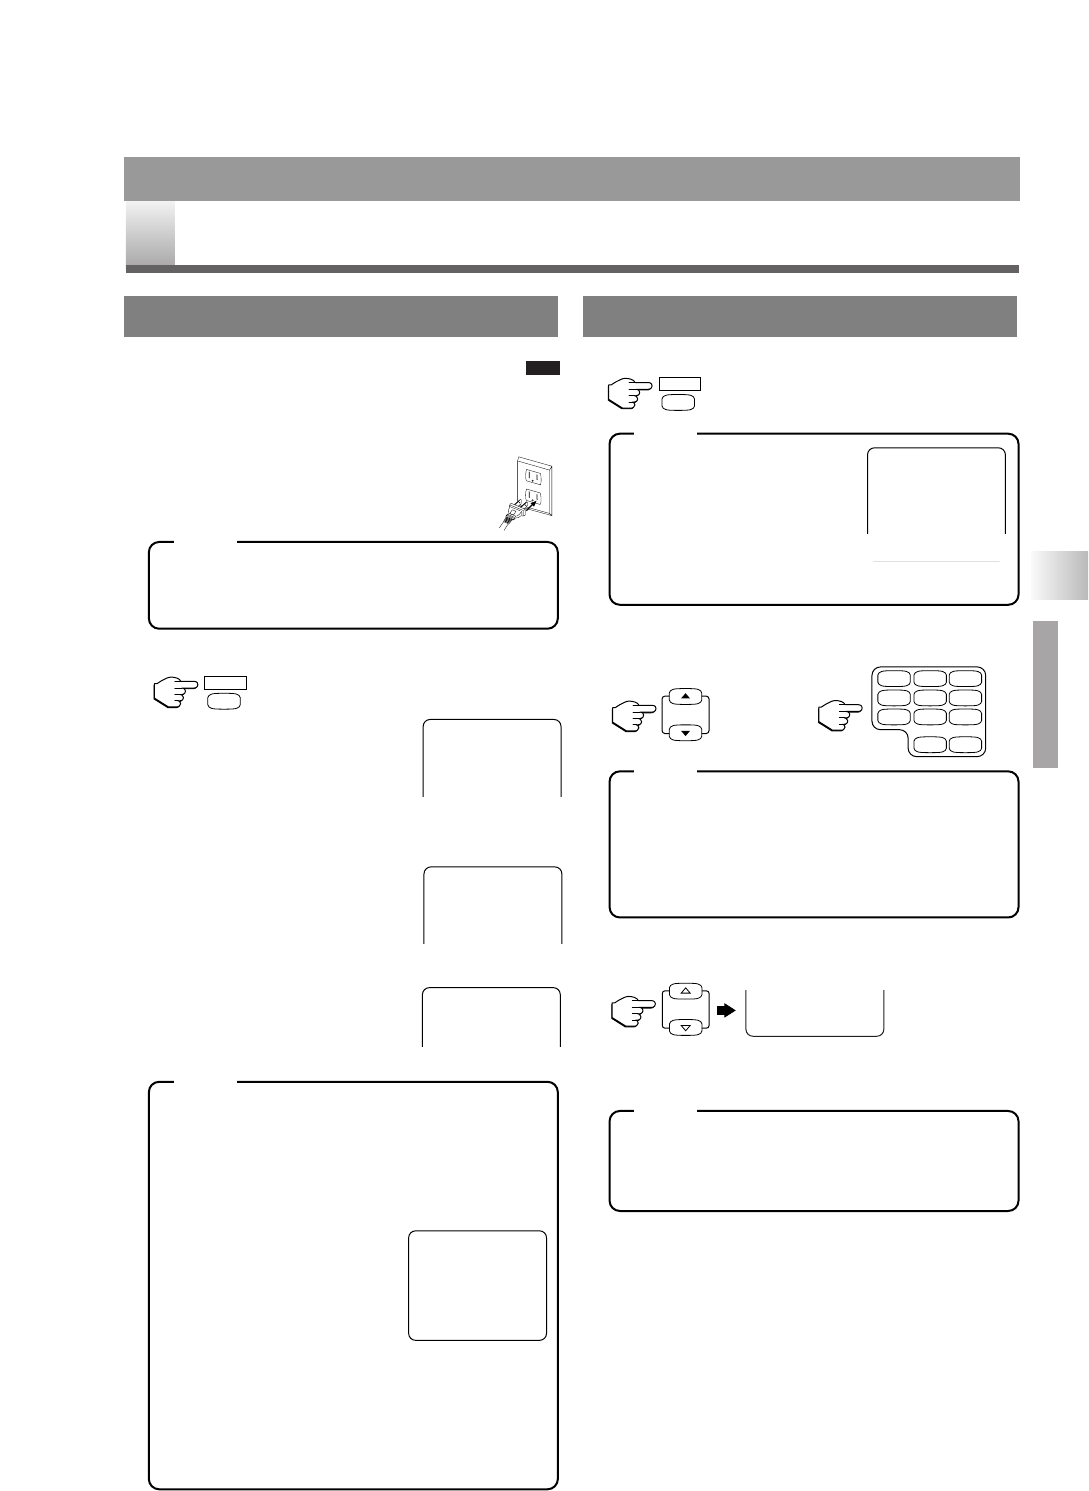
1 After antenna or cable connection is
completed, connect the power cord
into a standard AC outlet.
• If any digits are displayed in the corner of the
screen, press [POWER] without unplugging
the power cord.
2 Press [POWER] to turn on the unit.
3 Press one of the keys listed
below to select the desired
language of on-screen menu.
•
ENGLISH: [CH.
K
]
•
ESPAÑOL: [CH.
L
]
•
FRANÇAIS: [VOL.
X
]
4 Confirm the antenna (or cable)
connection and press [CH.
K
].
•
The tuner scans and memorizes
all active channels in your area.
5 When the scanning is
completed, the tuner stops
on the lowest memorized
channel.
•
If [MENU] is pressed during channel scanning,
the tuner stops scanning and the lowest memo-
rized channel is displayed.
•
The INITIAL SETUP menu is displayed
every time you turn on the unit unless the
scanning is completed.
•
In case no channel can be
received by the channel scan-
ning, “NO TV SIGNALS” is
displayed on the screen. Turn
off the unit and check the
antenna connection, then
follow steps 1 to 5 again.
•
You can change the setting after completing
INITIAL SET UP by LANGUAGE menu or
CHANNEL SET UP menu. (Refer to
“MENU LANGUAGE” on page 16 or
“CHANNEL SET UP” on page 12).
1 Press[POWER] to turn on the unit.
•
If the TV screen shows snow
noise and there is no operation
for more than 5 seconds,
“HELPFUL HINTS” appears.
Follow the instructions listed on-screen.
•
If those settings do not work properly, please call our
help line on the front page of this owner's manual.
2 Press [CH. K / L] or the Number buttons to
select the desired channel number.
For channel number selection with number buttons
:
•
To select single-digit channel number, press
[0]
first. (e.g. Press [0] [2] for channel 2.)
•
To select cable channels which are higher
than 99, press [+100/+10] first.
(e.g. Press [+100/+10] [2] [5] for channel 125.)
3 Press [VOL.
XX
/
YY
] to select the desired vol-
ume level.
•
Press [MUTE] to instantly mute the sound.
Press it again to restore the previous volume level.
•
If you press [CH. K / L] in the DVD mode,
you can change the TV channels. Even if you
turn off the unit in the DVD mode, when you
turn it on again, it will go into the TV mode.
TO WATCH CABLE OR SATELLITE
CHANNEL
If the unit is connected to a cable box or satellite
box, press [CH. K / L] to select CH3 or CH4
according to the output channel setting of the device
and select desired channel on that device.
TO WATCH EXTERNAL INPUT
When an external equipment is connected to
AUDIO/VIDEO input jacks on the right side, press
[SELECT] or [CH. K / L] repeatedly until
“VIDEO1” or “VIDEO2” appears on the screen.
- 11 - EN- 11 - EN- 11 - EN- 11 - EN- 11 - EN- 11 - EN- 11 - EN- 11 - EN- 11 - EN- 11 - EN
TV OPERATION AND SETTINGS
WATCHING A TV PROGRAM
TV SECTION
CH.
VOL.