i
Se l’apparecchio è stato spento mediante lo sleep
timer, al prossimo avvio si accenderà nell’ultima
modalità ascoltata.
Impostazione dell’intervallo di tempo per lo sleep
timer
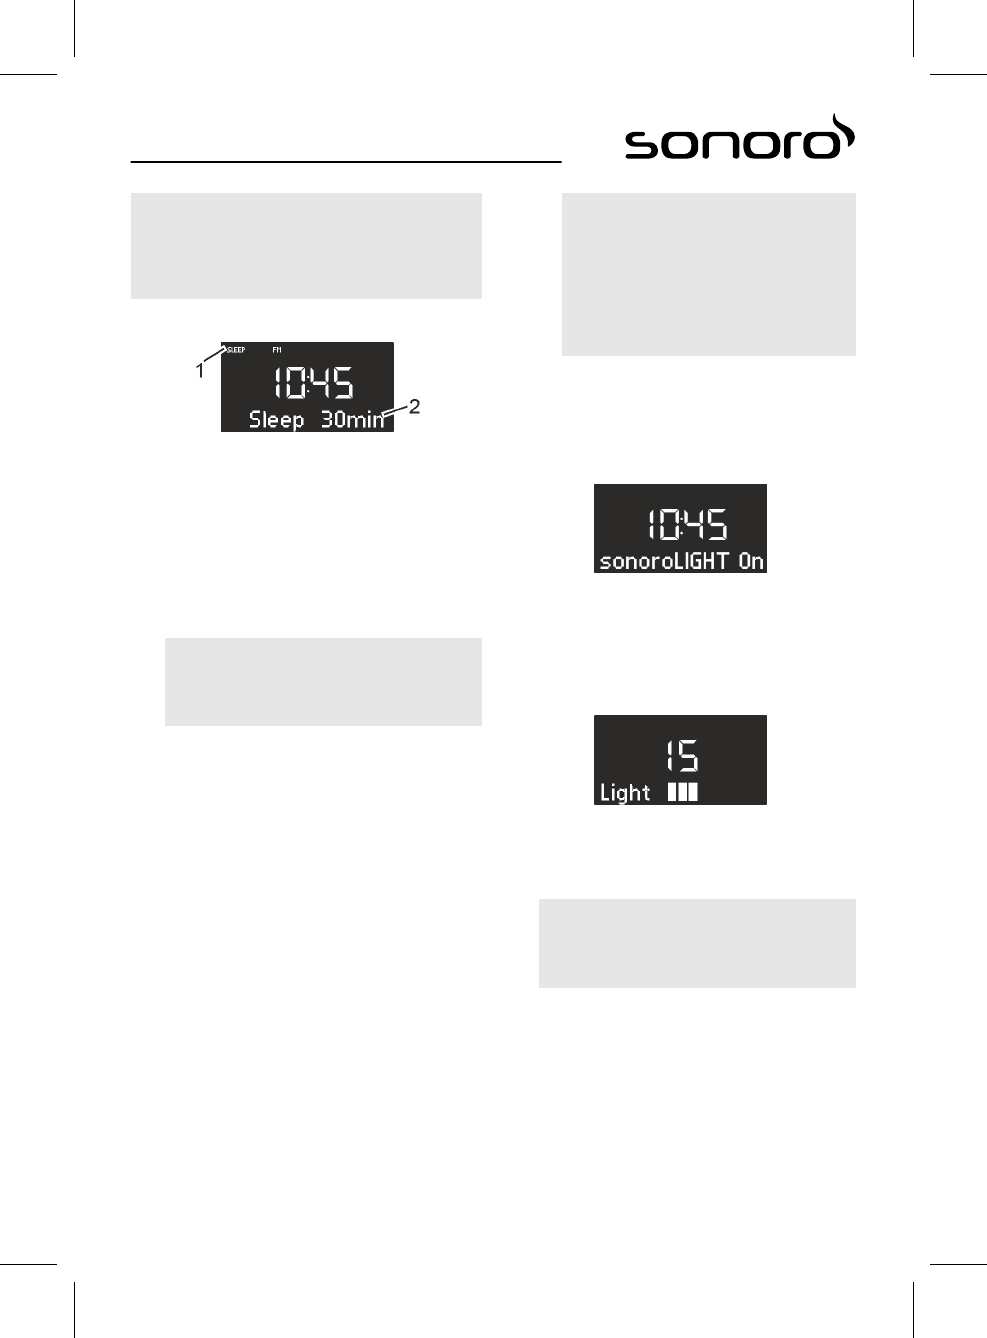
Fig. 25: Impostazione dell’intervallo di tempo per lo
sleep timer
1. Premere a lungo il tasto [SLEEP] sul lato supe-
riore dell’apparecchio o sul telecomando.
ð
Appare lo sleep timer (Fig. 25) e il simbolo
Sleep lampeggia (Fig. 25/1).
2. Ruotare la manopola per selezionare la durata
dell’intervallo di tempo desiderata (Fig. 25/2).
L’intervallo massimo è di 120 minuti.
i
In alternativa per impostare i valori è possi-
bile usare anche i tasti [Avanti] e [Indietro].
3. Premere la manopola per confermare l’imposta-
zione.
Al termine del tempo impostato, la riproduzione
audio viene gradualmente sfumata.
Abbassamento della luce (tramonto)
È possibile anche abbassare la luce e far spegnere una
lampada collegata in aggiunta a uno sleep timer (solo
in combinazione con sonoroLIGHT).
1. Accertarsi che sonoroLIGHT sia abbinato e la
relativa funzione dimmer sia attivata.
2.
Accendere la luce
Ä
Capitolo 8.6 »Accensione/
spegnimento della luce« a pag. 176.
3. Programmare uno sleep timer.
ð
Al termine dell’intervallo dello sleep timer la
luce viene abbassata gradualmente e spenta
dopo 40 secondi.
i
Se durante l’intervallo dello sleep timer
viene premuto il tasto [Standby], la luce
rimane accesa.
Se durante l’abbassamento della luce
viene premuto il tasto [Luce], la luce viene
spenta immediatamente.
8.6 Accensione/spegnimento della luce
È possibile accendere e spegnere una lampada colle-
gata (solo in combinazione con sonoroLIGHT).
1. Accertarsi che sonoroLIGHT sia abbinato e la
relativa funzione dimmer sia attivata.
Fig. 26: Accensione della luce
2. Premere il tasto [Luce] sull’apparecchio o sul
telecomando.
ð
La luce viene accesa (livello di luminosità 8),
sul display compare il testo
[sonoroLIGHT On] (Fig. 26).
Fig. 27: Impostazione della luminosità
3. Ruotare la manopola entro 4 secondi per impo-
stare la luminosità della luce (livello 00 – 32,
Fig. 27).
i
Se l’apparecchio è disattivato, è possibile
anche far trascorrere più tempo.
4. Premere nuovamente il tasto [Luce] per spe-
gnere la luce.
Se l’apparecchio non è attivato, è possibile ruotare
direttamente la manopola per accendere la luce e
impostare la luminosità.
176

