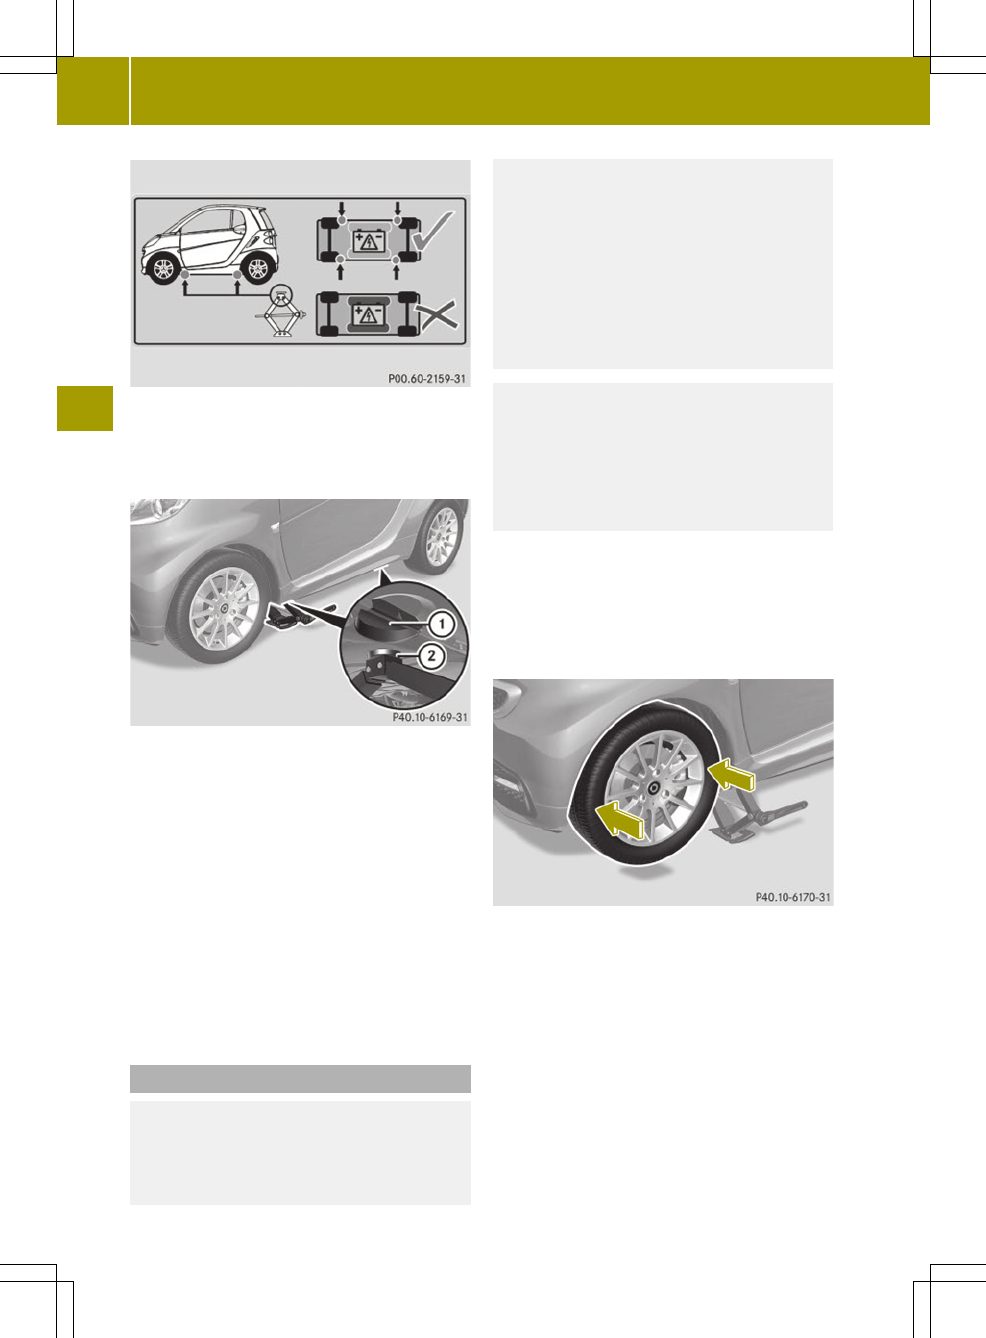
Warning label
The take-up brackets are identified by the
embossed recesses in the area of the door
sills.
X
Position jack ; under take-up
bracket : so that it is always vertical
as seen from the side, even if the vehicle
is parked on an incline.
X
Jack up the vehicle until the wheel is a
maximum of 1.2 in (3 cm) from the ground.
X
Unscrew and remove the wheel bolts.
!
Do not place wheel bolts in sand or dirt.
This could result in damage to the wheel
bolts and wheel hub threads.
X
Remove the wheel.
Mounting the wheel
G
WARNING
Always replace wheel bolts that are dam-
aged or rusted.
Never apply oil or grease to wheel bolts.
Damaged wheel hub threads should be
repaired immediately. Do not continue to
drive under these circumstances! Contact
an authorized electric drive smart center
or call Roadside Assistance.
Incorrect wheel bolts or improperly tight-
ened wheel bolts can cause the wheel to
come off. This could cause an accident. Be
sure to use the correct wheel bolts.
G
WARNING
Only use genuine smart wheel bolts. Other
wheel bolts may come loose.
Do not tighten the wheel bolts when the
vehicle is raised. Otherwise the vehicle
could fall off the jack.
X
Clean contact surfaces of wheel and wheel
hub.
!
To avoid paint damage, place wheel flat
against hub and hold it there while
installing first wheel bolt.
X
Guide the wheel onto the wheel hub and
push it on.
X
Insert two wheel bolts and tighten them
slightly.
X
Install last wheel bolt and tighten it
slightly.
X
Lower the vehicle until the vehicle is
resting fully on its own weight.
X
Remove the jack.
X
Tighten the wheel bolts. Observe a tight-
ening torque of 80 lb-ft (110 Nm).
196
Wheel change
>> Practical hints.

