Basic Settings – System
After clicking Basic Settings on the main menu, you will be asked for your username and
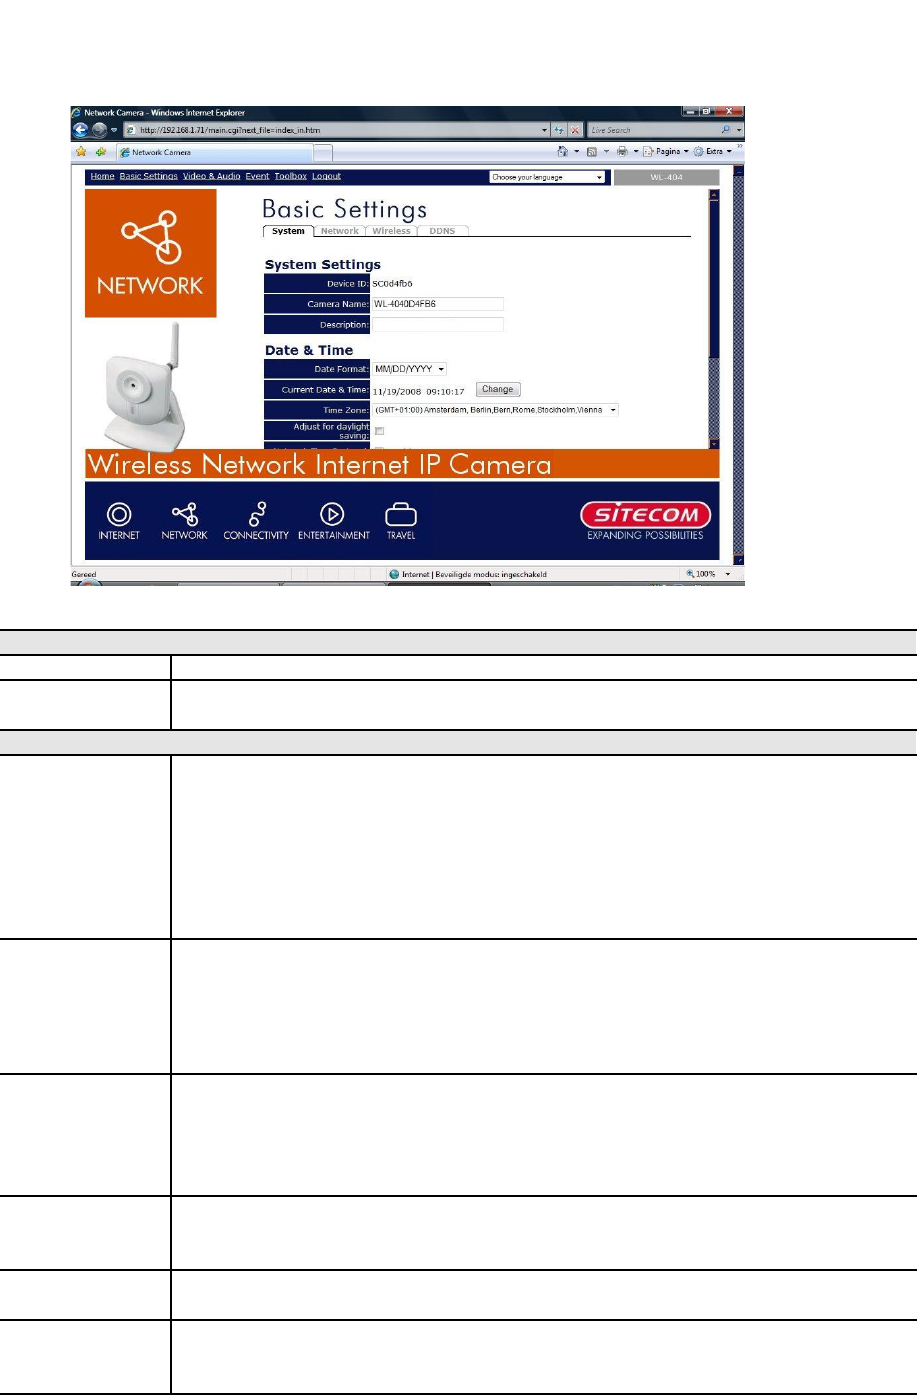
password. Enter “admin” as username, and “admin” as password. After logging in, you'll
see a screen like the example below.
System Settings
Device ID This displays the name for the Network Camera.
Description This field is used for entering a description, such as the location of the
Network Camera.
Date & Time
Date Format Select the desired date format, it will also be used to display the date
and time as an overlay on the video image.
The abbreviations used to predefine the date formats are list as
follows:
• YYYY-MM-DD = Year-Month-Day, e.g. 2006-01-31
• MM/DD/YYYY = Month/Day/Year, e.g. 01/31/2006
• DD/MM/YYYY = Day/Month/Year, e.g. 31/01/2006
Current
Date & Time
This displays the current date and time on the camera.
If it's not correct, click the Change button to modify the date/time
settings. This button will open a sub-screen where you have 2 options:
• Set the camera's date and time to match your PC.
• Enter the correct date and time.
Time Zone Choose the Time Zone for your location from the drop-down list.
If your location is currently using Daylight Saving, enable the Adjust
for daylight saving checkbox.
You must UNCHECK this checkbox when Daylight Saving
finishes.
Network
Time
Protocol
Enable or disable the Time Server feature as required.
If Enabled, the Network Camera will contact a Network Time Server at
regular intervals and update its internal timer.
NTP Server
Address
Enter the address for the desired NTP server.
Update The Schedule determines how often the Network Camera contacts the
NTP Server.
Select the desired options.