4
de
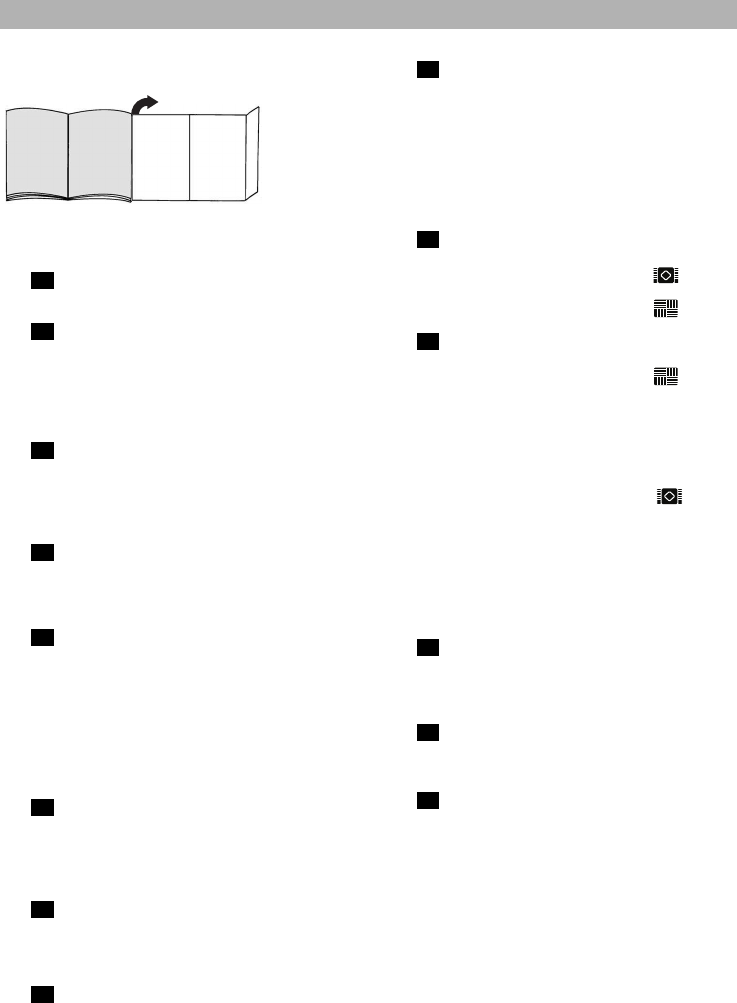
Bitte Bildseiten ausklappen!
Vor dem ersten Gebrauch
Bild
Handgriff auf Saugschlauch stecken und verrasten.
Bild
Fugendüse und Polsterdüse, wie dargestellt, in die
Zubehörmulde schieben.
Inbetriebnahme
Bild
a) Saugschlauchstutzen in die Saugöffnung im Doppel-
Abscheider einrasten.
b) Beim Entfernen des Saugschlauches Verrastung durch
Drehen lösen und Schlauch herausziehen.
Bild
Handgriff in das Saug- / Teleskoprohr schieben.
Zum Lösen der Verbindung Handgriff etwas drehen und
aus dem Rohr ziehen.
Bild
a) Saug- / Teleskoprohr in den Stutzen der Bodendüse
stecken.
b) Zum Lösen der Verbindung Rohr etwas drehen und aus
der Bodendüse ziehen.
c) Teleskoprohr bis zum Einrasten bündig in den Stutzen
der Bodendüse schieben.
Zum Lösen der Verbindung Entriegelungshülse drücken
und Teleskoprohr herausziehen
Bild
a) Saugrohre zusammenstecken, oder
b) durch Betätigen der Schiebetaste in Pfeilrichtung
Teleskoprohr entriegeln und gewünschte Länge
einstellen.
Bild
Netzanschlusskabel am Stecker greifen, auf die
gewünschte Länge herausziehen und Netzstecker
einstecken.
Bild
Staubsauger durch Betätigen der Ein- / Austaste in
Pfeilrichtung ein- / ausschalten.
8
7
6*
5*
4*
3
2*
1*
Bild
Saugkrafteinstellung durch Drehen der Ein- / Austaste in
Pfeilrichtung.
Für optimale Saugergebnisse den Leistungssteller auf
Maximalstellung bringen.
Saugen
Bild
Umschaltbare Bodendüse einstellen:
Ⅲ
Teppiche und Teppichboden =>
Ⅲ
Hartboden / Parkett =>
Bild
Bodendüse „autofloor“ einstellen:
Ⅲ
Hartbodenstellung =>
Fixierte Stellung zum Absaugen von
Hartboden / Parkett
Ⅲ
Automatikstellung => auto
Düse passt sich automatisch dem Bodenbelag an und
schaltet selbständig von Hartboden / Parkett auf
Teppichboden um
Ⅲ
Teppichstellung =>
Fixierte Stellung zum Absaugen von Teppichen und
Teppichböden
Wir empfehlen beim Arbeiten auf wechselnden Boden-
belägen (Hartboden <-> Teppichboden) die Automatik-
stellung, da sich die Düse automatisch dem Belag
anpasst und damit ein Umschalten der Düse entfällt.
Bild
Zur Reinigung »autofloor« Düse auf Hartbodenstellung
schalten und einfach mit dem Saugrohr/ Teleskoprohr
absaugen.
Bild
Polsterdüse und Fugendüse, wie dargestellt, aus der
Zubehörmulde entnehmen.
Bild Saugen mit Zusatzzubehör
Düsen je nach Bedarf auf Saugrohr oder Handgriff
stecken:
a) Fugendüse zum Absaugen von Fugen und Ecken, etc.
b) Polsterdüse zum Absaugen von Polstermöbeln,
Vorhängen, etc.
c) Möbelpinsel
Zum Reinigen von Fensterrahmen, Schränken, Profilen,
usw.
Nach Gebrauch Fugendüse und Polsterdüse, wie
dargestellt, in die Zubehörmulde schieben. (siehe Bild 2)
d) Hartbodendüse
Zum Saugen von harten Bodenbelägen
(Fliesen, Parkett usw.)
14*
13*
12*
11*
10*
9