8
en
Disposal information
Packaging
The packaging is designed to protect the vacuum
cleaner from being damaged during transportation. It
is made of environmentally friendly materials and can
be recycled.
Dispose of packaging that is no longer required at an
appropriate recycling point.
Used vacuum cleaners
Used vacuum cleaners still contain many valuable
materials. Therefore, please take your used vacuum
cleaner to your retailer or recycling centre to be
recycled. For current disposal methods, please
enquire at your retailer or your local council.
Disposal of filters and dust bags
Filters and dust bags are made from environmentally
friendly materials.
As long as they do not contain substances that are
not permitted to be disposed of in the household
rubbish, you can dispose of them with your normal
household rubbish.
!
Please note
The mains socket must be protected by at least a 16
amp fuse.
If a fuse should blow when you switch on the
appliance, this may be because other electrical
appliances which have a high current draw are
connected to the same power circuit.
To prevent the fuse from blowing, select the lowest
power setting before switching the appliance on, and
increase the power only once it
is running.
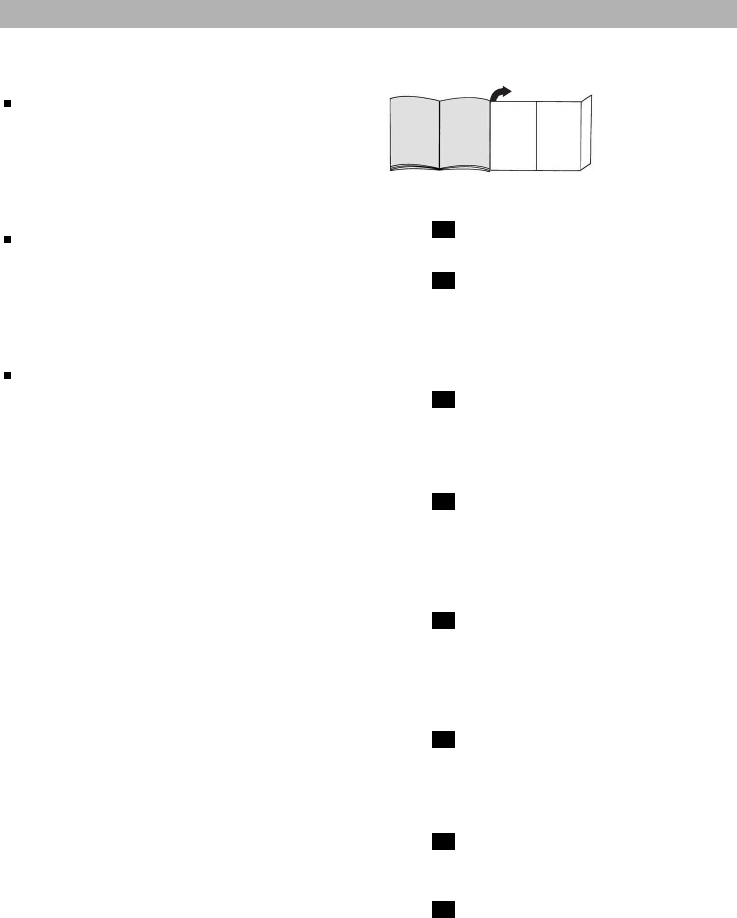
Fold out picture pages.
Before using for the first time
Figure
Push the handle onto the flexible hose until it engages.
Figure
Push the crevice nozzle and upholstery nozzle back into
the accessories holder as illustrated.
Setting up
Figure
a) Push the flexible tube adapter into the air intake opening
in the vacuum cleaner lid until it engages
b) To remove the flexible hose, press the two lugs together
and pull the tube out.
Figure
a) Connect together the handle and vacuuming/telescopic
tube.
b) Push the handle into the telescopic tube until it engages.
Press on the locking collar and pull out the telescopic
tube to disconnect.
Figure
a) Insert the suction pipe into the floor tool adapter.
b) Push the telescopic tube straight into the connecting
piece of the floor tool until it engages.
Press on the locking collar and pull out the telescopic
tube to disconnect.
Figure
a) Connect the suction pipes together.
b) Release the telescopic tube by moving the adjusting
sleeve/sliding switch in the direction of the arrow and
adjust the tube to the required length.
Figure
Holding the power cord by the plug, pull out the required
length and plug the plug into the mains socket.
Figure Switching on/off
Ⅲ
Your appliance is fitted with a pop-out control button.
Ⅲ
To switch on the appliance, press the control button in
the direction of the arrow down to the stop and release.
This will release and extend the controller.
Ⅲ
To switch off the appliance, press the control button in
again down to the stop. This will leave the control button
retracted in the appliance.
8
7
6*
5*
4*
3
2
1*
*
Dependent on model