9
Initializing the cash register
In order for the cash register to operate properly, you must initialize it before operating for the first time.
Follow this procedure.
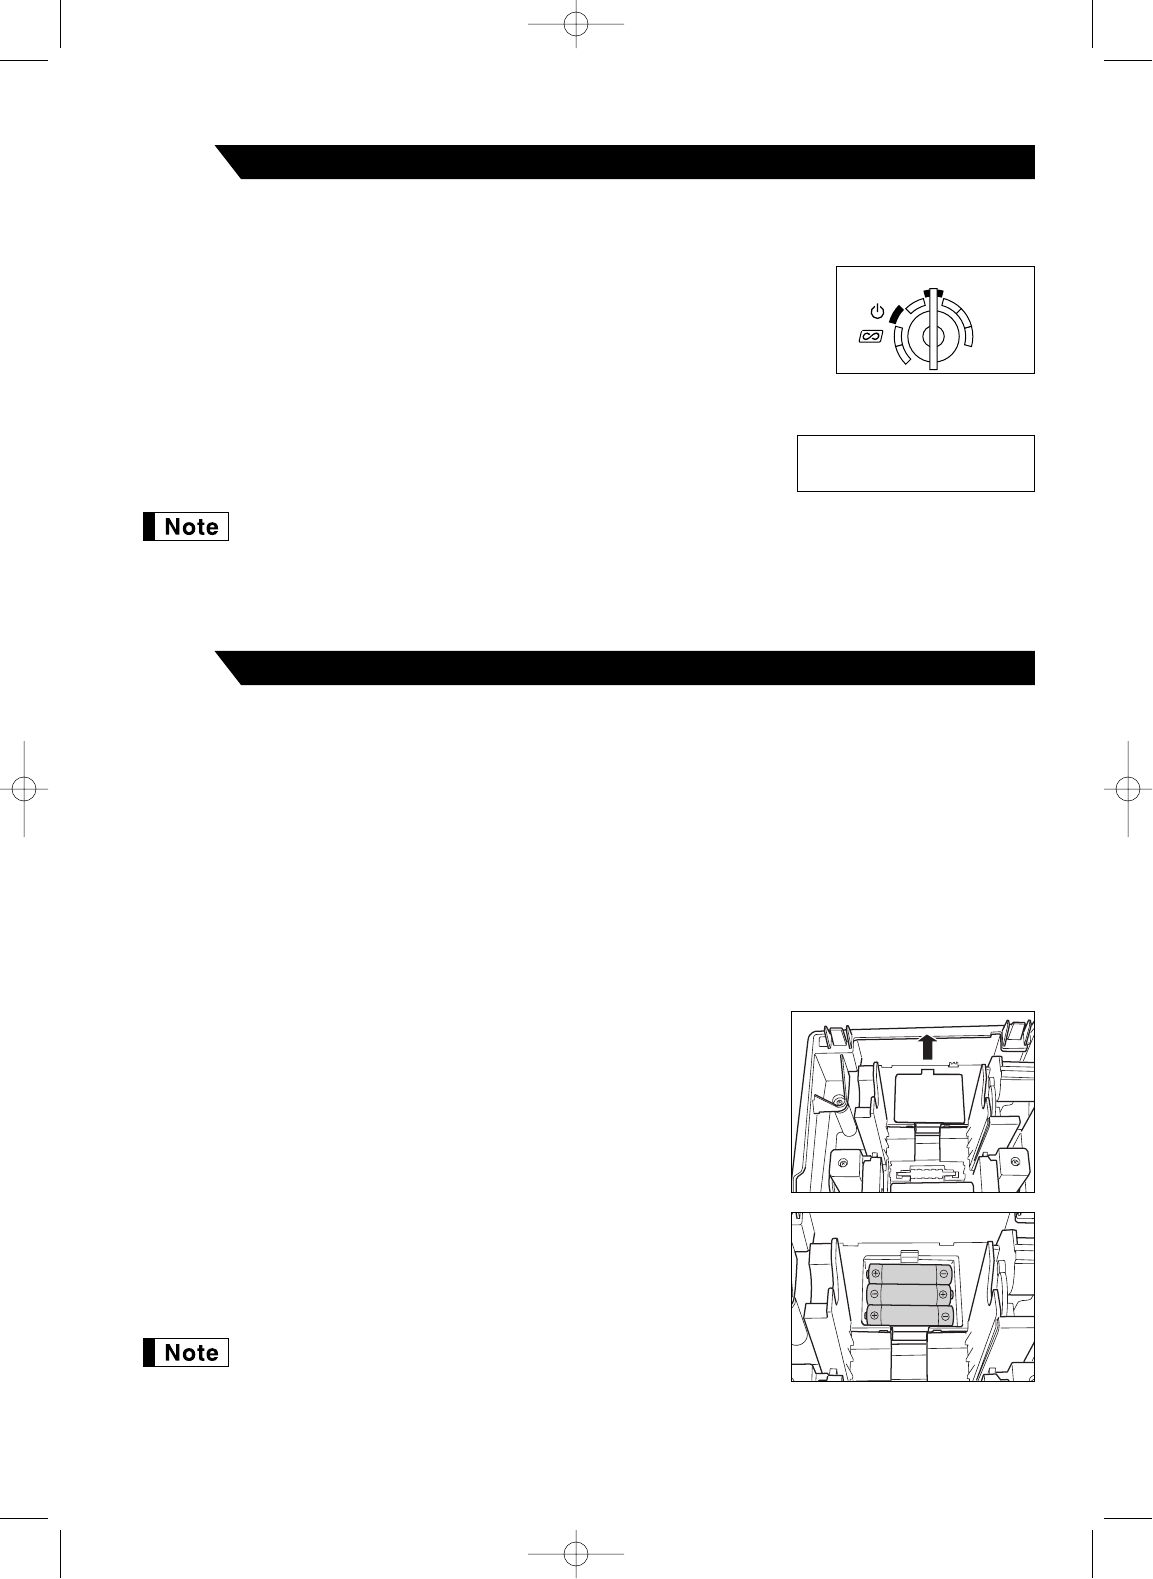
1. Insert the manager (MA) key into the mode switch and turn it to the REG
position.
2. Insert the plug of the AC power cord into the AC outlet. The buzzer will sound
three times.
IMPORTANT: This operation must be performed without batteries installed.
3. The cash register has now been initialized. The register display will show
“0.00” with “NO BATTERY”.
If the buzzer does not sound when the plug is inserted, the initialization has not been done
successfully. (This will occur when the voltage is high because you operated the cash register
before starting initialization.) Wait at least one minute after pulling out the plug and insert the plug
again.
2
NO BATTERY
0.00
Three new R6 or LR6 batteries (“AA”size) must be installed in the cash register to prevent the data and
user-programmed settings from being erased from the memory, when the AC cord is accidentally disconnected
or in case of power failure. Once installed, the batteries will last approximately one year before needing
replacement. At this time, the warning message “LOW BATTERY” will appear on the display to indicate the
batteries are low and must be replaced within two days. If the warning message “NO BATTERY” appears, you
must install the batteries at once.
Install three new R6 or LR6 batteries (“AA”size) according to the procedure shown below with the AC cord
connected and the mode switch set to the REG position:
1. Push the printer cover forward and detach it.
Be careful with the paper cutter, so as not to cut yourself.
2. Open the battery compartment cover next to the paper roll cradle.
3. Install three new R6 or LR6 batteries (“AA”size) as per the diagram.
When the batteries are properly installed “NO BATTERY” message on the
display will disappear.
4. Close the battery compartment cover.
• Be sure to observe precautions shown on page 1 when handling
batteries.
• If you press a key by mistake, an error message “PAPER EMPTY”
may be displayed. Press the
l
key to clear message after
installing paper rolls.
Installing batteries
3
A212_1 03.7.5 8:00 AM Page 9